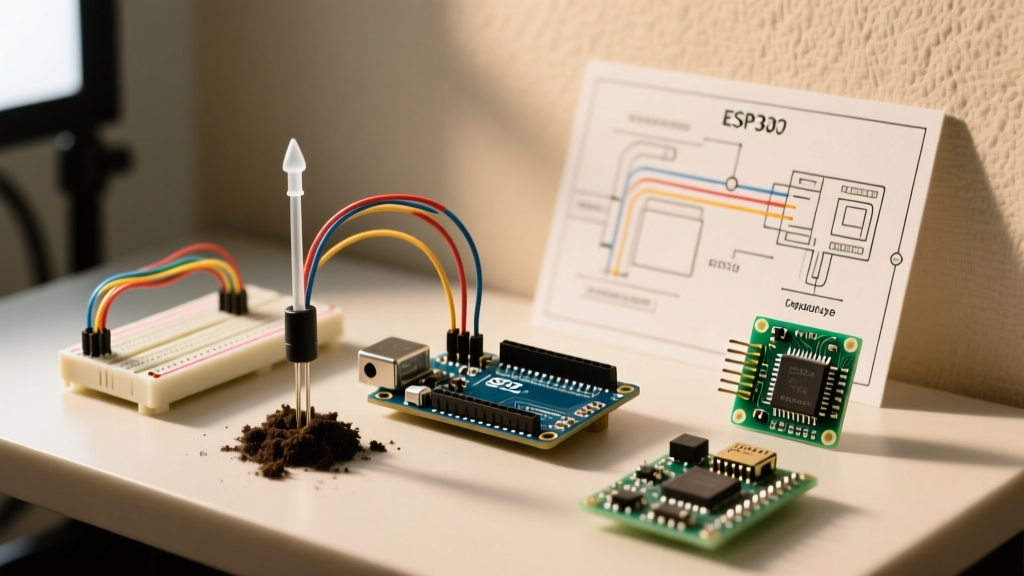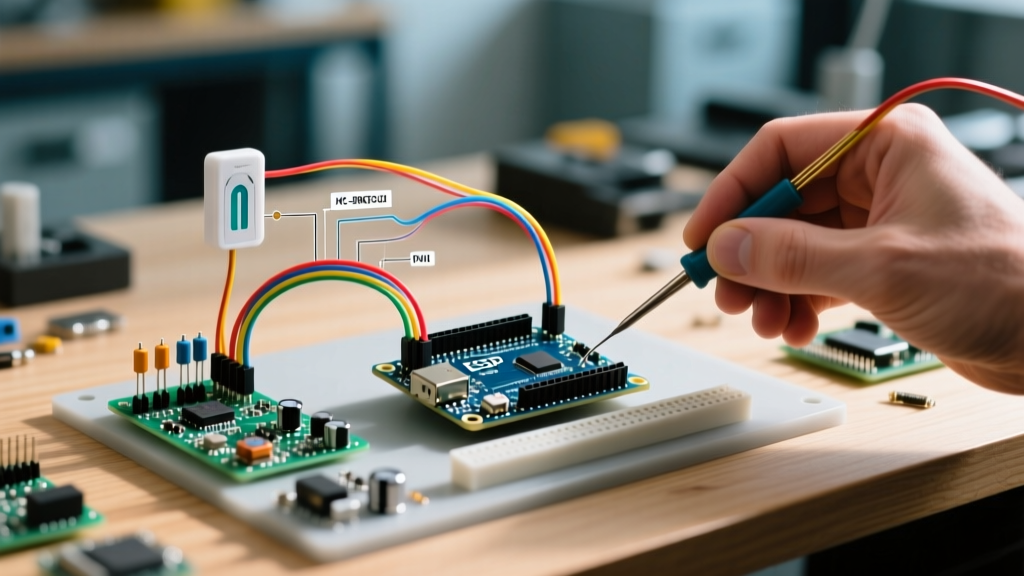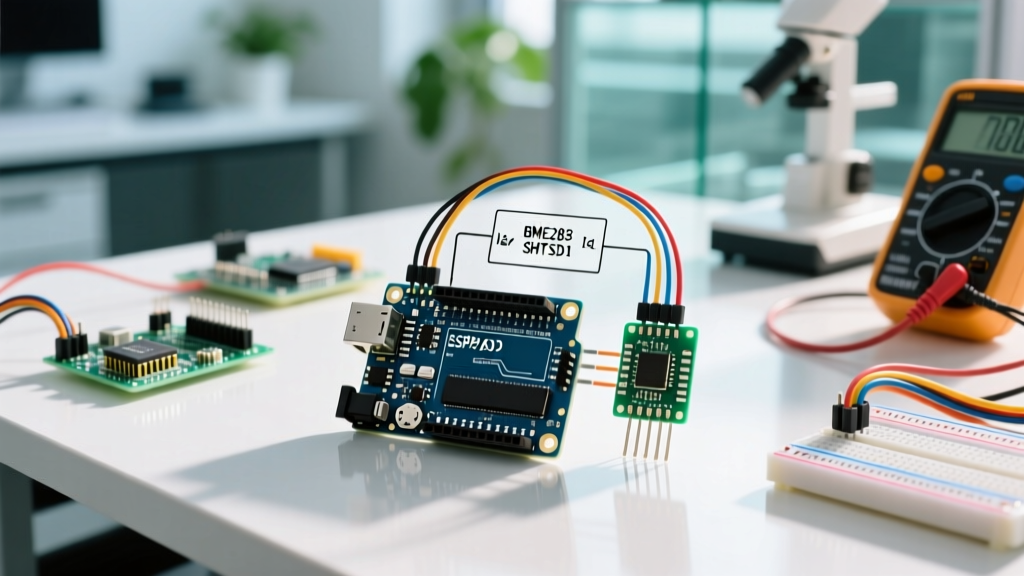

Modernizing Your Weather Sensor Arduino Stack
If you are still relying on the DHT11 or DHT22 for environmental monitoring in 2026, it is time to upgrade your hardware and software stack. Modern weather sensor Arduino projects demand higher precision, lower power consumption, and robust I2C communication. Whether you are building a remote LoRaWAN weather node or a desktop greenhouse monitor, the bottleneck is rarely the microcontroller—it is almost always the sensor driver implementation.
This guide bypasses basic wiring tutorials and dives deep into the library architecture, driver dependencies, I2C bus management, and thermal calibration required to get production-grade data from modern environmental ICs. We will focus heavily on the Bosch BME280 and Sensirion SHT31, the undisputed workhorses of the DIY and prosumer meteorological space.
Sensor IC Comparison and Library Ecosystem
Choosing the right sensor dictates which driver library you must install. Below is a technical comparison of the most reliable I2C weather sensors available on breakout boards today, including their typical market pricing and core specifications.
| Sensor IC | Parameters Measured | Temp Accuracy | Humidity Accuracy | I2C Addresses | Est. Price (2026) |
|---|---|---|---|---|---|
| Bosch BME280 | Temp, Humidity, Pressure | ±1.0°C | ±3% RH | 0x76, 0x77 | $8 - $14 |
| Sensirion SHT31-D | Temp, Humidity | ±0.2°C | ±2% RH | 0x44, 0x45 | $10 - $18 |
| TI HDC1080 | Temp, Humidity | ±0.2°C | ±2% RH | 0x40, 0x41, 0x42, 0x43 | $5 - $9 |
| Bosch BMP390 | Temp, Pressure | ±0.5°C | N/A | 0x76, 0x77 | $9 - $15 |
For comprehensive environmental tracking, the Bosch BME280 remains the gold standard due to its combined pressure sensing, which allows for altitude and weather front tracking. However, if your application requires strict temperature and humidity precision (such as incubator control or server room monitoring), the Sensirion SHT31-D is vastly superior.
Driver Architecture: The Unified Sensor Abstraction
A common point of failure for beginners is installing the hardware-specific library without its underlying driver dependencies. Adafruit's ecosystem, which dominates the Arduino IDE Library Manager, relies heavily on an abstraction layer.
Mandatory Library Installations
- Adafruit Unified Sensor Driver: This is the foundational abstraction layer. It standardizes data output into the
sensors_event_tstruct, allowing you to swap a BME280 for a BME680 without rewriting your core logging logic. - Adafruit BME280 Library (or SHT3X equivalent): The hardware-specific driver that handles the I2C register mapping and oversampling calculations.
- Wire.h (Built-in): The native Arduino I2C communication library.
According to the official Arduino Library Manager documentation, always use the IDE's dependency resolver to ensure you pull the exact version of the Unified Sensor driver required by your specific hardware library version.
Non-Blocking Code Implementation
The most critical mistake in weather sensor Arduino programming is using delay() to wait for sensor reads. Environmental sensors require time to sample, but blocking the main loop prevents your MCU from handling WiFi transmissions, display updates, or button interrupts.
Below is a production-ready, non-blocking implementation using millis() for a BME280. This approach ensures your I2C bus is only polled at defined intervals, preventing bus congestion.
Pro Tip: Never poll a weather sensor faster than once every 2 seconds. Environmental changes occur slowly, and high-frequency polling only introduces thermal noise and wastes battery life on remote nodes.
#include <Wire.h>
#include <Adafruit_Sensor.h>
#include <Adafruit_BME280.h>

Adafruit_BME280 bme;
unsigned long lastReadTime = 0;
const unsigned long readInterval = 5000; // Read every 5 seconds

void setup() {
  Serial.begin(115200);

  // Initialize I2C with specific pins for ESP32, or default for Uno
  Wire.begin();

  // 0x76 is the default for many cheap clones, 0x77 for Adafruit/SparkFun
  if (!bme.begin(0x76, &Wire)) {
    Serial.println("BME280 initialization failed. Check I2C address and wiring.");
    while (1); // Halt execution
  }

  // Configure sensor to minimize self-heating
  bme.setSampling(Adafruit_BME280::MODE_FORCED,
                  Adafruit_BME280::SAMPLING_X1, // Temp
                  Adafruit_BME280::SAMPLING_X1, // Pressure
                  Adafruit_BME280::SAMPLING_X1, // Humidity
                  Adafruit_BME280::FILTER_OFF);
}

void loop() {
  unsigned long currentMillis = millis();

  if (currentMillis - lastReadTime >= readInterval) {
    lastReadTime = currentMillis;

    // Trigger a forced reading
    bme.takeForcedMeasurement();

    float temp = bme.readTemperature();
    float hum = bme.readHumidity();
    float pres = bme.readPressure() / 100.0F; // Convert to hPa

    Serial.printf("T: %.2f C | H: %.2f %% | P: %.2f hPa\n", temp, hum, pres);
  }

  // Other non-blocking tasks go here
}
Hardware Edge Cases and I2C Troubleshooting
Even with perfect code, physical layer issues will cause your weather sensor Arduino project to fail. Here are the three most common hardware-level driver failures and how to solve them.
1. The 'Could Not Find Sensor' I2C Address Conflict
If your serial monitor spits out Could not find a valid BME280 sensor, check wiring!, the driver is failing its initial ID register check. The BME280 has two possible I2C addresses: 0x76 and 0x77.
- 0x77: Standard on premium breakouts (Adafruit, SparkFun) where the SDO pin is pulled high to 3.3V.
- 0x76: Standard on budget Amazon/AliExpress modules where SDO is tied to GND.
2. Logic Level Frying (The 5V vs 3.3V Trap)
Almost all modern environmental ICs operate strictly at 3.3V. If you connect the SDA and SCL pins of an Arduino Uno (which outputs 5V logic) directly to a raw SHT31 or BME280 chip, you will degrade the I2C transceiver over time, leading to intermittent data corruption. While many breakout boards include onboard voltage regulators, they often lack bidirectional logic level shifters. For 5V microcontrollers, always route your I2C lines through a BSS138 MOSFET-based logic level shifter to protect the sensor's silicon.
3. Missing Pull-Up Resistors
The I2C protocol requires pull-up resistors on the SDA and SCL lines. Most premium breakout boards include 10kΩ pull-ups. However, if you wire three or four weather sensors on the same bus, the parallel resistance drops, potentially causing signal degradation. Conversely, if you are using a bare IC without a breakout board, you must add external 4.7kΩ pull-up resistors to the 3.3V rail. Without them, the I2C lines will float, and the driver will hang indefinitely.
Mitigating Thermal Self-Heating Errors
A frequent complaint on forums is that the sensor reads 1.5°C to 2.0°C higher than the actual ambient room temperature. This is not a defective sensor; it is thermal self-heating caused by the PCB traces and the microcontroller's heat dissipating into the sensor package.
To achieve the accuracy promised in the Adafruit BME280 wiring and code guide, implement the following physical and software mitigations:
- Software Oversampling: Use the lowest acceptable oversampling rate (e.g.,
SAMPLING_X1). Higher oversampling keeps the internal ADC active longer, generating excess heat. - Forced Mode vs. Normal Mode: Never use 'Normal' continuous mode for battery-powered or thermally sensitive setups. Use 'Forced' mode, which puts the sensor into a deep sleep (consuming microamps) and only wakes it for the exact millisecond needed to take a reading.
- Physical Isolation: Mount the sensor on a small pigtail wire harness or a separate daughterboard away from the main MCU and voltage regulators. If using a single PCB, route thermal relief cutouts into the board directly beneath the sensor IC.
Frequently Asked Questions (FAQ)
Can I wire multiple BME280 sensors to the same Arduino?
Yes, but you are limited to two per I2C bus because the BME280 only supports two hardware addresses (0x76 and 0x77). If you need four sensors, you must use an I2C multiplexer like the TCA9548A, which allows the MCU to switch between multiple isolated I2C channels via software.
Why does my SHT31 return NaN (Not a Number) for humidity?
A NaN return in the Sensirion driver usually indicates an I2C timeout or a CRC (Cyclic Redundancy Check) failure. This happens when electrical noise corrupts the data packet during transit. Ensure your I2C cables are under 30cm in length and are not routed parallel to high-current AC lines or motor PWM wires.
Do I need to calibrate these sensors out of the box?
For 95% of DIY applications, factory calibration stored in the IC's non-volatile memory is sufficient. The driver automatically reads these calibration registers during the begin() function and applies the compensation math to the raw ADC data. Manual calibration is only required if you are deploying a professional meteorological station requiring NIST-traceable certification.