
Mastering Proximity Sensor Integration in Modern Maker Projects
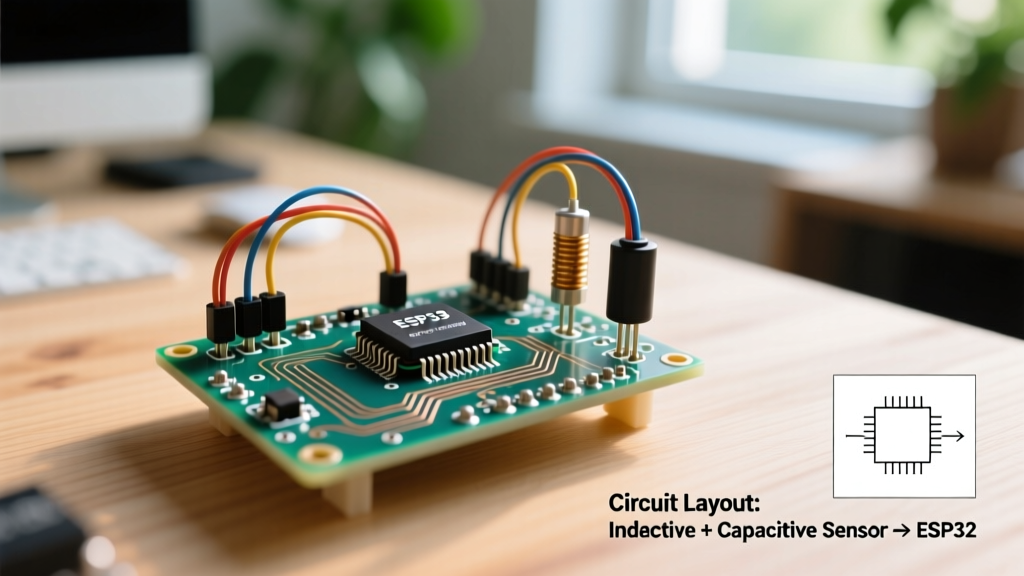
Integrating a proximity sensor for Arduino projects is a foundational skill for automation, robotics, and industrial IoT prototypes. Unlike mechanical limit switches that suffer from contact bounce and physical wear, solid-state proximity sensors offer non-contact, high-speed object detection. As of 2026, the maker community has heavily shifted toward utilizing industrial-grade, cylindrical inductive and capacitive sensors (like the ubiquitous LJ12 and LJC18 series) due to massive price drops, with generic models now routinely available for $4.00 to $7.50 on major electronics marketplaces.
However, bridging the gap between 24V industrial logic and the 5V or 3.3V microcontroller environment of an Arduino Uno R4, Nano ESP32, or classic ATmega328P board introduces critical hardware and software challenges. This tutorial provides a deep-dive integration guide, covering exact wiring topologies, logic-level translation, non-blocking C++ code, and real-world electromagnetic interference (EMI) troubleshooting.
Sensor Selection Matrix: Inductive vs. Capacitive vs. Optical
Choosing the correct proximity sensor for Arduino depends entirely on your target material and environmental constraints. Below is a technical comparison of the three most common non-contact sensing technologies used in DIY and prosumer automation.
| Sensor Type | Target Material | Typical Range | Avg. Price (2026) | Best Use Case |
|---|---|---|---|---|
| Inductive (e.g., LJ12A3-4-Z/BX) | Ferrous & Non-Ferrous Metals | 2mm - 8mm | $4.50 - $8.00 | CNC homing, 3D printer Z-axis, gear tooth counting |
| Capacitive (e.g., LJC18A3-H-Z/BX) | Liquids, Plastics, Wood, Glass | 1mm - 15mm (Adjustable) | $6.00 - $12.00 | Tank level monitoring, filament runout detection |
| Optical/IR (e.g., Sharp GP2Y0A21) | Opaque Solids (Color dependent) | 10cm - 80cm | $9.00 - $14.00 | Mobile robot obstacle avoidance, conveyor sorting |
Note: The nominal sensing distance (Sn) printed on an inductive sensor's barrel is calibrated using a standard 1mm thick mild steel (Fe360) target. If you are detecting aluminum or copper, expect the actual sensing distance to drop by 30% to 50% due to lower magnetic permeability.
The Logic-Level Translation Trap
The most common failure mode when wiring an industrial proximity sensor to an Arduino is ignoring voltage thresholds. Most cylindrical sensors (NPN or PNP) operate on a 6V to 36V DC supply and output a logic HIGH signal that matches the supply voltage. If you power the sensor with 12V and wire the black signal wire directly to a 5V Arduino digital pin, you will permanently destroy the microcontroller's GPIO pin.
To safely interface a 12V or 24V sensor with a 5V or 3.3V board, you must implement a voltage divider or a dedicated logic-level translator. According to SparkFun's comprehensive guide on voltage dividers, selecting the right resistor pair is critical for maintaining signal integrity without drawing excessive current.
Calculated Voltage Divider Configurations
- 12V Sensor to 5V Arduino (Uno/Mega): Use R1 = 10kΩ and R2 = 7.5kΩ. This yields an output of ~5.14V, safely within the 5V logic HIGH threshold.
- 24V Sensor to 3.3V Arduino (Nano ESP32 / Portenta): Use R1 = 22kΩ and R2 = 3.3kΩ. This drops the 24V signal down to a safe ~3.12V, perfectly aligning with 3.3V logic limits.
Pro-Tip for High-Speed Counting: If you are using the sensor for high-RPM gear tooth counting (e.g., >5kHz), the parasitic capacitance of a resistor voltage divider can round off the square wave edges. In these specific edge cases, use a high-speed optocoupler (like the 6N137) or a dedicated level-shifter IC (like the TXS0108E) instead of passive resistors.
Step-by-Step Wiring: LJ12A3-4-Z/BX (NPN Normally Open)
The LJ12A3-4-Z/BX is an NPN, Normally Open (NO) inductive sensor. 'NPN' means the output transistor sinks current to ground when triggered. 'Normally Open' means the signal line floats (high impedance) when no metal is present, and pulls to GND when metal is detected.
- Power (Brown Wire): Connect to a 12V DC power supply positive terminal. Do not use the Arduino's 5V pin; the sensor requires a minimum of 6V to operate its internal oscillator.
- Ground (Blue Wire): Connect to the common ground of both your 12V power supply and your Arduino. Common ground is mandatory for the signal reference.
- Signal (Black Wire): Connect to the voltage divider input (R1). The center tap of the divider goes to Arduino Digital Pin 2.
- Pull-Up Resistor: Because the NPN output sinks to ground and floats when inactive, you must enable the Arduino's internal pull-up resistor in software, or add an external 10kΩ resistor from the signal line to VCC. For a detailed explanation of internal pull-ups, refer to the official Arduino Digital Input Pull-Up documentation.
Non-Blocking Arduino C++ Implementation
Industrial sensors do not suffer from mechanical contact bounce, but they are highly susceptible to Electromagnetic Interference (EMI) from nearby stepper motors, VFDs, or relays. A microsecond EMI spike can register as a false trigger. Therefore, implementing a software debounce using millis() is a mandatory best practice.
// Proximity Sensor Integration Code (NPN NO)
const int SENSOR_PIN = 2;
const int LED_PIN = 13;

bool lastSensorState = HIGH;
bool currentSensorState = HIGH;
unsigned long lastDebounceTime = 0;
const unsigned long debounceDelay = 15; // 15ms EMI filter window

void setup() {
  Serial.begin(115200);
  // Enable internal pull-up since NPN NO floats when inactive
  pinMode(SENSOR_PIN, INPUT_PULLUP);
  pinMode(LED_PIN, OUTPUT);
  Serial.println("Proximity Sensor Initialized.");
}

void loop() {
  bool reading = digitalRead(SENSOR_PIN);

  if (reading != lastSensorState) {
    lastDebounceTime = millis();
  }

  if ((millis() - lastDebounceTime) > debounceDelay) {
    if (reading != currentSensorState) {
      currentSensorState = reading;

      // NPN pulls LOW when metal is detected
      if (currentSensorState == LOW) {
        Serial.println("TARGET DETECTED");
        digitalWrite(LED_PIN, HIGH);
      } else {
        Serial.println("TARGET CLEARED");
        digitalWrite(LED_PIN, LOW);
      }
    }
  }
  lastSensorState = reading;
}
Industrial vs. Hobbyist: When to Upgrade
While the $5 generic LJ12 sensors are excellent for prototyping, they lack the shielding and temperature compensation required for harsh environments. If your project involves high ambient heat or heavy vibration, consider upgrading to the Omron E2E NEXT series. Priced between $45 and $65, these industrial sensors feature advanced noise-reduction algorithms, IP67 waterproof ratings, and sensing distances up to three times longer than legacy models, drastically reducing false triggers in electrically noisy factory settings.
Troubleshooting Real-World Failure Modes
Even with perfect wiring, environmental factors can degrade sensor performance. Here is how to diagnose and fix the most common edge cases:
1. Sensing Distance Degradation (Temperature Drift)
Inductive sensors rely on an LC oscillator circuit. As ambient temperature rises above 40°C, the inductance of the internal coil shifts, reducing the nominal sensing distance (Sn) by up to 10-15%. Fix: Mount the sensor 20% closer to the target than the datasheet specifies to provide a thermal safety margin.
2. Phantom Triggers from EMI
If your sensor triggers randomly when a nearby relay or stepper motor engages, the unshielded signal wire is acting as an antenna. Fix: Use a shielded, twisted-pair cable for the signal and ground lines. Additionally, solder a 100nF (0.1µF) ceramic capacitor directly across the sensor's Brown (VCC) and Blue (GND) wires at the connector end to filter out high-frequency power rail noise.
3. Capacitive Sensor Over-Sensitivity
When using a capacitive sensor (LJC18) for liquid level detection through a plastic tank, the dielectric constant of the liquid can cause the sensor to latch 'ON' permanently. Fix: Use a small flathead screwdriver to adjust the multi-turn potentiometer on the rear of the sensor barrel. Turn it counter-clockwise to reduce sensitivity until the sensor only triggers when the liquid physically touches the detection face of the tank wall.