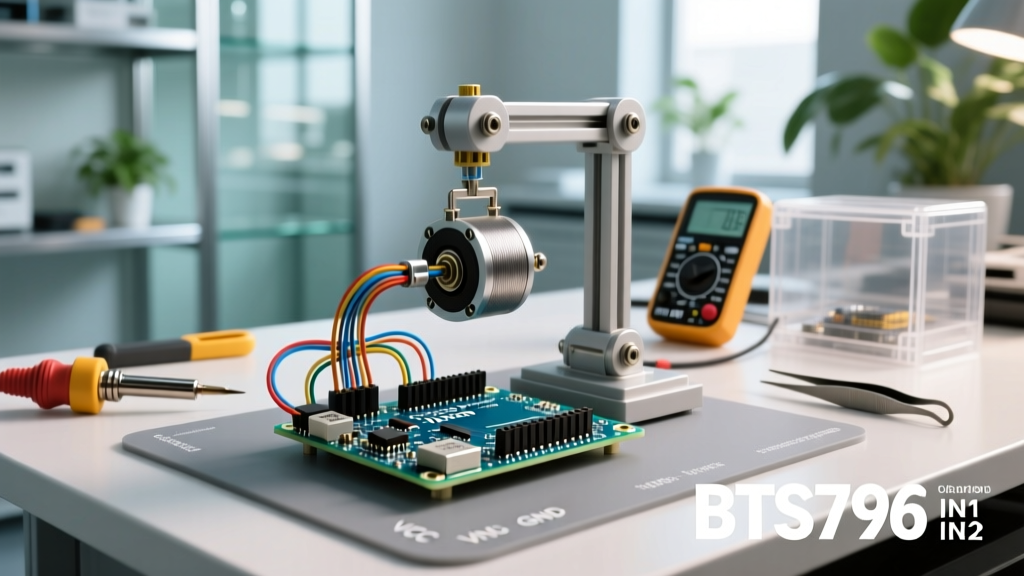

The Gap Between Breadboard Prototypes and Real-World Loads
Most introductory tutorials covering an Arduino and DC motor integration stop at the L298N driver and a tiny 3V hobby motor. While sufficient for blinking LEDs and spinning lightweight plastic wheels, these setups catastrophically fail when subjected to real-world mechanical loads. When you scale up to a 12V 775-series gear motor pulling 15A under load for a DIY conveyor belt, motorized camera slider, or automated winch, the electrical rules change entirely.
In 2026, supply chains for industrial motor drivers have stabilized, making high-current MOSFET-based modules widely available for under $15. This renders older, inefficient BJT-based drivers obsolete for serious makers and field engineers. This guide bypasses the toy-grade basics and details exactly how to hardwire, protect, and program a high-torque DC motor system using an Arduino microcontroller and the BTS7960 43A motor driver.
Component Selection: Sizing the Ecosystem
The most common point of failure in motor control is undersizing the driver based on peak current rather than continuous thermal limits. According to the Texas Instruments Motor Design Guide, inrush and stall currents can easily exceed 5x the nominal running current. If your motor draws 8A continuously, a 10A driver will trigger thermal shutdown within minutes of operation.
Motor Driver Comparison Matrix
| Driver IC | Topology | Continuous Current | Peak Current | RDS(on) | Typical Cost |
|---|---|---|---|---|---|
| L298N | BJT H-Bridge | 2A | 3A | ~2.0 Ω | $4 - $6 |
| TB6612FNG | MOSFET | 1.2A | 3.2A | 0.5 Ω | $5 - $8 |
| Cytron MD30C | MOSFET | 30A | 80A | Low | $35 - $45 |
| BTS7960 | MOSFET Half-Bridge | 20A (w/ cooling) | 43A | ~0.015 Ω | $12 - $16 |
For high-torque applications, the BTS7960 module is the undisputed champion of cost-to-performance. It utilizes two half-bridges to form a full H-bridge, featuring built-in optocouplers for logic isolation and undervoltage/overcurrent protection.
The Real-World Bill of Materials (BOM)
- Microcontroller: Arduino Nano (ATmega328P) or ESP32 for Wi-Fi telemetry ($6 - $12).
- Motor: 12V 775 Gear Motor (100W nominal, 8A continuous, 25A stall) ($18 - $25).
- Driver: BTS7960 43A High-Power Motor Driver Module ($14).
- Power Supply: Mean Well LRS-150-12 (12V, 12.5A, enclosed switching supply) ($24).
- Wiring: 10 AWG silicone wire for power phases; 22 AWG stranded for logic.
Hardwiring for Reliability: Beyond Jumper Cables
Dupont jumper wires introduce unacceptable resistance and vibration-induced disconnects in high-current environments. A 15A load passing through a breadboard trace or thin jumper will melt the plastic housing and cause a short circuit. Proper termination is non-negotiable.
Step 1: Power Stage Isolation and Termination
The Mean Well LRS-150-12 power supply features screw terminals. Use ferrule crimps on all stranded wire ends before inserting them into terminal blocks to prevent stray strands from causing phase-to-ground shorts. Run 10 AWG wire from the PSU to the BTS7960 B+ and B- terminals. Connect the 775 motor phases directly to the M+ and M- output terminals. Do not route motor phase wires near the Arduino's logic lines to prevent inductive EMI (Electromagnetic Interference) from corrupting serial data.
Step 2: Logic Level Interfacing
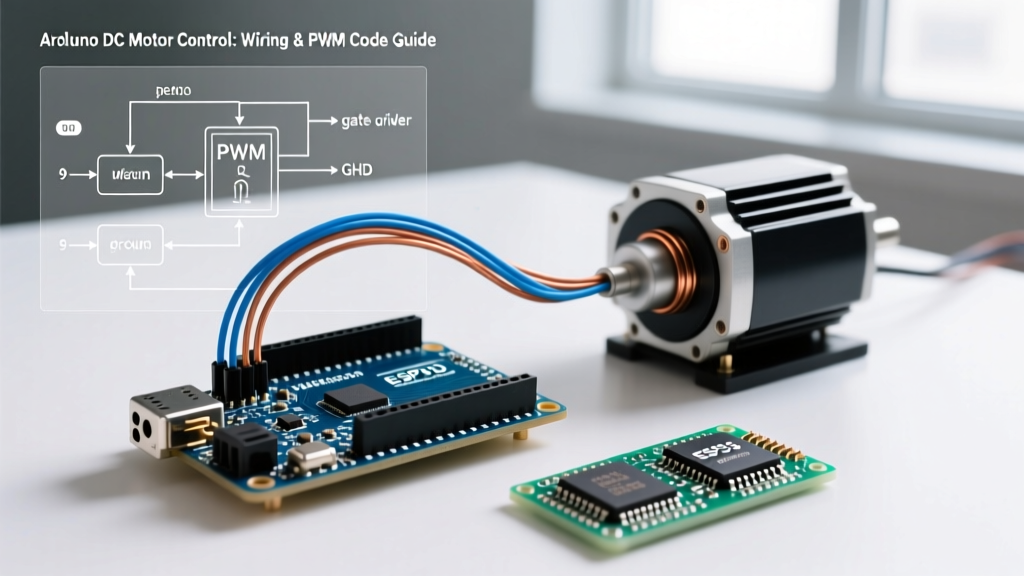
The BTS7960 module includes optocouplers to isolate the high-current motor ground from the sensitive Arduino logic ground. However, many cheaply manufactured clones ship with the VCC jumper cap installed, bypassing the optocouplers. Remove the VCC jumper. Wire the Arduino 5V pin to the module's VCC pin, and connect the Arduino GND to the module's GND. Connect Arduino PWM-capable pins (e.g., D5 and D6) to the RPWM and LPWM inputs.
Expert Warning: Never share the high-current motor ground return path with the Arduino's logic ground. Implement a 'star-ground' topology where the PSU negative terminal acts as the single central ground node, with separate wires radiating out to the motor driver power ground and the Arduino logic ground.
Mitigating Real-World Failure Modes
When interfacing an Arduino and DC motor in industrial or outdoor settings, environmental and electrical anomalies will attempt to crash your system. Here is how to engineer around the three most common failure modes.
1. Back-EMF and Inductive Kickback
When a DC motor is spinning, it acts as a generator. If the BTS7960 switches off abruptly while the motor is under momentum, the collapsing magnetic field generates a massive voltage spike (Back-EMF). While the BTS7960 has internal clamping diodes, real-world testing shows these can fail under repetitive high-inertia braking. Solder an external Schottky diode array (or four discrete 10A Schottky diodes in a full-bridge configuration) directly across the motor terminals to safely recirculate the inductive energy.
2. Power Supply OCP Hiccup Mode
Switching power supplies like the Mean Well LRS series feature Over-Current Protection (OCP). If a motor stalls and draws 30A, the PSU will cut power and enter 'hiccup mode' (rapidly cycling on and off). This causes the Arduino to brownout and reset. To prevent this, you must implement a software-based current limit or a hardware inline fuse (e.g., a 15A automotive blade fuse) that blows before the PSU's OCP threshold is reached, allowing the microcontroller to remain powered and report the fault.
3. Ground Bounce Logic Resets
High-frequency PWM switching causes transient voltage spikes on the ground plane. If the ground potential of the Arduino rises even 1.5V above the driver's logic ground, the ATmega328P will interpret this as a brownout and reset. Using the optocouplers on the BTS7960 entirely eliminates ground bounce from reaching the microcontroller, provided the VCC jumper is removed as instructed above.
Soft-Start PWM Implementation
Applying 100% PWM duty cycle to a stationary high-torque motor causes an immediate stall-current spike, often exceeding 25A. This mechanical shock can strip plastic gears and trip power supply protections. A soft-start algorithm ramps up the PWM gradually, allowing the motor to build back-EMF, which naturally limits the current draw.
Below is a robust C++ implementation for the Arduino IDE that includes a soft-start ramp and fault-safe braking.
// Pin Definitions
const int RPWM = 5;  // Forward PWM
const int LPWM = 6;  // Reverse PWM
const int REN = 8;   // Right Enable
const int LEN = 9;   // Left Enable

void setup() {
  pinMode(RPWM, OUTPUT);
  pinMode(LPWM, OUTPUT);
  pinMode(REN, OUTPUT);
  pinMode(LEN, OUTPUT);

  // Enable the driver optocouplers
  digitalWrite(REN, HIGH);
  digitalWrite(LEN, HIGH);
}

void softStartMotor(int targetSpeed, int rampDelay) {
  // targetSpeed: 0 to 255
  // rampDelay: milliseconds between steps
  if (targetSpeed >= 0) {
    for (int i = 0; i <= targetSpeed; i++) {
      analogWrite(RPWM, i);
      analogWrite(LPWM, 0);
      delay(rampDelay);
    }
  } else {
    for (int i = 0; i >= targetSpeed; i--) {
      analogWrite(RPWM, 0);
      analogWrite(LPWM, abs(i));
      delay(rampDelay);
    }
  }
}

void loop() {
  // Ramp up to 80% speed over 2 seconds (approx 8ms per step)
  softStartMotor(200, 8);
  delay(3000); // Run for 3 seconds

  // Active braking (shorts motor phases safely via MOSFETs)
  analogWrite(RPWM, 255);
  analogWrite(LPWM, 255);
  delay(1000);

  // Reverse direction
  softStartMotor(-150, 10);
  delay(3000);
}
Final Calibration and Load Testing
Before deploying your system into a permanent enclosure, conduct a thermal load test. Run the motor at 80% duty cycle against your expected mechanical load for 15 minutes. Use an infrared thermometer to check the BTS7960 MOSFET heatsinks. If the temperature exceeds 70°C (158°F), you must add active cooling (a 5V 40mm fan) or reduce the continuous load. For deeper insights into PWM frequency tuning to minimize acoustic noise and switching losses, refer to the principles of Pulse-Width Modulation and adjust the Arduino's Timer1 prescalers accordingly.
By abandoning toy-grade components and respecting the physics of inductive loads, your Arduino and DC motor integration will transition from a fragile prototype to a reliable, field-ready automation system.