
The Shift to I2C: Why Ditch Parallel LCDs for Sensor Dashboards?
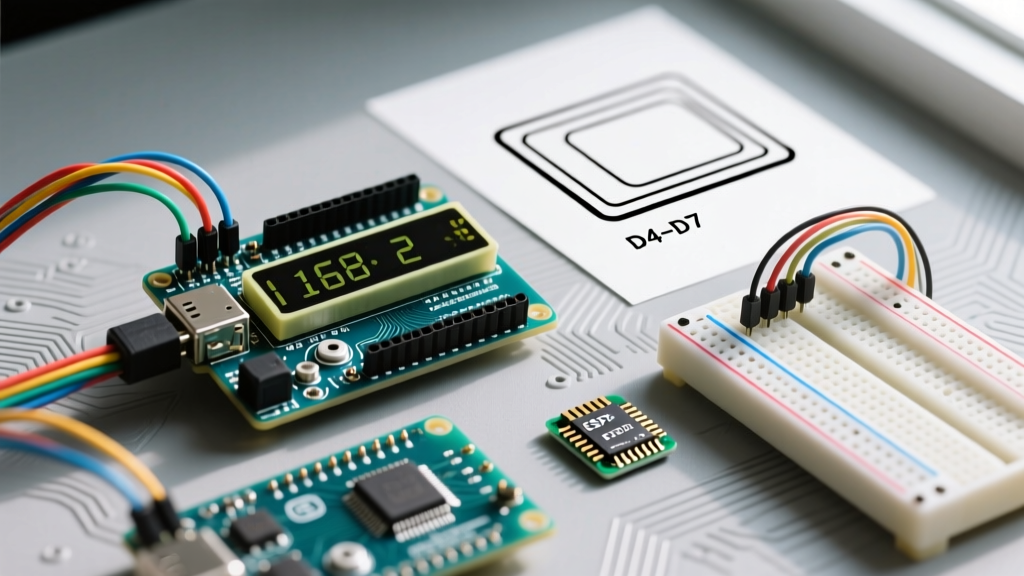
When building environmental monitors or IoT sensor dashboards, microcontroller pin real estate is a precious commodity. The classic Hitachi HD44780-based 16x2 or 20x4 LCDs are ubiquitous, but wiring them in standard 4-bit parallel mode consumes six digital pins. When you are simultaneously integrating a BME280 environmental sensor, a PIR motion detector, and a relay module, those pins vanish quickly.
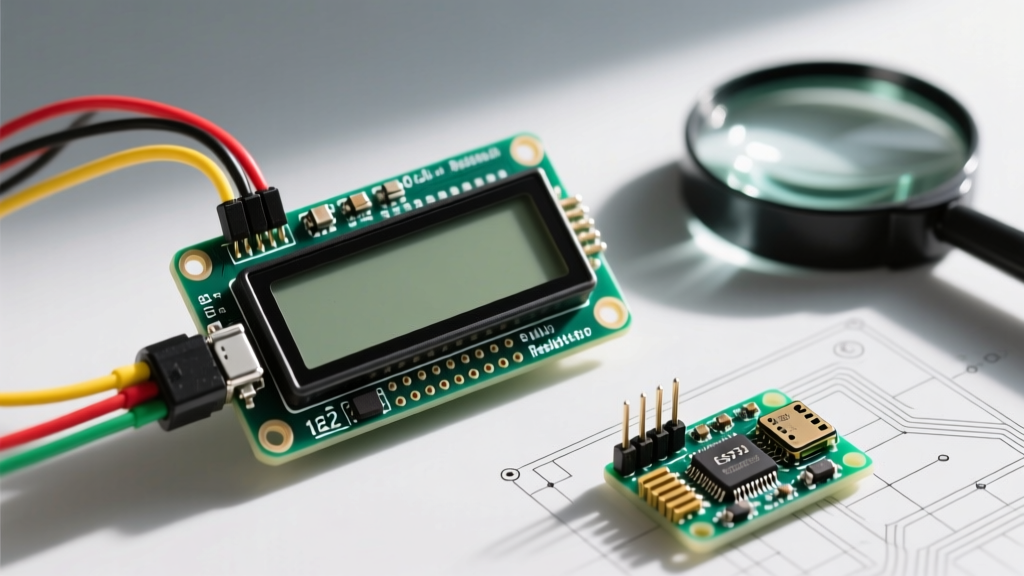
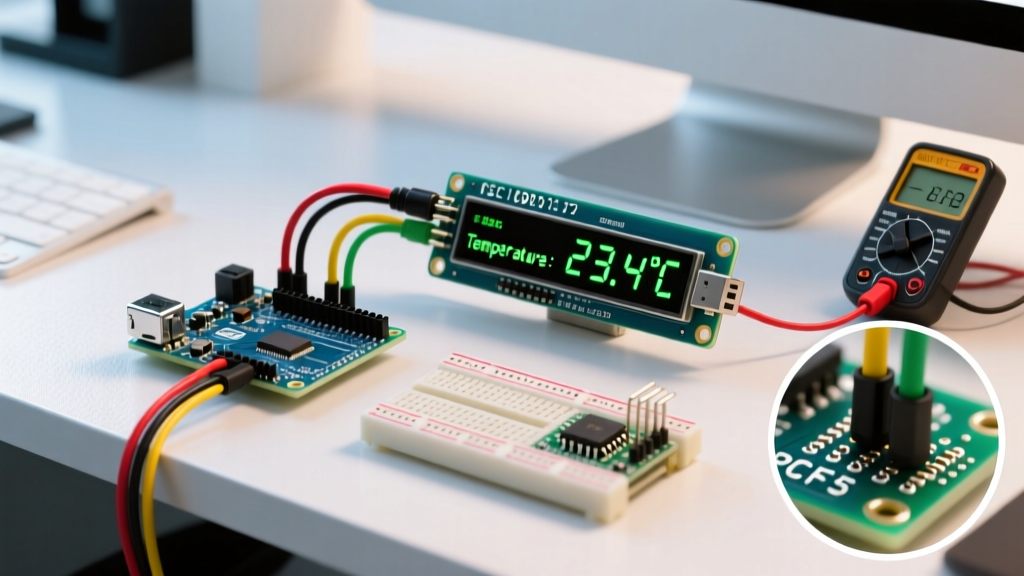
Enter the I2C LCD Arduino integration. By utilizing an I2C serial interface backpack (typically based on the PCF8574 I/O expander), you reduce the LCD connection to just four wires: VCC, GND, SDA, and SCL. This frees up your Arduino Uno R4 or Nano ESP32 to handle multiple sensors on the same I2C bus, streamlining your physical wiring and reducing breadboard clutter.
Hardware BOM: Selecting the Right I2C Backpack
Not all I2C LCD backpacks are created equal. The market is flooded with generic clones, and understanding the underlying IC is critical for avoiding address conflicts and logic-level issues. Below is a breakdown of standard components and their approximate 2026 maker-market pricing.
| Component | Model / Specification | Avg. Price (2026) | Notes |
|---|---|---|---|
| Microcontroller | Arduino Uno R4 Minima | $27.50 | 5V logic, native I2C pull-ups on some shields. |
| LCD Panel | Standard HD44780 16x2 (5V) | $4.50 - $8.00 | Ensure LED backlight pins are standard. |
| I2C Backpack | PCF8574T-based Module | $2.00 - $4.00 | Default I2C address usually 0x27. |
| I2C Backpack | PCF8574AT-based Module | $2.00 - $4.00 | Default I2C address usually 0x3F. |
| Pull-up Resistors | 4.7kΩ (1/4W Carbon Film) | $0.10 / pair | Mandatory for long wire runs or 3.3V MCUs. |
Pinout and Physical Wiring Guide
Wiring an I2C LCD Arduino setup is straightforward, but misidentifying the SDA and SCL pins on older or clone boards is a common pitfall. Below is the definitive wiring matrix for the most popular Arduino form factors.
Step-by-Step Connections
- VCC: Connect to the Arduino 5V pin. The LCD backlight and the PCF8574 IC require 5V for optimal contrast and brightness. Do not power standard 5V LCDs from the 3.3V pin.
- GND: Connect to any Arduino GND pin. Ensure a solid common ground to prevent floating logic states.
- SDA (Serial Data): Connect to the Arduino SDA pin. On the Uno R3, this is A4. On the Uno R4 and Nano ESP32, use the dedicated SDA header pins.
- SCL (Serial Clock): Connect to the Arduino SCL pin. On the Uno R3, this is A5. On newer boards, use the dedicated SCL header.
Expert Insight: If your I2C wire run exceeds 30cm, the parasitic capacitance of the wires will degrade the square-wave clock signal, resulting in ghosting characters or total bus lockups. Solder 4.7kΩ pull-up resistors between the SDA/SCL lines and the 5V VCC line to sharpen the signal rise times, adhering to the NXP I2C Bus Specification for standard-mode capacitance limits (400pF).
The Address Collision Problem: 0x27 vs 0x3F
The most frequent point of failure in I2C LCD Arduino tutorials is the hardcoded I2C address. Most copy-paste code snippets assume the address is 0x27. However, depending on the specific I/O expander IC on your backpack, the address might actually be 0x3F.
Understanding the PCF8574 Variants
The standard PCF8574T (originally by Texas Instruments/NXP) has a base address of 0x20. With the A0, A1, and A2 address pins pulled high via onboard resistors, the address becomes 0x27. Conversely, the PCF8574AT variant has a different base address mapping, resulting in a default address of 0x3F when the pins are high. You can verify your exact hardware by consulting the TI PCF8574 Datasheet.
Using the I2C Scanner Sketch
Never guess your address. Before writing your display logic, upload the standard 'I2C Scanner' sketch via the Arduino IDE examples menu. Open the Serial Monitor at 9600 baud. The scanner will sweep the bus and output the exact hexadecimal address of your connected LCD and any other sensors sharing the line.
Integrating Sensor Data: Non-Blocking Display Updates
When displaying live sensor data (e.g., from a DHT22 or BME280), beginners often use delay() to pace the LCD updates. This is a critical error in embedded systems. The lcd.clear() function alone takes roughly 2-5 milliseconds to execute, and a DHT22 sensor requires a 2-second blocking delay between reads. If you block the main loop, you cannot poll buttons, monitor PIR interrupts, or manage WiFi stacks.
The State-Machine Approach
Use the LiquidCrystal_I2C library (maintained by Frank de Brabander) alongside a millis()-based timing structure. Initialize your display using the Arduino Wire Library parameters.
#include <Wire.h>
#include <LiquidCrystal_I2C.h>

// Initialize with exact address found via scanner (e.g., 0x27), 16 columns, 2 rows
LiquidCrystal_I2C lcd(0x27, 16, 2);

unsigned long lastUpdate = 0;
const long updateInterval = 2000; // 2 seconds

void setup() {
  lcd.init();
  lcd.backlight();
  lcd.print('System Ready');
}

void loop() {
  unsigned long currentMillis = millis();
  if (currentMillis - lastUpdate >= updateInterval) {
    lastUpdate = currentMillis;
    // Read sensor here (non-blocking sensor libraries recommended)
    float temp = 23.5; // Placeholder for sensor read

    lcd.setCursor(0, 0);
    lcd.print('Temp: ');
    lcd.print(temp);
    lcd.print(' C   '); // Padding to overwrite old digits
  }
}
Notice the use of trailing spaces (' C '). Calling lcd.clear() inside the loop causes a visible, annoying flicker. Overwriting the exact character positions with padded strings is the professional standard for embedded UI design.
Custom Characters for Sensor Icons
The HD44780 controller lacks native degree symbols or humidity drop icons in its standard ROM map. To elevate your sensor dashboard, define custom 5x8 pixel bitmaps. Store these in the Arduino's PROGMEM to save precious SRAM, especially on ATmega328P-based boards which only have 2KB of SRAM.
- Degree Symbol: Map the top 3x3 grid to create a clean circle.
- Humidity Drop: Use a teardrop shape for BME280 relative humidity readouts.
- Warning Triangle: Trigger this custom character if a sensor exceeds predefined safety thresholds (e.g., >80°C for a 3D printer hotend).
Advanced Troubleshooting & Edge Cases
Even with perfect wiring, I2C LCDs can exhibit bizarre behaviors. Here is how to diagnose the most common edge cases:
1. The 'White Blocks' or 'Blank Screen' Issue
If the backlight is on but you only see solid white blocks on the top row, or nothing at all, your I2C communication is failing, or the contrast is misconfigured. Locate the small blue trimpot on the back of the PCF8574 backpack. Use a small Phillips screwdriver to turn it counter-clockwise until the characters become sharply visible against the background.
2. ESP32 / 3.3V Logic Level Clashes
If you are migrating from a 5V Arduino Uno to a 3.3V ESP32 or Arduino Nano ESP32, you face a logic-level mismatch. The PCF8574 IC can technically read 3.3V I2C signals as HIGH, but the LCD panel itself requires 5V for the logic and backlight. Do not feed 5V into the ESP32's SDA/SCL pins. Power the LCD VCC with 5V, but route the SDA/SCL lines through a bi-directional logic level shifter (like the BSS138 MOSFET-based shifters) to protect your 3.3V microcontroller from back-voltage.
3. I2C Bus Contention with Multiple Sensors
When sharing the bus with a high-speed sensor like an MPU6050 accelerometer, the LCD's relatively slow I2C clock stretching can cause the sensor to drop packets. Ensure your I2C clock speed is explicitly set to standard mode (100kHz) in your setup function using Wire.setClock(100000); to maintain bus stability across disparate peripheral speeds.
Summary
Mastering the I2C LCD Arduino integration is a foundational skill for any embedded systems engineer or DIY sensor enthusiast. By moving away from parallel wiring, correctly identifying your PCF8574 variant's I2C address, and implementing non-blocking display updates, you transform a basic text screen into a robust, real-time sensor dashboard. Always respect bus capacitance limits, manage your logic levels when crossing the 3.3V/5V boundary, and overwrite text instead of clearing the screen to achieve a flicker-free user interface.