
Beyond the Copy-Paste: Reading the BH1750FVI Datasheet
When most makers search for an arduino light sensor example, they are handed a bloated, 500-line GitHub library that abstracts away the actual hardware. While convenient, this approach fails when you need to measure extreme low-light conditions in a greenhouse or handle 50Hz mains flicker in an industrial setting. In this datasheet explainer, we bypass the abstraction layers and build an advanced Arduino light sensor example directly from the ROHM BH1750FVI datasheet.
Inside the BH1750FVI: Spectral Response and I2C Architecture
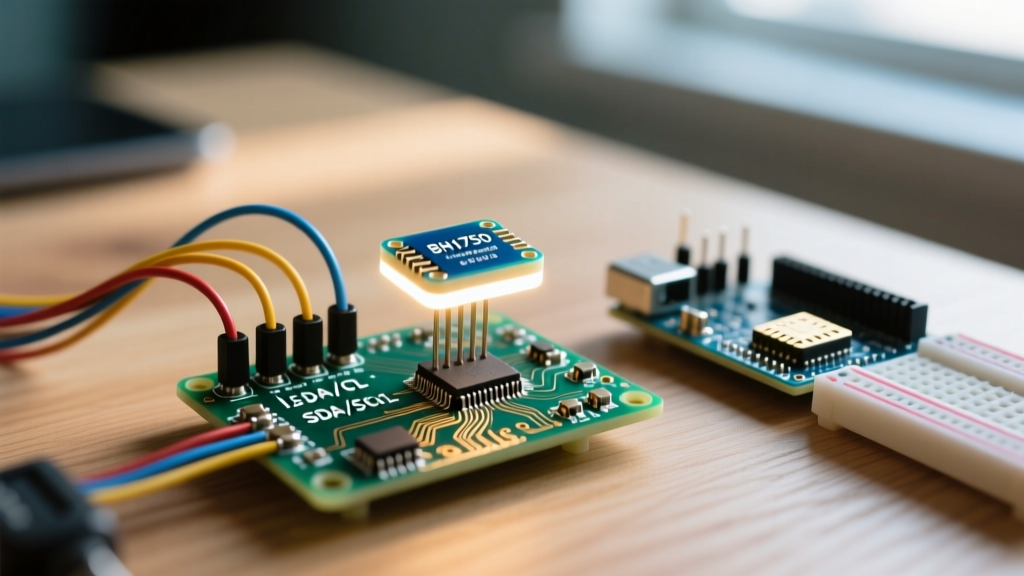
The BH1750FVI is not a simple photoresistor. It is a digital ambient light sensor IC that integrates a photodiode, an operational amplifier, an ADC, and an I2C interface into a single 3.0 x 1.6 mm package. Crucially, its spectral response peaks between 500nm and 600nm, closely approximating the human eye's photopic vision curve. This means it inherently rejects infrared (IR) and ultraviolet (UV) light, providing accurate lux readings without the need for external IR-blocking filters.
The I2C Address Pin (ADDR)
According to the datasheet, the sensor supports two distinct I2C addresses based on the ADDR pin state:
- ADDR = LOW (GND): 0x23 (Default on most breakout boards)
- ADDR = HIGH (VCC): 0x5C (Useful for daisy-chaining two sensors)
Decoding the Measurement Modes (Datasheet Table 4)
The most common mistake in a standard Arduino light sensor example is locking the sensor into the default high-resolution mode without understanding the timing trade-offs. The BH1750FVI offers three primary continuous measurement modes. Choosing the right one depends entirely on your application's lux range and latency tolerance.
| Mode | Command (Hex) | Resolution | Measurement Time | Max Lux Range |
|---|---|---|---|---|
| Continuously H-Resolution | 0x10 | 1 lx | 120 ms | 54,612 lx |
| Continuously H-Resolution2 | 0x11 | 0.5 lx | 120 ms | 27,306 lx |
| Continuously L-Resolution | 0x13 | 4 lx | 16 ms | 54,612 lx |
Expert Insight: If you are tracking rapid cloud cover changes or building a high-speed datalogger, the 120ms integration time of H-Resolution might introduce unacceptable latency. Switching to L-Resolution (0x13) drops the integration time to 16ms, allowing for a 60Hz sampling rate, albeit at the cost of granularity.
The Secret Weapon: Adjusting the Measurement Time (MT) Register
Page 5 of the ROHM datasheet reveals a powerful feature rarely covered in basic tutorials: the Measurement Time (MT) register. By default, the MT value is set to 69. However, you can adjust this value from 31 to 254 to shift the sensor's dynamic range.
Datasheet Formula:
Measurement Time = 69 × (Register Value / 69)
Adjusted Lux = Raw Data / (Resolution Factor × (MTreg / 69))
Why does this matter? If you place the sensor behind a dark tinted window or inside a smoked enclosure, the default MTreg of 69 might result in perpetual 0 lx readings. By increasing the MTreg to 138, you double the integration time, effectively doubling the sensor's sensitivity to low light. Conversely, lowering it to 31 prevents sensor saturation in direct, unfiltered sunlight.
Bitwise Breakdown for MTreg Commands
To change the MTreg to 138, you cannot simply send the number 138 over I2C. The datasheet dictates splitting the value across two command bytes using bitwise operations:
- High Byte:
0x40 | (MTreg >> 5) - Low Byte:
0x60 | (MTreg & 0x1F)
For MTreg = 138 (Binary: 10001010):
High Byte: 0x40 | (138 >> 5) = 0x40 | 4 = 0x44
Low Byte: 0x60 | (138 & 31) = 0x60 | 10 = 0x6A
The Ultimate Raw I2C Arduino Light Sensor Example
Below is a highly optimized, dependency-free Arduino sketch. It utilizes the native Arduino Wire Library Reference to configure the MTreg for extreme low-light sensitivity and reads the raw data without external libraries.
#include <Wire.h>

#define BH1750_ADDRESS 0x23
byte highByte = 0x44; // MTreg 138 High Byte
byte lowByte = 0x6A;  // MTreg 138 Low Byte

void setup() {
  Serial.begin(115200);
  Wire.begin();

  // Power On
  Wire.beginTransmission(BH1750_ADDRESS);
  Wire.write(0x01);
  Wire.endTransmission();

  // Set MTreg High Byte
  Wire.beginTransmission(BH1750_ADDRESS);
  Wire.write(highByte);
  Wire.endTransmission();

  // Set MTreg Low Byte
  Wire.beginTransmission(BH1750_ADDRESS);
  Wire.write(lowByte);
  Wire.endTransmission();

  // Set Continuously H-Resolution Mode
  Wire.beginTransmission(BH1750_ADDRESS);
  Wire.write(0x10);
  Wire.endTransmission();
}

void loop() {
  Wire.requestFrom(BH1750_ADDRESS, 2);
  if(Wire.available() == 2) {
    uint16_t raw = (Wire.read() << 8) | Wire.read();
    // Adjusted for MTreg 138 (Factor = 138/69 = 2.0)
    float lux = raw / (1.2 * 2.0);
    Serial.print("Lux: "); Serial.println(lux);
  }
  delay(250); // Wait for 120ms integration + overhead
}
Hardware Edge Cases: Pull-ups, Capacitance, and Mains Flicker
When deploying this Arduino light sensor example in the field, software is only half the battle. The physical I2C bus design must adhere to the specifications outlined in the NXP I2C-bus Specification and User Manual.
- Pull-up Resistor Sizing: The BH1750FVI datasheet notes a maximum bus capacitance of 400pF. If you are running long wires (over 30cm) to the sensor, the capacitance increases. Drop your I2C pull-up resistors from the standard 4.7kΩ to 2.2kΩ to sharpen the rising edges of the SCL/SDA signals.
- 50Hz/60Hz Flicker Rejection: Fluorescent and LED drivers pulse at twice the mains frequency (100Hz or 120Hz). The 120ms integration time of the H-Resolution mode naturally averages out these pulses. If you drop to a custom MTreg that results in an integration time of exactly 10ms, your readings will fluctuate wildly due to aliasing with the AC mains cycle.
Sourcing Genuine ROHM Sensors in 2026
As of 2026, the maker market is saturated with "GY-302" breakout boards. While genuine ROHM Semiconductor Ambient Light Sensor ICs cost between $3.50 and $4.50 on authorized distributors like DigiKey or Mouser, clone boards can be found for $1.20. The danger with ultra-cheap clones is the use of undocumented substitute ICs that mimic the BH1750's basic I2C handshake but crash or return garbage data when the MTreg is pushed past 100. Always inspect the IC under a loupe for the precise ROHM logo and "BH1750FVI" laser etching before deploying in critical agricultural or industrial lighting arrays.
FAQ: Common Datasheet Misinterpretations
Why does my sensor constantly read 54612 lux?
This is the hardcoded maximum limit of the sensor's ADC in standard H-Resolution mode. If you see this value, the sensor is saturated. You must lower the MTreg (e.g., to 31) or apply a physical neutral density (ND) filter to the sensor aperture.
Can I use the BH1750FVI to measure UV Index?
No. The datasheet's spectral response graph shows near-zero sensitivity below 400nm. For UV monitoring, you need a dedicated sensor like the VEML6075, which features specific UVA and UVB photodiodes.
Does the sensor consume power when not measuring?
Yes, unless you explicitly send the Power Down command (0x00). In standby, the datasheet specifies a current draw of just 1.0 µA, making it ideal for battery-operated ESP32 deep-sleep nodes.