
The Reality of Low-Cost Sensor Accuracy
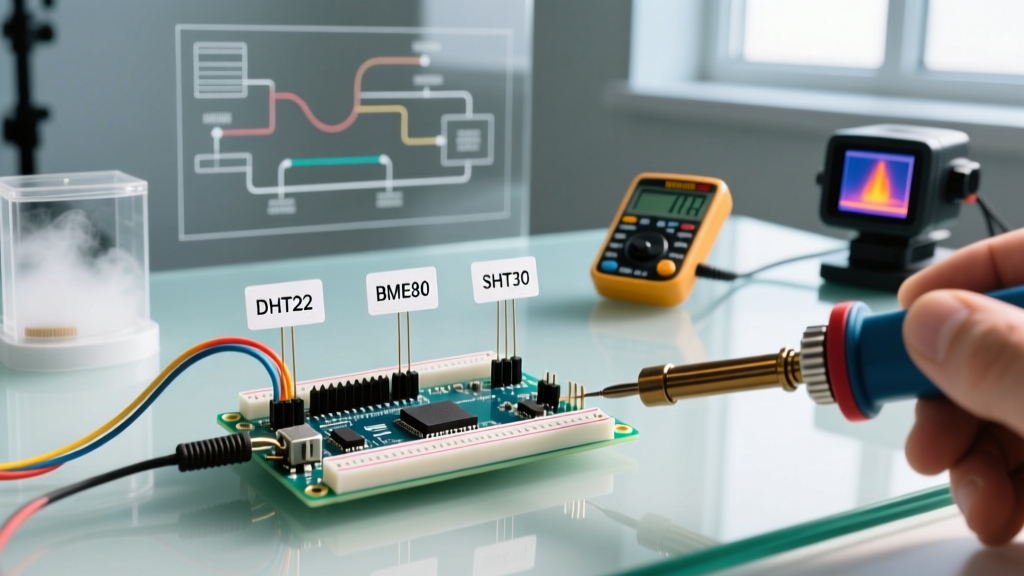
When integrating a temp humidity sensor Arduino setup into environmental monitoring projects, relying on factory defaults is a common pitfall. While consumer-grade sensors are remarkably capable out of the box, environmental stressors, soldering heat exposure, and long-term polymer degradation introduce measurable drift. By 2026, the market has stabilized around three dominant architectures for hobbyist and prosumer microclimate tracking: the capacitive DHT22 (AM2302), the piezoresistive Bosch BME280, and the advanced Sensirion SHT31. Understanding how to calibrate these specific models transforms a $5 DIY project into a lab-grade data logger.
According to the NIST Calibration Guidelines, relative humidity (RH) sensors utilizing polymer dielectric layers can drift by 1% to 3% annually. If you are building a greenhouse automation system, a cigar humidor monitor, or a server room alert system, an uncalibrated sensor reading 60% RH when the actual environment is 52% can trigger unnecessary HVAC cycles or ruin sensitive inventory. This guide provides a rigorous, field-tested methodology for calibrating your Arduino-based sensors using both hardware protocols and software compensation.
Sensor Hardware Comparison Matrix
Before applying calibration offsets, you must understand the physical limitations of your chosen hardware. The table below breaks down the real-world specifications and 2026 market pricing for the most common modules.
| Sensor Model | Interface | Temp Accuracy | RH Accuracy | Avg Price (2026) | Best Use Case |
|---|---|---|---|---|---|
| DHT22 (AM2302) | 1-Wire | ±0.5°C | ±2% to ±5% | $3.50 - $5.00 | Basic indoor logging |
| Bosch BME280 | I2C / SPI | ±0.5°C | ±3% | $6.00 - $9.00 | Weather stations, drones |
| Sensirion SHT31 | I2C | ±0.2°C | ±2% | $12.00 - $15.00 | Lab environments, incubators |
While the DHT22 is the most popular entry-level temp humidity sensor Arduino enthusiasts buy, its 1-Wire protocol is notoriously timing-sensitive, and its internal NTC thermistor is highly susceptible to self-heating from the module's onboard voltage regulator. For precision work, the BME280 or SHT31 is strongly recommended.
The Saturated Salt Calibration Protocol (Hardware)
To calibrate the relative humidity reading, you need a known reference point. The most accessible and scientifically valid method for DIY engineers is the Saturated Salt Solution Test. Different salts create specific equilibrium relative humidity (ERH) levels in a sealed environment. Sodium Chloride (standard table salt) is the industry standard for generating a 75.3% RH reference point at 25°C.
Step-by-Step Salt Test Procedure
- Prepare the Solution: Mix 40 grams of pure Sodium Chloride (NaCl) with roughly 15ml of distilled water in a small plastic bottle cap. The goal is a wet slurry, not a dissolved liquid. There must be undissolved salt crystals visible at the bottom.
- Seal the Environment: Place the salt cap and your sensor (e.g., BME280 mounted on a breadboard) inside an airtight plastic Tupperware container. Ensure the sensor is not touching the salt slurry.
- Stabilize Temperature: Place the container in a room with a stable ambient temperature of exactly 25°C (77°F). Temperature fluctuations will invalidate the 75.3% RH reference.
- Wait for Equilibrium: Leave the container sealed for 12 to 16 hours. The air inside will slowly reach exactly 75.3% RH.
- Record the Offset: Read the Arduino Serial Monitor. If your BME280 reads 71.3% RH, your sensor has a negative drift of -4.0%. You will need to add +4.0 to all future readings.
Expert Warning: Do not use iodized table salt. The iodine and anti-caking agents (like calcium silicate) alter the vapor pressure and will skew your reference point by up to 1.5%. Use pure, non-iodized canning or pickling salt.
Eliminating Thermal Drift and Self-Heating
Humidity calibration is useless if your temperature readings are skewed by self-heating. The Sensirion SHT31 datasheet and application notes explicitly warn about thermal coupling when sensors are mounted directly to a breadboard or enclosed in a 3D-printed case.
The BME280 Oversampling Trap
A massive failure mode in temp humidity sensor Arduino projects involves the BME280's default operating mode. When initialized via the standard Adafruit library, the sensor defaults to NORMAL_MODE with continuous oversampling. This keeps the internal ADC and I2C bus active, drawing roughly 1mA of continuous current. In a poorly ventilated enclosure, this raises the local ambient temperature around the sensor by 0.8°C to 1.2°C, which artificially tanks the RH reading.
The Fix: Force the sensor into FORCED_MODE. In this mode, the BME280 takes a single reading and immediately enters deep sleep (drawing <1µA), completely eliminating self-heating.
bme.setSampling(Adafruit_BME280::MODE_FORCED,
                Adafruit_BME280::SAMPLING_X1, // Temp
                Adafruit_BME280::SAMPLING_X1, // Pressure
                Adafruit_BME280::SAMPLING_X1, // Humidity
                Adafruit_BME280::FILTER_OFF   // Turn off IIR filter for instant reads
                );
Implementing Arduino Software Offsets
Once you have determined your hardware offset via the salt test, you must apply it in your firmware. For a simple single-point calibration, a flat float addition is sufficient. However, if you have access to a climate-controlled chamber or a high-end reference meter, a two-point linear regression provides vastly superior accuracy across the entire 0-100% RH spectrum.
Single-Point Offset Code
const float RH_OFFSET = 4.0; // Derived from 75.3% Salt Test
float rawRH = bme.readHumidity();
float calibratedRH = rawRH + RH_OFFSET;

// Clamp values to physical limits
if(calibratedRH > 100.0) calibratedRH = 100.0;
if(calibratedRH < 0.0) calibratedRH = 0.0;
Two-Point Linear Calibration
If your sensor reads 32% at a known 30% RH environment, and 82% at a known 80% RH environment, use the Arduino map() function (adapted for floats) to stretch the curve:
float mapFloat(float x, float in_min, float in_max, float out_min, float out_max) {
  return (x - in_min) * (out_max - out_min) / (in_max - in_min) + out_min;
}

float rawRH = bme.readHumidity();
float calibratedRH = mapFloat(rawRH, 32.0, 82.0, 30.0, 80.0);
I2C Bus Capacitance and Wiring Edge Cases
When wiring I2C-based sensors like the BME280 or SHT31 to an Arduino Uno or ESP32, signal integrity directly impacts data accuracy. Intermittent NaN (Not a Number) returns or frozen readings are rarely sensor failures; they are almost always I2C bus capacitance issues.
According to the Arduino Wire Library Documentation, the I2C protocol requires pull-up resistors on the SDA and SCL lines. While many cheap breakout boards include 10kΩ pull-ups, 10kΩ is often too weak for long wire runs or when multiple sensors share the same bus, leading to slow rise times and corrupted data packets.
- Wire Length: Keep I2C traces under 30cm (12 inches). If you must run a sensor 2 meters away to the outside of a greenhouse, switch to the RS485 protocol or use an I2C bus extender like the PCA9615.
- Pull-Up Resistors: If using multiple sensors, the parallel resistance drops. Add external 4.7kΩ pull-up resistors to the 3.3V rail (not 5V, to avoid frying the BME280's logic pins) to ensure crisp square-wave signal edges.
- Decoupling Capacitors: Solder a 100nF (0.1µF) ceramic capacitor as close to the VCC and GND pins of the sensor module as physically possible. This filters out high-frequency noise from the Arduino's switching voltage regulators, which can cause micro-fluctuations in the sensor's internal ADC.
Frequently Asked Questions
How often should I recalibrate my DHT22 or BME280?
For indoor, climate-controlled environments, an annual calibration check using the salt test is sufficient. If the sensor is deployed outdoors, exposed to high pollution, or subjected to condensation (100% RH cycles), the polymer filter membrane can become contaminated. In these harsh environments, recalibrate every 3 to 6 months, or upgrade to a Sensirion SHT31 with a replaceable PTFE membrane.
Can I calibrate the temperature reading using an ice bath?
Yes. An ice bath made with crushed ice and distilled water provides a highly stable 0.0°C reference point. Submerge the sensor's probe (ensuring the electronic module and I2C pins remain completely dry and sealed in a waterproof bag) for 15 minutes. Record the offset and apply it in your firmware. Note that this only calibrates the 0°C point; for high-temperature applications, a boiling water test (adjusted for your local barometric pressure) is required for a second calibration point.