
The Stepper Motor Challenge: Why Standard H-Bridges Fail
When makers and engineers begin designing CNC plotters, 3D printer extruders, or precision camera sliders, the arduino motor shield stepper motor combination is often the first search query they type. However, pairing a high-torque bipolar stepper motor (like the ubiquitous NEMA 17) with the wrong shield is a fast track to missed steps, melted wiring, and fried logic gates.
The core misunderstanding lies in how stepper motors draw current. Unlike DC brushed motors, low-impedance stepper motors have extremely low coil resistance—often between 1.0Ω and 2.5Ω. If you apply 12V directly to a 1.5Ω coil without active current limiting, Ohm's Law (I = V/R) dictates a massive 8A current draw. This will instantly overheat the motor windings and destroy standard silicon H-bridges. To solve this, modern setups use chopper drivers that rapidly pulse the voltage (PWM) to maintain a strict current ceiling.
In this 2026 component comparison, we evaluate the most popular Arduino-compatible motor shields to determine which architecture actually delivers precision, thermal stability, and microstepping capabilities.
Head-to-Head: Top Contender Matrix
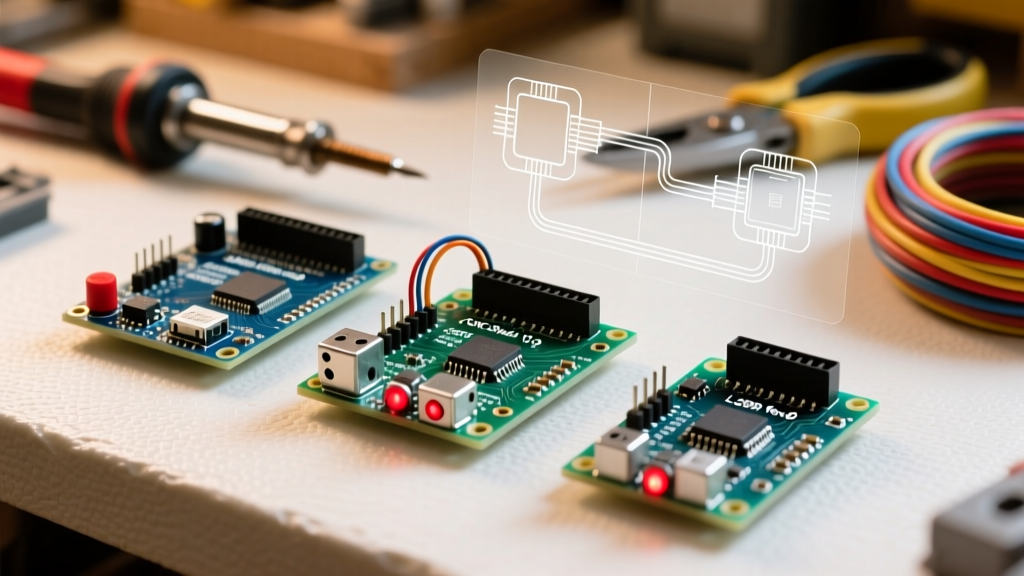
Below is a technical breakdown of the three dominant boards used for stepper control in the Arduino ecosystem. Pricing reflects average market rates as of early 2026, following the stabilization of global semiconductor supply chains.
| Shield / Board | Driver IC | Max Current / Phase | Microstepping | Approx. Price (2026) | Best Use Case |
|---|---|---|---|---|---|
| Arduino Motor Shield Rev3 | L298P (BJT H-Bridge) | 2.0A (Thermally limited) | None (Full step only) | $55 (Official) / $15 (Clone) | High-impedance DC motors, basic prototyping |
| Adafruit Motor Shield V2 | PCA9685 + Discrete MOSFETs | 1.2A per channel | Software-based (MCU heavy) | $24.95 | Multi-motor robotics, mixed DC/Stepper setups |
| CNC Shield V3 + DRV8825 | DRV8825 (Chopper) | 2.2A (with active cooling) | Hardware (up to 1/32) | $14 (Board + 4 Drivers) | CNC routers, 3D printers, precision linear actuators |
Contender 1: Arduino Motor Shield Rev3 (The L298P Trap)
The official Arduino Motor Shield Rev3 is a beautifully engineered board for its intended purpose: driving DC motors and relays. However, it is notoriously ill-suited for modern low-voltage NEMA 17 stepper motors.
The Thermal Throttling Edge Case
The Rev3 relies on the STMicroelectronics L298P dual full-bridge driver. Because it uses Bipolar Junction Transistors (BJTs) rather than MOSFETs, it suffers from a notorious 2.0V to 2.5V internal voltage drop. If you supply 5V to the shield, your stepper motor only receives ~2.8V. Furthermore, the L298P dissipates the remaining energy as heat. According to RepRap community hardware documentation, pushing the L298P beyond 1.0A per phase without an aggressive aftermarket heatsink and forced air cooling will trigger the IC's internal thermal shutdown, causing your stepper to stall mid-print or mid-cut.
Expert Warning: Never use the Rev3 for stepper motors rated below 4V or above 1A per phase. The voltage drop will starve the motor of torque, resulting in severe low-speed resonance and missed steps.
Contender 2: Adafruit Motor Shield V2 (The Prototyper's Choice)
Adafruit completely redesigned their V2 shield, ditching the L293D in favor of an NXP PCA9685 I2C PWM controller paired with discrete N-channel MOSFETs. This eliminates the massive voltage drop seen in the Rev3.
Where the V2 Shines and Where it Falters
For high-impedance stepper motors (e.g., 12V, 0.4A per phase), the Adafruit Motor Shield V2 is a phenomenal choice. The I2C offloading means your Arduino's CPU is free to handle sensor fusion or wireless communication. However, the V2 lacks dedicated hardware current-limiting chopper circuits. To prevent overcurrent on low-impedance motors, the Adafruit library uses software-based PWM to simulate current limiting. While functional, this prevents true microstepping and generates audible high-frequency whining from the motor coils.
Contender 3: CNC Shield V3 + DRV8825 (The Precision Winner)
While technically designed for GRBL-based CNC routing rather than stacking directly as a traditional 'shield', the CNC Shield V3 mapped to an Arduino Uno is the undisputed champion for arduino motor shield stepper motor integrations requiring precision.
Hardware Chopping and Microstepping
By utilizing Texas Instruments DRV8825 stepper driver ICs, this setup utilizes a hardware decay-mode chopper circuit. You can supply the board with 12V to 24V, allowing the current to ramp up quickly through the coils (overcoming inductance), while the DRV8825 chops the PWM to maintain a safe, user-defined current limit. This yields massive high-speed torque and enables hardware microstepping up to 1/32 of a full step, resulting in buttery-smooth motion and eliminated low-speed resonance.
Critical Configuration: Calculating VREF for the DRV8825
The most common failure mode when using the CNC Shield V3 is failing to tune the VREF potentiometer on the DRV8825 carrier board. If you skip this, the driver will either overheat or supply insufficient current, causing skipped steps.
The VREF Tuning Formula
- Identify your motor's rated current (Imax): Check the datasheet (e.g., 1.5A for a standard 42BYGH NEMA 17).
- Locate the Sense Resistor (Rsense): On most modern DRV8825 carrier boards, this is 0.100Ω (marked 'R100').
- Apply the formula:
VREF = Imax × 8 × Rsense
Example Calculation: For a 1.5A motor with a 0.100Ω sense resistor:
VREF = 1.5 × 8 × 0.100 = 1.2V
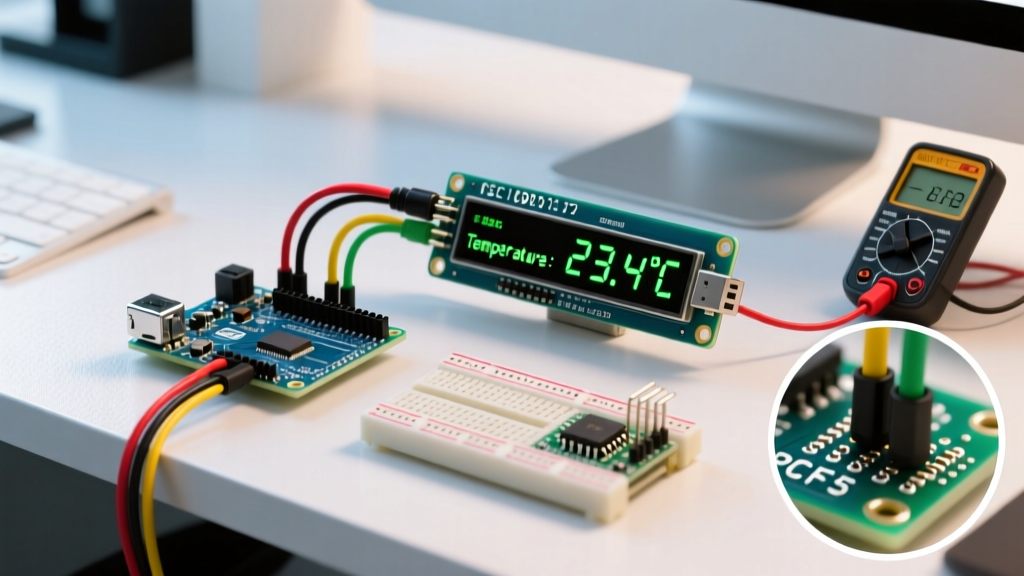
Using a digital multimeter, place the positive probe on the metal top of the potentiometer and the negative probe to the system ground. Turn the potentiometer with a ceramic screwdriver until you read exactly 1.2V.
Wiring Bipolar Steppers: Identifying the Coils
Standard NEMA 17 steppers have 4 wires (usually two pairs). If you wire Coil A and Coil B out of sequence, the motor will stutter, vibrate violently, and refuse to rotate. If you don't have the manufacturer's color-code datasheet, use this foolproof multimeter trick:
- Set your multimeter to continuity or resistance (Ω) mode.
- Test pairs of wires. When you find two wires that show a low resistance reading (typically 1.0Ω to 3.0Ω), you have found Coil A.
- The remaining two wires inherently make up Coil B.
- Insert Coil A into the '1A' and '1B' terminals on your shield, and Coil B into '2A' and '2B'. If the motor spins in the wrong direction, simply reverse the polarity of Coil A (swap 1A and 1B).
Final Verdict: Matching the Shield to Your Stepper
Choosing the right board depends entirely on your motor's impedance and your project's precision requirements:
- Choose the Arduino Rev3 ONLY if you are driving high-voltage, high-impedance stepper motors (e.g., 12V, 0.3A) for simple, low-torque educational demonstrations.
- Choose the Adafruit V2 if you are building a mixed-signal robot that requires both DC brushed motors and small stepper motors, and you want to minimize wiring complexity via I2C.
- Choose the CNC Shield V3 + DRV8825 for 95% of maker projects. If you are building a 3D printer, a camera slider, a robotic arm, or a CNC plotter using standard NEMA 17 or NEMA 23 motors, the hardware microstepping and active current limiting are non-negotiable for success.
Frequently Asked Questions
Can I power the Arduino and the stepper motors from the same 12V source?
Yes, but with caveats. The CNC Shield V3 has a jumper to route 12V to the Arduino's VIN pin. However, stepper motors generate massive back-EMF voltage spikes when decelerating. You must install a large electrolytic capacitor (100µF to 470µF, rated for at least 25V) across the main power terminals of the shield to protect the Arduino's onboard voltage regulator from frying.
Why is my stepper motor getting too hot to touch?
Stepper motors are designed to run hot; a surface temperature of 60°C to 80°C (140°F to 176°F) is normal when holding position at rated current. If it smells like burning plastic or exceeds 90°C, your VREF is tuned too high, or you are using a driver without active current decay management.
Do I need a heatsink on the DRV8825?
If your stepper motor is rated for less than 1.0A per phase, the bare DRV8825 IC can dissipate the heat adequately in open air. For motors drawing 1.2A to 2.0A, a stick-on aluminum heatsink and a small 40mm cooling fan directed at the driver bank are mandatory to prevent thermal rollback.