
The Evolution of LCD Liquid Crystal Display Arduino Integration
Interfacing an LCD liquid crystal display Arduino project remains a foundational skill in embedded systems. Despite the rise of OLEDs and TFTs, the classic Hitachi HD44780-based character LCD persists in 2026 due to its extreme readability in direct sunlight, low power consumption (typically 20mA for the backlight), and ruggedness in industrial environments. However, the software landscape driving these displays has shifted dramatically. What used to be a simple parallel wiring exercise has evolved into a complex ecosystem of I2C backpacks, clone silicon, and modern object-oriented driver libraries.
This guide cuts through the outdated tutorials. We will dissect the hardware interfaces, evaluate the current library ecosystem, and provide actionable troubleshooting frameworks for the most common failure modes encountered when deploying character LCDs in modern microcontroller projects.
Parallel vs. I2C: Choosing the Right Hardware Interface
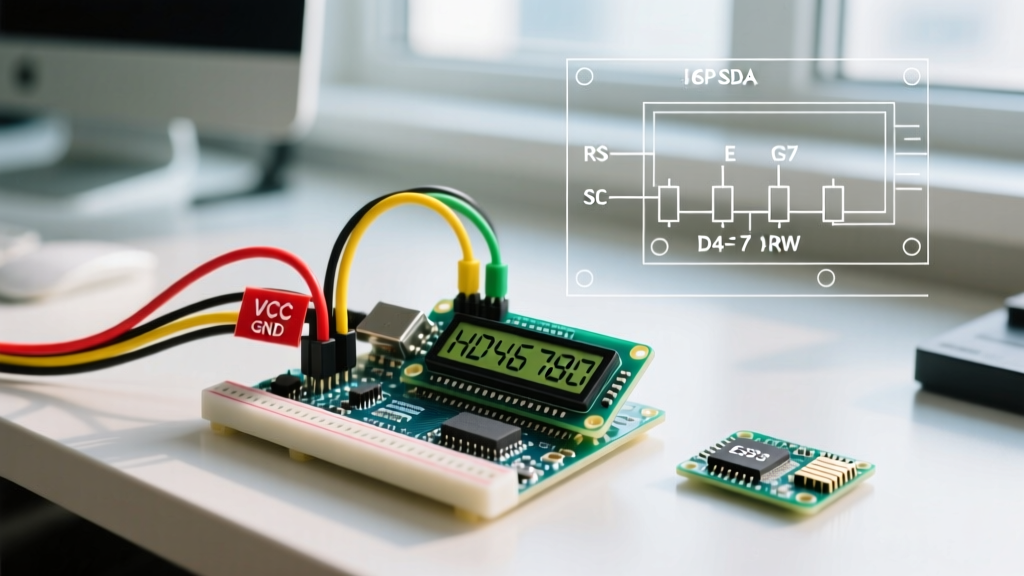
The HD44780 controller natively supports a 4-bit or 8-bit parallel bus. To save GPIO pins, the industry adopted I2C backpacks utilizing the NXP PCF8574 or PCF8574A I/O expanders. Below is a technical comparison to help you select the right module for your bill of materials (BOM).
| Feature | 4-Bit Parallel (Direct) | I2C Backpack (PCF8574) |
|---|---|---|
| GPIO Pins Required | 6 (RS, EN, D4, D5, D6, D7) | 2 (SDA, SCL) |
| Bus Speed Limit | Limited by MCU cycle time | 100 kHz (Standard) / 400 kHz (Fast) |
| Typical 2026 Cost (16x2) | $3.20 - $3.80 | $4.50 - $5.20 |
| Wiring Complexity | High (requires breadboard/PCB routing) | Low (4-pin JST or Dupont) |
| Best Use Case | High-speed data streaming, legacy 8-bit MCUs | IoT dashboards, ESP32/Arduino sensor hubs |
The Library Landscape: Moving Beyond Legacy Drivers
If you are still using the default LiquidCrystal library included in the Arduino IDE, you are missing out on critical optimizations and I2C support. Conversely, the wildly popular LiquidCrystal_I2C library by Frank de Brabander has become a liability in modern production environments.
The Problem with Legacy I2C Libraries
The older LiquidCrystal_I2C library hardcodes the initialization sequence and pin mapping for the I2C backpack. Because the market is flooded with clone backpacks that wire the PCF8574 pins to the HD44780 in non-standard configurations, this library frequently results in a blank screen or scrambled text. Furthermore, it lacks robust error handling for I2C bus lockups, which are common in electrically noisy environments like motor control enclosures.
The 2026 Gold Standard: The hd44780 Library
For any new development, the hd44780 library repository maintained by Bill Perry is the undisputed industry standard. Available directly via the Arduino Library Manager, it utilizes an auto-diagnostic approach. Instead of hardcoding pin maps, the hd44780_I2Cexp class automatically scans the I2C bus, identifies the backpack's pin mapping through a series of non-destructive memory reads, and configures the driver on the fly. It supports both the PCF8574 (address 0x27) and PCF8574A (address 0x3F) without requiring manual address overrides in your sketch.
Step-by-Step: Wiring and Logic Level Considerations
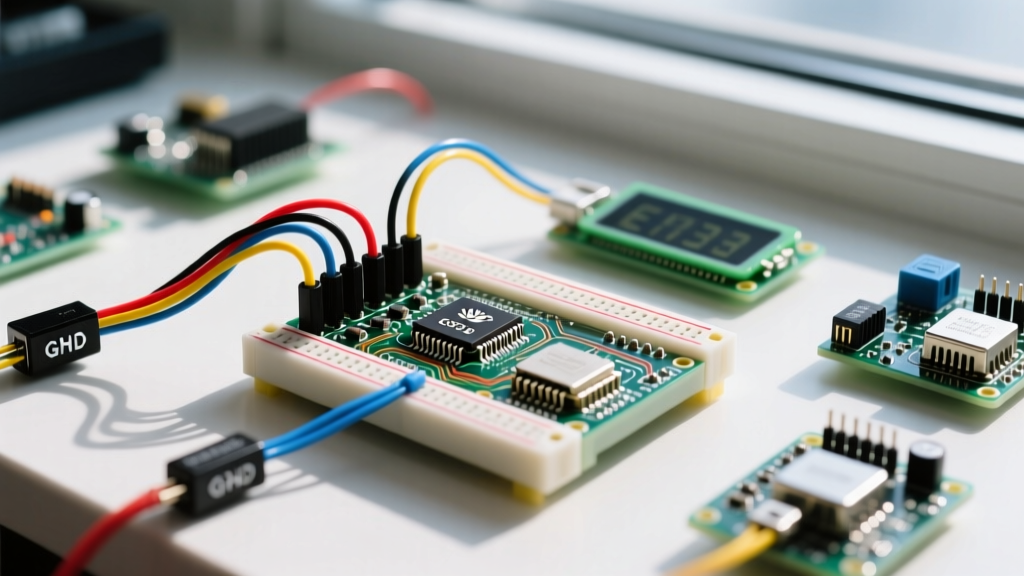
When wiring an I2C LCD, the physical connections are simple, but the electrical characteristics require strict attention, especially when migrating from 5V AVR boards to 3.3V ARM or Xtensa architectures.
- VCC and GND: Connect the backpack VCC to 5V. The HD44780 logic and the LCD backlight require 5V to operate correctly. Do not power standard 5V LCDs from the 3.3V pin, as the backlight will dim and the contrast controller will fail to bias the liquid crystals.
- SDA and SCL Routing:
- Arduino Uno R3 / Nano: A4 (SDA) and A5 (SCL).
- Arduino Uno R4 Minima / WiFi: Dedicated SDA/SCL headers near the AREF pin.
- ESP32 (Standard): GPIO 21 (SDA) and GPIO 22 (SCL).
- Pull-Up Resistors: I2C is an open-drain bus. According to the NXP PCF8574 datasheet, the I/O expander requires external pull-up resistors on the SDA and SCL lines. While many I2C backpacks include 10kΩ surface-mount resistors, these are often too weak for 400kHz Fast Mode or long wire runs. Add external 4.7kΩ or 2.2kΩ pull-up resistors to the 5V rail if you experience data corruption.
CRITICAL 3.3V LOGIC WARNING: If you are using an ESP32, Raspberry Pi Pico, or STM32, the MCU's I2C pins output 3.3V logic. The PCF8574 on a 5V-powered backpack requires a minimum high-level input voltage (VIH) of 3.5V. Connecting 3.3V SDA/SCL directly to a 5V backpack will result in intermittent failures or total bus lockups. You must use a bi-directional logic level converter (e.g., a BSS138-based module, costing ~$1.50) or source a specialized 3.3V I2C backpack equipped with a PCA9534 expander.
Troubleshooting Common Failure Modes
Even with the correct library and wiring, hardware anomalies occur. Use this diagnostic matrix to resolve the most frequent issues reported in the Arduino I2C communication guide and field deployments.
1. Screen is Lit, But Only Shows Black Boxes
Cause: The contrast voltage (V0) is misadjusted. The HD44780 requires a specific voltage differential between VDD and V0 (typically 4.2V to 4.8V) to align the liquid crystals.
Fix: Locate the 10kΩ brass trimpot on the back of the PCB. Using a small Phillips screwdriver, turn it counter-clockwise until the black boxes disappear and the 5x8 dot matrix is faintly visible, then fine-tune for maximum legibility.
2. Backlight is On, Screen is Completely Blank
Cause: I2C address mismatch or missing initialization.
Fix: Run an I2C Scanner sketch. If the scanner returns 0x3F but your code initializes 0x27, the backpack uses the PCF8574A silicon variant. If using the hd44780 library, this is handled automatically. If using legacy libraries, update your constructor: LiquidCrystal_I2C lcd(0x3F, 16, 2);.
3. Garbage Characters or Flickering Text
Cause: I2C bus noise, missing pull-up resistors, or EMI from adjacent relays/motors.
Fix: Ensure your I2C wires are under 30cm (12 inches) and routed away from AC mains or stepper motor drivers. Verify the presence of 4.7kΩ pull-up resistors on both SDA and SCL lines. If driving inductive loads, add a 100µF decoupling capacitor across the LCD's VCC and GND pins to absorb voltage sags.
Advanced Driver Techniques: Custom Characters and CGRAM
The HD44780 controller features a 64-byte Character Generator RAM (CGRAM). This allows developers to define up to eight custom 5x8 pixel characters. This is highly useful for creating battery indicators, signal strength bars, or proprietary brand logos without relying on external graphical displays.
To implement custom characters using the modern hd44780 library, define a byte array representing the 8 rows of the 5x8 grid. Remember that only the lowest 5 bits of each byte are used to map the pixels.
byte batteryIcon[8] = {
  0b01110,
  0b11011,
  0b10001,
  0b10001,
  0b10001,
  0b11111,
  0b11111,
  0b00000
};

void setup() {
  lcd.begin(16, 2);
  lcd.createChar(0, batteryIcon); // Store in CGRAM slot 0
  lcd.setCursor(0, 0);
  lcd.write((byte)0); // Cast to byte to avoid serial print conflicts
}
Pro-Tip for Memory Management: CGRAM is volatile and limited. If your application requires more than 8 custom symbols, you must dynamically overwrite the CGRAM slots during runtime. However, be aware that rewriting CGRAM while the display is actively refreshing can cause momentary visual tearing. Always update custom characters during the vertical blanking interval equivalent, or immediately after clearing the display buffer.
Summary
Successfully integrating an LCD liquid crystal display Arduino setup in 2026 requires moving past outdated parallel wiring and legacy libraries. By standardizing on I2C backpacks, respecting 3.3V/5V logic boundaries, and utilizing the auto-diagnostic hd44780 driver, you can ensure rock-solid display performance across AVR, ARM, and Xtensa microcontroller platforms.