
The 2026 Landscape of Stepper Motor Control Arduino Projects
When makers and engineers approach stepper motor control Arduino implementations today, the days of relying on noisy, basic step-dir drivers are largely behind us. While the legacy A4988 driver still holds a place in ultra-low-budget educational kits, modern precision robotics, camera sliders, and desktop CNCs demand silent operation, dynamic current scaling, and non-blocking kinematics. In this comprehensive library and driver guide, we dissect the software architectures and hardware pairings that define professional-grade motion control in 2026.
Expert Insight: The most common point of failure in DIY motion systems is not the microcontroller, but the mismatch between the software motion profile (acceleration curves) and the hardware driver's current decay settings. Always pair your library choice with the driver's native microstepping capabilities.
Hardware Showdown: Legacy vs. Modern Silent Drivers
Before diving into code, we must establish the physical layer. The market has bifurcated into budget chopper drivers and intelligent UART-based controllers. Below is a comparative matrix of the three most prevalent drivers used with NEMA 17 stepper motors (such as the popular 17HS4401S 1.5A model).
| Feature | A4988 (Legacy) | DRV8825 (Mid-Gen) | TMC2209 V1.2 (Modern Standard) |
|---|---|---|---|
| Approx. Price (2026) | $2.50 - $4.00 | $4.50 - $6.00 | $11.00 - $15.00 |
| Max Microstepping | 1/16 | 1/32 | 1/256 (Interpolated) |
| Interface | Step / Dir | Step / Dir | Step / Dir + UART |
| Noise Profile | High (Audible Whine) | Moderate | Silent (StealthChop2) |
| Stall Detection | No | No | Yes (StallGuard4) |
| Current Tuning | Potentiometer (VREF) | Potentiometer (VREF) | Software UART / RMS Config |
Mastering the AccelStepper Library
For pure kinematic profiling, the AccelStepper library by Mike McCauley remains the undisputed champion for Arduino environments. Unlike the built-in Stepper.h library—which uses blocking delays that freeze your main loop—AccelStepper calculates trapezoidal speed profiles on the fly.
Non-Blocking Execution Architecture
The critical concept in AccelStepper is the run() method. You must call this continuously in your loop(). It evaluates the current position against the target position, calculates the required delay based on your configured acceleration, and toggles the step pin only when necessary.
- setMaxSpeed(float speed): Defines the peak velocity in steps per second. For a standard 1.8° NEMA 17 (200 steps/rev) at 1/16 microstepping (3200 steps/rev), a max speed of 6400 equals exactly 2 revolutions per second (120 RPM).
- setAcceleration(float accel): Measured in steps per second per second. A value of 2000 provides a smooth ramp-up, preventing the motor from stalling due to rotor inertia.
- moveTo(long absolute): Queues a target position. Use
distanceToGo()to check if the motor has arrived.
Advanced TMC2209 UART Integration
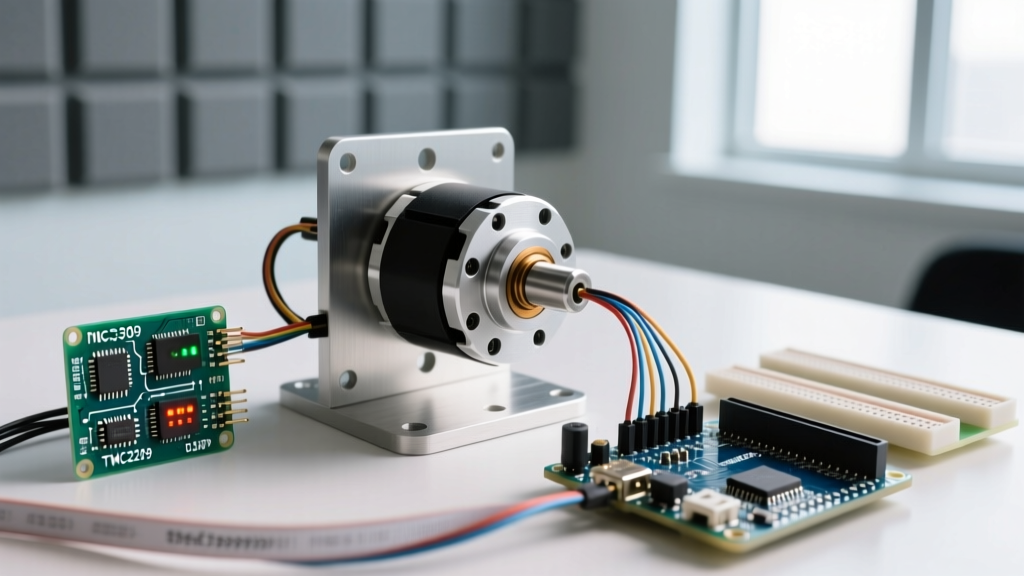
While AccelStepper handles the timing of the steps, it cannot control the current delivery of the driver. This is where the TMCStepper library by teemuatlut bridges the gap. By wiring the TMC2209's TX/RX pins to a hardware serial port (or SoftwareSerial) on your Arduino Mega or ESP32, you unlock dynamic torque management.
Configuring StealthChop2 and SpreadCycle
The TMC2209 features two distinct chopping modes. StealthChop2 uses voltage-based PWM to eliminate audible coil whine, making it ideal for camera sliders and 3D printer axes. However, at high RPMs, it loses torque. SpreadCycle uses current-based hysteresis chopping, providing maximum torque for CNC routing, but introduces audible noise.
Using the TMCStepper library, you can configure the driver dynamically:
- Initialize UART: Set the baud rate to 115200 and assign the driver address (usually 0-3 via the MS1/MS2 pins).
- Set RMS Current: Use
driver.rms_current(1200);to set 1.2A RMS. The library automatically calculates the required vsense bit and IRUN/IHOLD registers based on your sense resistor (typically 0.11 ohms on BigTreeTech modules). - Enable StealthChop:
driver.en_spreadCycle(false);ensures silent operation.
Power Delivery and Wiring Specifics
Software optimization cannot fix inadequate power delivery. A frequent edge case in stepper motor control Arduino builds is thermal throttling or skipped steps caused by voltage sag.
The 24V Standard
While NEMA 17 motors are rated for low voltages (often ~3V per phase based on coil resistance and current limit), stepper drivers act as buck converters. Feeding 24V DC into the VMOT pin of a TMC2209 allows the driver to push current into the highly inductive motor coils much faster, drastically improving high-speed torque. A 12V system will typically suffer a 40% torque drop-off past 300 RPM, whereas a 24V system maintains flat torque up to 600 RPM.
⚠️ Critical Hardware Requirement: Always solder a 100µF 35V low-ESR electrolytic capacitor directly across the VMOT and GND pins of the driver module. This buffers inductive flyback and prevents voltage spikes from destroying the Arduino's logic level regulators.Troubleshooting Common Failure Modes
Even with perfect code, physical systems introduce variables. Here is how to diagnose the three most common issues encountered in 2026 motion builds:
1. Mid-Band Resonance (Stalling at specific speeds)
Symptom: The motor spins fine at low and high speeds, but violently shakes and stalls at mid-range speeds (typically 150-300 RPM).
Solution: This is a physical resonance harmonic. If using an A4988, you are largely stuck. If using a TMC2209, switch from StealthChop to SpreadCycle via UART, or implement mechanical damping (a rubber isolator mount). The TMC2209's interpolation to 256 microsteps also heavily mitigates this.
2. Skipped Steps During Acceleration
Symptom: The motor fails to reach the target position, ending up millimeters short.
Solution: Your setAcceleration() value in AccelStepper exceeds the motor's physical holding torque (e.g., 42 N⋅cm for a 17HS4401S). Lower the acceleration value by 20% or increase the driver's RMS current limit via the TMCStepper UART configuration. Ensure your Arduino logic voltage (5V) is stable; a dropping USB voltage will cause the driver's optoisolators or logic gates to miss step pulses.
3. Thermal Shutdown (Driver goes limp after 2 minutes)
Symptom: Motion stops entirely, and the driver IC is too hot to touch.
Solution: The TMC2209 features Overtemperature Pre-warning (OTPW) at 120°C and hard shutdown at 150°C. Attach a 20x20mm aluminum heatsink with thermal tape. More importantly, utilize the driver's Hold Current (IHOLD) feature. Set driver.ihold(20); to drop the current to 20% when the motor is stationary, eliminating idle heat generation.
Summary: Choosing Your Stack
For basic conveyor belts or simple indexing tables, the A4988 paired with AccelStepper remains a viable, sub-$10 solution. However, for any application requiring acoustic discretion, stall detection, or dynamic torque management, upgrading to a TMC2209 driven by the TMCStepper UART library is the definitive standard for modern stepper motor control Arduino architectures. By respecting the physics of inductive loads and utilizing non-blocking kinematic libraries, your DIY motion systems will rival commercial industrial equipment.