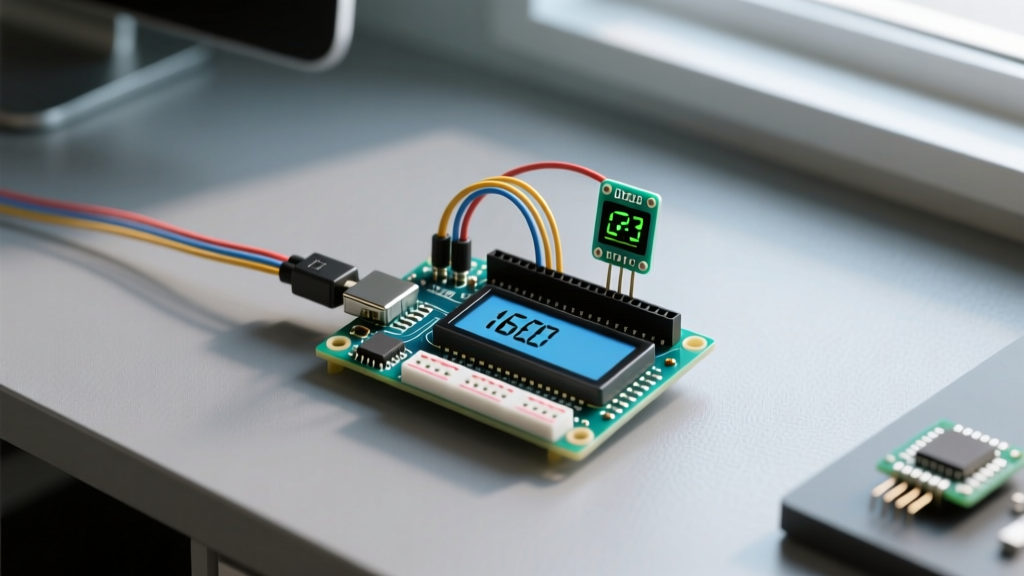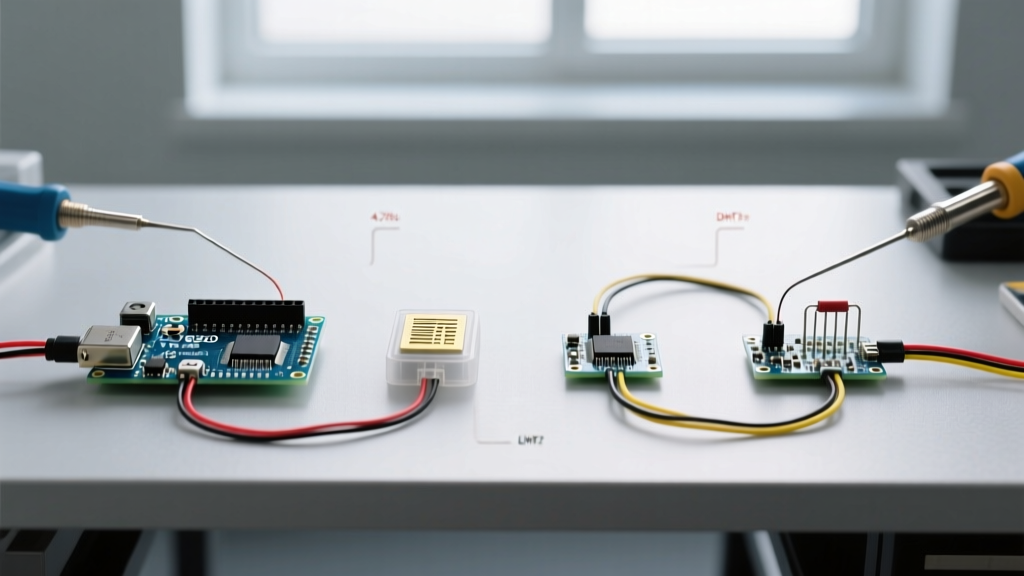

The 18B20 Temperature Sensor Arduino Dilemma
When designing a thermal monitoring circuit, selecting the right component dictates the reliability, resolution, and complexity of your firmware. The 18B20 temperature sensor Arduino combination has remained a staple in the maker community for over a decade. However, as microcontroller ecosystems have evolved from 5V ATmega chips to 3.3V ESP32 and RP2040 boards, the landscape of temperature sensing has shifted. Is the digital DS18B20 still the undisputed king, or do analog alternatives like the LM35 and NTC thermistors offer better performance for specific 2026 use cases?
In this comprehensive component comparison, we will dissect the DS18B20 against the DHT22, LM35, and 10K NTC thermistors. We will also address the critical elephant in the room: the rampant proliferation of counterfeit silicon, and how to engineer around real-world bus failures.
Genuine Analog Devices vs. The Clone Epidemic
Before comparing the DS18B20 to other sensor families, we must address the hardware itself. Following Maxim Integrated's acquisition by Analog Devices, the genuine Analog Devices DS18B20 remains the gold standard for digital thermal measurement. In 2026, a genuine TO-92 DS18B20+ costs between $3.50 and $4.80 on authorized distributors like Mouser or DigiKey.
Conversely, marketplaces are flooded with $0.60 clones. These counterfeit chips often pass basic identification checks on the OneWire bus but exhibit severe engineering flaws:
- Calibration Drift: Clones routinely exhibit a ±2.0°C variance across the -10°C to +85°C range, entirely defeating the purpose of the genuine chip's laser-trimmed ±0.5°C accuracy.
- Parasite Power Failure: Fake silicon lacks the internal charge storage capacitors required for parasite power mode, causing immediate bus brownouts when conversion begins.
- Alarm Functionality: The internal EEPROM scratchpad on clones often fails to retain high/low alarm trigger thresholds after a power cycle.
Expert Tip: Always purchase DS18B20 sensors from authorized distributors. If you must source from third-party vendors, write a test sketch that reads the sensor's power supply capability via the
readPowerSupply()function and perform a multi-point ice-boiling water calibration test before deploying to production.
Component Comparison Matrix
To understand where the 18B20 temperature sensor Arduino setup excels, we must benchmark it against the most common alternatives. The table below outlines the critical specifications for modern DIY and prototyping applications.
| Feature | DS18B20 (Digital) | DHT22 / AM2302 | LM35 (Analog) | 10K NTC Thermistor |
|---|---|---|---|---|
| Interface | 1-Wire (Digital) | Custom Serial (Digital) | Analog Voltage | Analog Resistance |
| Accuracy | ±0.5°C (-10 to +85°C) | ±0.5°C (Humidity ±2%) | ±0.25°C (at 25°C) | ±1.0°C (depends on B-value) |
| Resolution | 9 to 12-bit (Programmable) | 0.1°C | 10mV / °C (Continuous) | Depends on ADC (10-16 bit) |
| Bus / Wiring | Multi-drop (up to 20+ per pin) | Point-to-Point only | Point-to-Point (Analog Pin) | Voltage Divider (Analog Pin) |
| Waterproof Options | Native (Stainless Probes) | None (Porous housing) | None (TO-92 / TO-220) | Native (Glass/Epoxy beads) |
| Est. Price (2026) | $3.50 - $4.80 (Genuine) | $3.00 - $4.50 | $2.00 - $3.50 | $0.10 - $0.50 |
Deep Dive: Evaluating the Alternatives
DHT22 (AM2302): The Jack of All Trades
The DHT22 is frequently chosen when a project requires both temperature and relative humidity. However, its custom single-bus protocol is notoriously timing-sensitive. On RTOS-based systems like the ESP32 or Raspberry Pi Pico, reading a DHT22 often requires disabling interrupts or utilizing dedicated hardware timers to avoid bit-banging errors. Furthermore, the DHT22's polymer humidity sensor degrades rapidly in high-VOC (Volatile Organic Compound) environments or when exposed to direct condensation, making it unsuitable for harsh industrial or outdoor enclosures.
LM35: The Analog Precision Standard
Texas Instruments' LM35 outputs a clean 10mV per degree Celsius. It requires no external calibration and offers excellent linearity. The primary drawback for modern microcontrollers is its analog nature. To use an LM35 with an ESP32, you must contend with the ESP32's notoriously non-linear ADC (Analog-to-Digital Converter), which requires complex software polynomial correction to achieve meaningful accuracy. Additionally, the LM35 cannot be multiplexed easily; each sensor requires its own dedicated analog pin and wiring run, increasing cable bulk in multi-node arrays.
10K NTC Thermistors: The Budget Champion
NTC (Negative Temperature Coefficient) thermistors are incredibly cheap and feature rapid thermal response times due to their low thermal mass. They are ideal for 3D printer hotends or battery pack monitoring where detecting rapid thermal runaway is critical. However, their resistance-to-temperature curve is highly non-linear, requiring the Steinhart-Hart equation in firmware. Furthermore, self-heating errors occur if the voltage divider current is too high, demanding careful power management in battery-operated IoT nodes.
Advanced Wiring: The Pull-Up Resistor Science
The most common point of failure in a 18B20 temperature sensor Arduino project is improper bus termination. The 1-Wire protocol is open-drain; it relies on an external pull-up resistor to bring the data line high.
- 5V Logic (Arduino Uno/Mega): A standard 4.7kΩ resistor is generally sufficient for bus lengths under 10 meters.
- 3.3V Logic (ESP32, RP2040, STM32): The 4.7kΩ resistor is often too weak. The lower voltage, combined with parasitic capacitance from long cables, results in slow rise times that the microcontroller misinterprets as logic '0'. Always drop to a 2.2kΩ or 3.3kΩ pull-up resistor for 3.3V systems.
For professional or long-distance deployments exceeding 20 meters, abandon passive resistors entirely. Utilize an active 1-Wire master controller like the DS2482-100, or implement a dedicated MOSFET-based strong pull-up circuit to drive the bus high rapidly, ensuring signal integrity over high-capacitance CAT5e cabling. For an in-depth look at protocol timing, refer to the Arduino OneWire Library Reference.
Decoding Real-World Failure Modes
When integrating the DS18B20, firmware developers frequently encounter two specific anomalous readings. Understanding the hardware root cause of these errors separates novices from experts.
The Dreaded 85°C Power-On Default
If your serial monitor outputs exactly 85.00°C, your sensor is not measuring a localized heatwave. 85°C is the factory-default power-on reset value stored in the DS18B20's scratchpad. This error means your code attempted to read the temperature before the analog-to-digital conversion completed. At 12-bit resolution, the conversion takes exactly 750ms. If you are using the popular Paul Stoffregen OneWire library alongside the DallasTemperature wrapper, ensure you are not prematurely calling getTempC().
The -127°C Disconnect Error
A reading of -127°C (or sometimes -196°F) indicates a complete failure to communicate with the device's ROM. The microcontroller sent the Match ROM command, but no device pulled the bus low to acknowledge. Causes include:
- Missing or blown pull-up resistor.
- Parasitic power mode enabled in firmware, but the hardware is wired for external VDD power (or vice versa).
- Galvanic corrosion in waterproof probes. Cheap stainless-steel probes use porous epoxy at the wire junction. In high-humidity environments, moisture wicks into the tube, corroding the TO-92 legs and causing intermittent open circuits.
Pro-Tip: Asynchronous Non-Blocking Reads
The standard sensors.requestTemperatures() function halts your Arduino's main loop for 750ms. In projects handling web servers, motor control, or fast LED animations, this blocking delay is unacceptable. Implement an asynchronous state machine using millis():
By calling sensors.setWaitForConversion(false), the library dispatches the conversion command and returns immediately. You can then track the elapsed time using a non-blocking millis() timer. Once 750ms has passed, you read the scratchpad. This simple architectural shift allows your ESP32 to handle thousands of background tasks while waiting for the thermal physics to resolve.
Final Verdict: Which Should You Choose?
The 18B20 temperature sensor Arduino ecosystem remains unmatched for multi-node, distributed temperature sensing. If you need to string five sensors along a single GPIO pin to monitor a server rack or a multi-zone hydroponic setup, the DS18B20 is the only logical choice. Its native waterproof probes and digital noise immunity make it ideal for harsh environments.
However, if your project demands ultra-fast thermal response times (like 3D printing hotends), use a glass-encapsulated 10K NTC thermistor. If you need ambient room climate control and require humidity data without strict timing constraints, the DHT22 remains a viable, cost-effective hybrid solution. Choose your component based on the physical environment and the bus architecture of your specific 2026 project, rather than defaulting to the most popular tutorial.