
The Challenge of Multi-Peripheral I2C Topologies
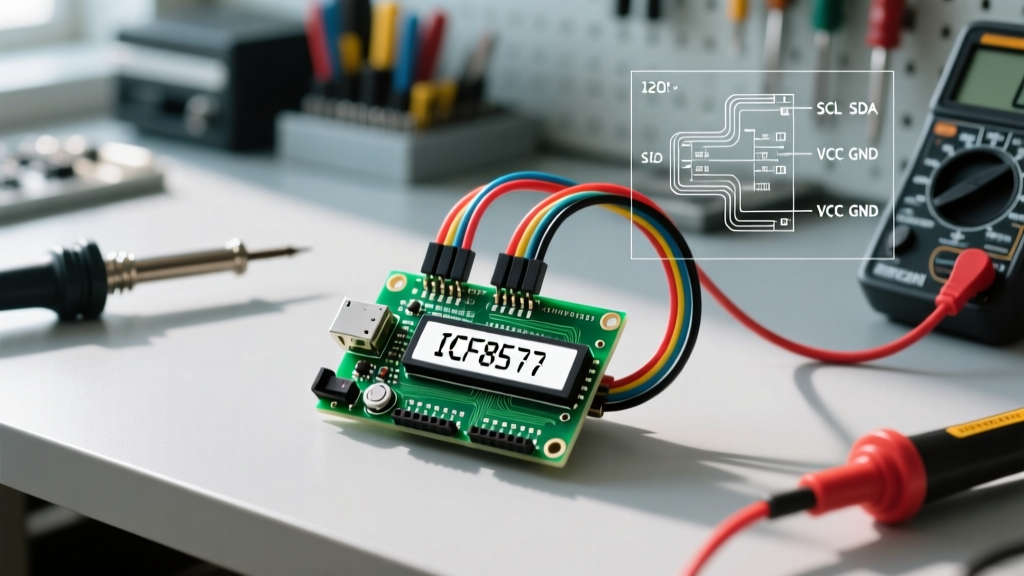
Integrating an Arduino I2C display into a complex, multi-sensor environment is a rite of passage for embedded systems engineers. Whether you are building an automated greenhouse monitor with BME280 environmental sensors, a robotic navigation array using MPU6050 IMUs, or a smart home dashboard, sharing the I2C bus across multiple peripherals introduces unique electrical and logical challenges. As of 2026, while microcontroller clock speeds and memory have increased, the fundamental physics of the I2C (Inter-Integrated Circuit) protocol remain unchanged. A standard 20x4 I2C LCD module (typically priced around $4.50 for generic variants) paired with a PCF8574 I/O expander backpack is a staple in these designs. However, simply daisy-changing SDA and SCL lines often leads to bus capacitance overload, address collisions, and intermittent display flickering. This guide provides a deep-dive, electrically rigorous approach to wiring, addressing, and stabilizing an Arduino I2C display alongside a network of sensors.
The Physics of the I2C Bus: Capacitance and Signal Integrity
The I2C bus utilizes open-drain (or open-collector) lines for both Serial Data (SDA) and Serial Clock (SCL). This means devices can only pull the line LOW (to ground); they cannot actively drive it HIGH. To achieve a HIGH state, pull-up resistors are required to pull the voltage back to VCC. According to the official NXP I2C-bus specification (UM10204), the maximum allowable bus capacitance in Standard-mode (100 kHz) and Fast-mode (400 kHz) is strictly limited to 400 pF.
Every sensor, display module, and jumper wire adds parasitic capacitance to the bus. A typical 16x2 or 20x4 LCD with an I2C backpack introduces roughly 15 pF to 25 pF of capacitance. When you add a BME280 (10 pF), an OLED display (12 pF), and 20 cm of standard 22 AWG jumper wires (approx. 2 pF per inch), you can quickly approach the 400 pF threshold. When capacitance is too high, the RC time constant of the pull-up resistors increases, causing the rising edges of the SDA/SCL signals to slope gently rather than snapping sharply. This results in the microcontroller misreading bits, leading to corrupted characters on your Arduino I2C display or complete bus lockups.
Peripheral Address Mapping and Collision Resolution
Before wiring your Arduino I2C display to the bus, you must map the hexadecimal addresses of all peripherals to prevent collisions. The I2C protocol uses 7-bit addressing, allowing up to 128 unique addresses, but many popular sensors share default addresses.
| Peripheral Device | Default I2C Address | Address Adjustable? | Typical 2026 Cost |
|---|---|---|---|
| 16x2 / 20x4 LCD (PCF8574) | 0x27 | Yes (A0, A1, A2 pads) | $3.50 - $5.00 |
| 16x2 / 20x4 LCD (PCF8574A) | 0x3F | Yes (A0, A1, A2 pads) | $3.50 - $5.00 |
| 128x64 OLED (SSD1306) | 0x3C | No (Usually fixed) | $6.50 - $9.00 |
| BME280 Temp/Humidity | 0x76 or 0x77 | Yes (SDO pin logic level) | $5.50 - $8.00 |
| MPU6050 Accelerometer | 0x68 | Yes (AD0 pin logic level) | $3.00 - $5.00 |
Critical E-E-A-T Note: PCF8574 vs. PCF8574A
A common point of failure for beginners is confusing the PCF8574 and PCF8574A I/O expanders used on LCD backpacks. While they look identical, their base I2C addresses are entirely different. The standard PCF8574 addresses range from 0x20 to 0x27. The PCF8574A addresses range from 0x38 to 0x3F. If your i2c_scanner sketch cannot find your display at 0x27, check the silkscreen on the backpack chip. If it reads 'PCF8574A', your default address is likely 0x3F. To change the address on either chip, you must solder the A0, A1, and A2 jumper pads on the backpack. Soldering a pad closed pulls that pin LOW, altering the binary address sequence.
The Pull-Up Resistor Trap in Multi-Device Setups
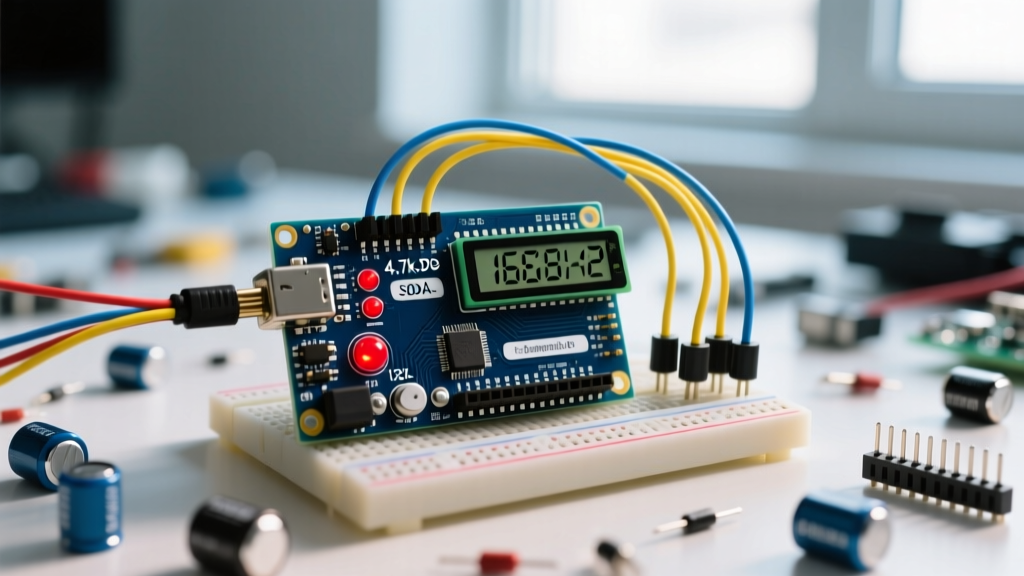
This is the most frequent cause of instability in multi-peripheral I2C networks. Almost every I2C sensor module and Arduino I2C display backpack manufactured in the last decade includes its own onboard 4.7 kΩ pull-up resistors tied to VCC.
When you connect three devices (e.g., an LCD, a BME280, and an OLED) to the same I2C bus, you are placing their onboard pull-up resistors in parallel. The formula for parallel resistance is:
R_total = 1 / (1/R1 + 1/R2 + 1/R3)
R_total = 1 / (1/4700 + 1/4700 + 1/4700) = 1,566 Ω
With a combined pull-up resistance of ~1.56 kΩ on a 5V logic system, the current sink required to pull the line LOW becomes I = V / R = 5V / 1566Ω = 3.19 mA. The standard I2C specification mandates a maximum sink current of 3 mA for standard mode. Exceeding this causes the LOW state voltage to rise above the 0.3 VDD threshold, resulting in the microcontroller failing to register a logical '0'.
The Solution: Use a multimeter to locate the pull-up resistors on your sensor modules and carefully desolder them, or cut the trace linking them to VCC. Leave only ONE set of 4.7 kΩ pull-up resistors on the entire bus (usually on the Arduino I2C display or the microcontroller breakout board). For high-speed 400 kHz Fast-mode setups, a single 2.2 kΩ resistor pair is optimal.
Step-by-Step Wiring for Maximum Stability
To ensure your Arduino I2C display operates flawlessly alongside power-hungry sensors, follow this physical wiring protocol:
- Implement a Star Topology: Avoid long daisy-chains. Wire the SDA and SCL lines from the microcontroller to a central terminal block or custom PCB hub, then branch out to the display and sensors. This minimizes inductive loops and keeps trace lengths balanced.
- Isolate Power Rails: Displays with backlights (especially 20x4 models) can draw up to 80 mA. If a high-power sensor or relay triggers simultaneously, VCC can sag, causing the display to reset or drop I2C packets. Power the display backlight from a dedicated 5V rail, or add a 220 µF electrolytic capacitor and a 100 nF ceramic decoupling capacitor directly across the display's VCC and GND pins.
- Logic Level Shifting: If you are mixing 5V Arduino I2C displays with 3.3V sensors (like the BME280 or modern ESP32-based peripherals), you must use a bidirectional logic level shifter (e.g., NXP PCA9306 or a standard BSS138 MOSFET breakout, ~$2.00). Forcing 5V SDA/SCL signals into a 3.3V sensor will eventually degrade the sensor's internal protection diodes, leading to permanent failure.
- Deploy an I2C Multiplexer: If you absolutely must use multiple devices with hard-coded, identical addresses (e.g., three SSD1306 OLEDs all locked at 0x3C), integrate a TCA9548A I2C Multiplexer (~$3.50). This chip sits on the main bus and creates 8 isolated sub-buses, allowing you to route the SDA/SCL signals to specific devices on demand while also resetting the capacitance limit per channel.
Software Configuration and Bus Recovery
Hardware wiring is only half the battle. The Arduino Wire Library requires specific initialization to handle multi-device traffic efficiently. Always initialize the bus with a defined clock speed and implement a timeout to prevent the microcontroller from hanging if a sensor fails to respond.
As highlighted in SparkFun's comprehensive I2C tutorial, bus lockups occur when the master (Arduino) resets while a slave (sensor or display) is actively transmitting a '0' bit. The slave holds SDA low, waiting for a clock pulse that will never come. To recover from this in software without a hard power cycle, implement a bus-clear routine in your setup() function:
- Configure the SCL pin as a standard digital OUTPUT.
- Manually toggle the SCL pin HIGH and LOW 9 times. This provides the slave with enough clock pulses to finish its transmission byte and release the SDA line.
- Re-initialize the
Wire.begin()function to restore the hardware I2C peripheral state. - Set
Wire.setClock(400000)to enable Fast-mode, reducing the time the bus is occupied and minimizing the window for noise interference.
Troubleshooting Real-World Edge Cases
Edge Case 1: Display Flickers Only When Sensor Reads Occur
If your Arduino I2C display shows corrupted characters or flickers exactly when the BME280 or an ultrasonic sensor takes a reading, you are experiencing I2C bus contention or VCC noise. Ensure your sensor reading code does not use aggressive delay() functions that block the microcontroller from refreshing the display buffer. Use non-blocking timing (millis()) and ensure the sensor's decoupling capacitors are intact.
Edge Case 2: Intermittent 'No Device Found' Errors
If an I2C scanner sketch occasionally fails to detect the display, check the physical Dupont jumper wires. Cheap, mass-produced jumper wires from generic marketplaces often suffer from high contact resistance or internal strand breakage. Swap to high-quality, silicone-jacketed 24 AWG crimped wires for mission-critical setups. Additionally, verify that the total wire length does not exceed 30 cm (12 inches), as longer runs act as antennas for electromagnetic interference (EMI) from nearby switching power supplies or PWM motor controllers.
Frequently Asked Questions
Can I use an Arduino I2C display and an SPI SD card module simultaneously?
Yes. I2C and SPI are entirely separate communication protocols. The I2C display will use the SDA/SCL pins (A4/A5 on Arduino Uno), while the SPI SD card will use the hardware SPI pins (MOSI, MISO, SCK, and a dedicated Chip Select pin). They will not interfere with one another logically, though you must ensure your power supply can handle the combined current draw of both peripherals.
Why does my I2C OLED display work, but the 20x4 LCD does not on the same bus?
OLED displays (SSD1306) typically operate at 3.3V logic and have very low capacitance. Standard 20x4 LCD backpacks operate at 5V and draw significantly more current for the backlight. If your 5V rail is sagging below 4.5V due to an inadequate USB power source, the PCF8574 logic on the LCD backpack will fail to recognize I2C start/stop conditions, while the OLED may continue to function marginally. Use a dedicated 5V 2A buck converter to power the bus.
Do I need to use external pull-up resistors if my Arduino has internal pull-ups enabled?
No. The internal pull-up resistors on an ATmega328P are roughly 20 kΩ to 50 kΩ, which is far too weak to pull the I2C bus HIGH within the required nanosecond timing constraints. You must always rely on external physical resistors (typically 4.7 kΩ for 100 kHz or 2.2 kΩ for 400 kHz) tied directly to the VCC rail.