
The Challenge of Vibration Data in Microcontrollers
Integrating a vibration sensor Arduino setup requires far more than simply polling a digital pin. Raw vibration signals are inherently chaotic, characterized by micro-bounces, electromagnetic interference (EMI), and mechanical resonance. Whether you are building an industrial motor fault detector, a consumer electronics knock-sensor, or a structural health monitor, the software driver and library architecture dictate the reliability of your peripheral integration.
In this comprehensive library and driver guide, we will dissect the two most common approaches to vibration sensing in the maker and prototyping space: the ultra-low-cost SW-420 digital switch and the high-fidelity ADXL345 MEMS accelerometer. We will cover exact wiring topologies, register-level configurations, and the specific software libraries required to turn noisy physical phenomena into clean, actionable data for your microcontroller.
Sensor Selection Matrix: Digital Switches vs. MEMS
Before writing a single line of driver code, you must select the correct transducer for your mechanical environment. The table below outlines the primary options available in 2026, including their interface requirements and ideal use cases.
| Sensor Type | Model / Breakout | Interface | Best Use Case | Approx. Cost (2026) |
|---|---|---|---|---|
| Digital Switch | SW-420 (LM393) | Digital GPIO | Knock detection, tilt, low-freq shake | $1.20 - $1.50 |
| Piezoelectric | 27mm Piezo Disc | Analog ADC | Acoustic vibration, high-freq impact | $0.40 - $0.80 |
| MEMS Accelerometer | ADXL345 (GY-291) | I2C / SPI | Motor bearing fault analysis, multi-axis | $3.50 - $6.00 |
Driving the SW-420: Debouncing and Hardware Interrupts
Hardware Wiring and the LM393 Comparator
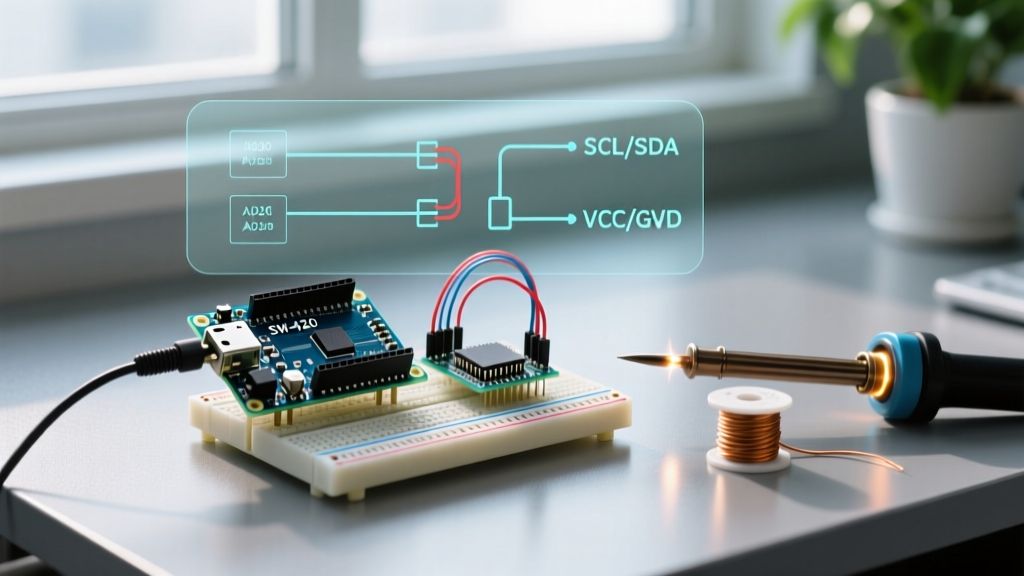
The SW-420 vibration sensor module is a staple in DIY electronics. Inside the metal can is a copper sleeve and a central mass. When vibrated, the mass breaks and makes contact with the sleeve. However, the raw signal is incredibly noisy. Fortunately, standard SW-420 breakout boards include an LM393 dual comparator and a 10k potentiometer to digitize the signal and provide a clean Digital Out (DO) pin.
Wiring Specifics:
- VCC: Connect to 3.3V or 5V (matches your MCU logic level).
- GND: Connect to common ground.
- DO: Connect to a hardware interrupt-capable pin (e.g., Pin 2 or 3 on an Arduino Uno, or any GPIO on an ESP32/RP2040).
Crucial Hardware Note: The LM393 output is open-collector. While many modern microcontrollers have internal pull-up resistors, adding an external 4.7kΩ to 10kΩ pull-up resistor to VCC on the DO line drastically improves signal rise times and noise immunity over long wire runs.
Software Driver: Implementing Bounce2 for Edge Detection
The most common failure mode in basic vibration sensor Arduino tutorials is using digitalRead() inside the main loop(). Mechanical contacts physically bounce for 10 to 50 milliseconds after an impact. Without debouncing, a single knock will register as dozens of discrete events, flooding your serial buffer and crashing downstream logic.
To solve this, we utilize the Bounce2 Library combined with hardware interrupts. Hardware interrupts allow the MCU to sleep or handle other tasks while waiting for a vibration event, waking only when the pin state changes.
#include <Bounce2.h>

// Instantiate a Bounce object
Bounce debouncer = Bounce();
const int VIBRATION_PIN = 2;
volatile bool vibrationDetected = false;

void setup() {
  Serial.begin(115200);
  // Attach the pin and set a 50ms debounce interval
  debouncer.attach(VIBRATION_PIN, INPUT_PULLUP);
  debouncer.interval(50);

  // Attach hardware interrupt for FALLING edge
  attachInterrupt(digitalPinToInterrupt(VIBRATION_PIN), vibrationISR, FALLING);
}

void vibrationISR() {
  // Keep ISR lightweight; set a flag for the main loop
  vibrationDetected = true;
}

void loop() {
  debouncer.update();

  if (vibrationDetected && debouncer.fell()) {
    Serial.println('Vibration Event Registered');
    vibrationDetected = false; // Reset flag
  }
}
By leveraging the Arduino attachInterrupt() function, the MCU captures the exact microsecond of the impact, while the Bounce2 library filters out the mechanical chatter in the main loop.
Driving the ADXL345: High-Frequency MEMS Vibration Tracking
I2C Configuration and the Adafruit Unified Sensor Library
When your application requires measuring the amplitude and frequency of a vibration (such as predictive maintenance on a CNC spindle or washing machine motor), a simple switch is insufficient. The ADXL345 MEMS accelerometer (commonly found on the GY-291 breakout board) supports data rates up to 3200Hz, making it ideal for high-frequency vibration profiling.
The standard driver approach utilizes the Adafruit_ADXL345_U and Adafruit_Sensor libraries. These libraries abstract the I2C communication and provide standardized SI unit conversions (m/s²).
I2C Bus Conditioning: The GY-291 breakout often lacks sufficient I2C pull-up resistors for high-speed communication. If you are running the I2C bus at 400kHz (Fast Mode) to maximize vibration sampling rates, you must add 2.2kΩ external pull-up resistors to both the SDA and SCL lines. Without these, you will experience intermittent I2C NACK errors and bus lockups.
Configuring ACT and INACT Registers for Edge Detection
Polling the ADXL345 at 3200Hz via I2C will saturate the bus and consume massive amounts of MCU CPU cycles. The professional driver approach is to offload the vibration detection to the sensor's internal ASIC using the Activity (ACT) and Inactivity (INACT) registers, triggering a hardware interrupt only when a specific vibration threshold is crossed.
According to the Analog Devices ADXL345 Datasheet, you can configure the sensor to monitor high-frequency AC-coupled vibrations while ignoring static gravity.
Key Register Configurations for Vibration:
- BW_RATE (0x2C): Set to
0x0Fto enable the maximum 3200Hz output data rate. This is critical for capturing high-frequency motor bearing defects. - ACT_INACT_CTL (0x27): Set to
0x70to enable AC-coupled operation for the X, Y, and Z axes. AC-coupling subtracts the baseline gravity vector, meaning the sensor only reacts to dynamic changes (vibrations). - THRESH_ACT (0x24): Set your vibration threshold. The scale is 62.5 mg/LSB. A value of
0x20(32 decimal) equates to a 2.0g threshold. - INT_MAP (0x2F) & INT_ENABLE (0x2E): Route the Activity interrupt to the INT1 pin and enable it. Connect INT1 to your MCU's hardware interrupt pin.
Pro-Tip for Motor Diagnostics: If you are analyzing stepper or BLDC motors, mechanical resonance often occurs in the Z-axis (perpendicular to the motor mount). You can mask out the X and Y axes in the
ACT_INACT_CTLregister to prevent false triggers from rotational torque variations.
Advanced Troubleshooting: EMI and Mechanical Coupling
Even with perfect library implementation, physical layer issues can ruin a vibration sensor Arduino project. Here are the most common edge cases and their engineering solutions:
1. Electromagnetic Interference (EMI) from Stepper Drivers
Stepper motor drivers (like the TMC2209 or A4988) generate massive high-frequency switching noise. This EMI can couple into the high-impedance analog lines of a piezo sensor or induce phantom triggers on the SW-420 digital line.
Solution: Never run sensor wires parallel to motor phase wires. Use Shielded Twisted Pair (STP) cable for sensor connections, grounding the shield at the MCU end only. For digital sensors, add a 100nF ceramic decoupling capacitor directly across the VCC and GND pins of the sensor breakout board.
2. Mechanical Decoupling and Resonance
If an ADXL345 is bolted directly to a thin sheet metal enclosure, the enclosure itself may act as a sounding board, amplifying specific resonant frequencies and clipping the sensor's internal ADC (which maxes out at ±16g).
Solution: Use silicone RTV gasket maker or specialized neoprene mounting pads to mechanically filter out ultra-high-frequency acoustic noise, allowing only the lower-frequency structural vibrations to reach the MEMS element. This acts as a physical low-pass filter, complementing your software drivers.
3. I2C Bus Timeouts on ESP32 and RP2040
When an EMI spike corrupts an I2C transaction, older Arduino AVR cores would simply hang. Modern cores for the ESP32 and RP2040 include I2C timeout features, but they must be explicitly enabled in your driver initialization.
Solution: Always wrap your I2C sensor reads in a timeout-checking function. If using the ESP32, utilize the Wire.setWireTimeout(50000, true) command during setup to prevent the MCU from hard-locking if the ADXL345 fails to acknowledge a byte due to electrical noise.
Summary
Successfully deploying a vibration sensor Arduino peripheral hinges on matching the physical sensor to the software driver architecture. Use the SW-420 with the Bounce2 library and hardware interrupts for simple, low-cost impact and knock detection. For complex, high-frequency mechanical analysis, deploy the ADXL345 via I2C, leveraging its internal ACT/INACT registers to perform edge-detection at the silicon level. By addressing physical layer challenges like EMI and mechanical resonance, your microcontroller projects will achieve industrial-grade reliability in real-world environments.