
The Reality of Field Diagnostics: Why Offline Documentation Matters
When you are deploying sensor nodes in remote agricultural sites or troubleshooting automated machinery on a noisy factory floor, relying on a live internet connection to search for error codes is a luxury you rarely have. This is where a curated arduino en pdf archive becomes an indispensable asset for field engineers and advanced makers. By compiling essential datasheets, compiler manuals, and diagnostic cheat sheets into an offline PDF repository, you bridge the gap between a cryptic IDE error and a hardware-level root cause.
In 2026, with the Arduino ecosystem spanning everything from the classic ATmega328P to the high-speed Portenta H7, the volume of potential failure points has multiplied. This guide details how to build a robust offline diagnostic kit and export verbose Arduino IDE 2.3+ logs into shareable PDF reports for remote team analysis.
Curating the Ultimate 'Arduino en PDF' Diagnostic Archive
A generic tutorial PDF will not help you when your custom PCB fails to flash. Your offline archive must contain hardware-level reference materials. Here is the exact bill of materials for a professional-grade diagnostic PDF binder:
- Microcontroller Datasheets: The complete Microchip ATmega328P Datasheet (specifically the Memory Programming and Pinout sections).
- USB-to-UART Bridge Schematics: Datasheets for the CH340G, CP2102, and FT232RL. These $1.50 to $4.00 clone chips are the source of 60% of all upload errors on third-party boards.
- AVR-GCC and Libc Manuals: The AVR Libc User Manual for diagnosing memory allocation faults and linker errors.
- Board Manager JSON Snapshots: A cached PDF of the official Arduino package index to verify core versions when offline.
Exporting Arduino IDE 2.x Error Logs to PDF
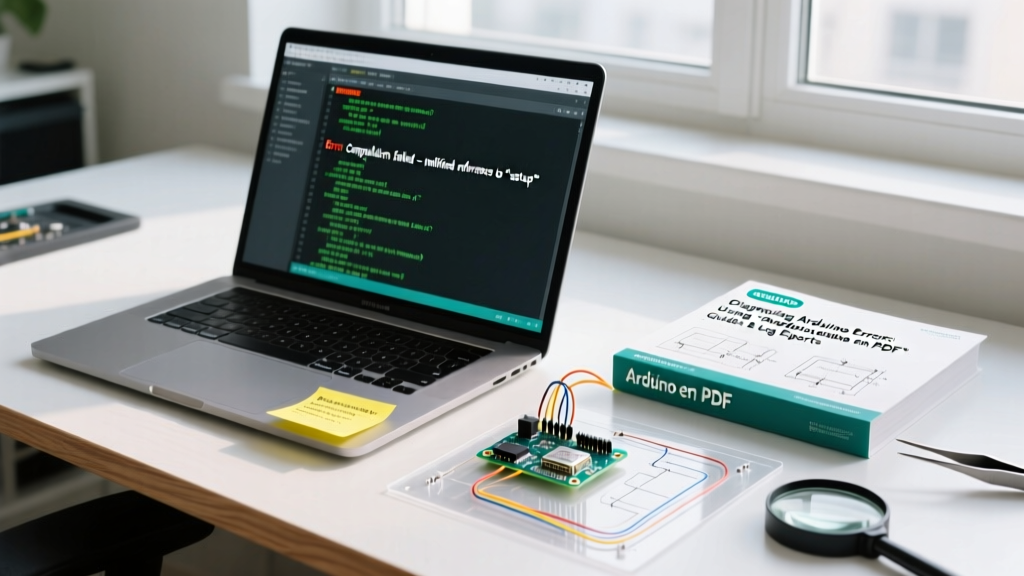
When a compilation or upload fails, the red text in the IDE console is fleeting and difficult to share with remote support teams. While the IDE does not have a native "Export to PDF" button, you can capture and format these logs systematically.
Method 1: The OS-Level Print-to-PDF Workflow
- Open Arduino IDE 2.3.x and navigate to File > Preferences.
- Check both Show verbose output during: compilation and upload.
- Trigger the error (e.g., click Upload).
- Click inside the Output console, press
Ctrl+A(orCmd+Aon macOS) to select all text, thenCtrl+Cto copy. - Paste the raw log into a lightweight Markdown editor (like Obsidian or VS Code) and use the native "Export to PDF" function. This preserves monospace formatting, which is critical for aligning compiler memory maps.
Method 2: Automated CLI Log Generation
For headless environments or automated testing rigs, the Arduino CLI is mandatory. You can pipe verbose output directly into a text file, then convert it to PDF using standard Linux utilities.
arduino-cli compile --fqbn arduino:avr:uno --verbose /path/to/sketch > build_log.txt 2>&1
pandoc build_log.txt -o arduino_error_report.pdf
This generates a clean, timestamped PDF report that can be automatically emailed to your engineering team via a cron job or CI/CD pipeline.
Diagnostic Matrix: Mapping Errors to Offline PDF References
Use this matrix to quickly cross-reference your exported PDF logs with your offline arduino en pdf documentation archive.
| Error Signature | Verbose Flag Needed | Hardware/Software Domain | Offline PDF Reference Section |
|---|---|---|---|
avrdude: stk500_recv() | Upload | Bootloader / USB-UART Bridge | CH340G Datasheet (DTR/RTS Pin Timing) |
exit status 1 (Linker) | Compilation | Flash/RAM Overflow | ATmega328P Datasheet (Section 28: Memory) |
Serial port not found | Upload | OS udev rules / Drivers | Linux FTDI/udev Configuration Guide |
programmer is not responding | Upload | Reset Circuit / Auto-Reset | Arduino Uno R3 Schematic (Rev 3e) |
undefined reference to | Compilation | Missing C++ Object / Library | AVR Libc User Manual (Linker Flags) |
Deep Dive: Diagnosing the 'stk500_recv()' Bootloader Failure
Let us apply our offline documentation to the most notorious error in the Arduino ecosystem: avrdude: stk500_recv(): programmer is not responding. When you encounter this in your exported PDF log, generic internet forums will tell you to "check your cable" or "burn the bootloader." As a domain expert, you must look deeper.
Expert Insight: The STK500 protocol relies on the auto-reset circuit to pulse the microcontroller's RESET pin low exactly as the serial port opens. If the timing is off by even a few milliseconds, the bootloader times out and the sketch resumes, ignoring the upload handshake.
Hardware-Level Diagnosis:
- Grab your multimeter and set it to capture peak DC voltage.
- Probe the DTR (Data Terminal Ready) line on your USB-to-UART bridge (e.g., pin 5 on the CH340G).
- Trigger an upload. You should see the DTR line drop from ~5V to ~0V.
- If the DTR line pulses correctly but the microcontroller does not reset, the 0.1µF coupling capacitor between the USB chip and the ATmega328P RESET pin is likely degraded or missing (a common defect on $3 clone boards from bulk marketplaces).
By referencing the CH340G datasheet in your arduino en pdf archive, you can verify the exact pinout and expected voltage thresholds without needing to load a webpage on a factory floor with dead zones.
Managing Memory Overflows and Linker Errors
Another frequent entry in error logs is the exit status 1 caused by memory exhaustion. The IDE's GUI simply states "Sketch too big." However, the verbose log exported to PDF reveals the exact avr-gcc linker output:
region `text' overflowed by 142 bytes
region `data' overflowed by 18 bytes
Consulting the ATmega328P datasheet (specifically the SRAM and Flash memory maps), you can calculate exact overhead. For instance, using the standard Serial library consumes roughly 185 bytes of SRAM for its internal RX/TX buffers. If your sketch relies on heavy string manipulation, migrating from standard String objects to fixed-size char arrays or utilizing the F() macro to keep string literals in Flash memory will immediately resolve the overflow.
Tackling OS-Level USB and udev Rule Failures
When working in Linux-based field environments (such as Raspberry Pi kiosks or edge-computing gateways), a common error logged is Permission denied: /dev/ttyACM0 or Serial port not found. This is rarely a hardware fault; it is an OS-level permissions issue.
Your offline arduino en pdf archive should include a quick-reference cheat sheet for Linux udev rules. To diagnose and fix this without internet access, follow these steps:
- Open your terminal and run
lsusbto identify the Vendor ID (VID) and Product ID (PID) of your connected board. A genuine Arduino Uno R3 typically shows2341:0043, while a clone might show1a86:7523(CH340). - Create a custom udev rule file:
sudo nano /etc/udev/rules.d/99-arduino.rules. - Add the following line, replacing the VID and PID with your specific hardware identifiers:
SUBSYSTEM=="tty", ATTRS{idVendor}=="2341", ATTRS{idProduct}=="0043", MODE="0666"After saving, reload the rules with sudo udevadm control --reload-rules and physically reconnect the USB cable. Documenting these specific VID/PID pairs in your offline PDF kit saves hours of troubleshooting when deploying fleets of edge devices in 2026.
Frequently Asked Questions (FAQ)
Can I export Arduino IDE serial monitor data to PDF?
Yes. In Arduino IDE 2.x, click the "Save" icon in the Serial Monitor toolbar to export the log as a .txt or .csv file. You can then import this CSV into Excel or a Markdown editor and export it as a formatted PDF report for sensor calibration records.
Where is the best place to source offline Arduino documentation?
The official Arduino GitHub repositories and the Microchip (formerly Atmel) documentation portals are the most authoritative. Download the raw Markdown or HTML files and use a tool like Pandoc or MkDocs to compile your own localized arduino en pdf binder, ensuring you have the exact core versions (e.g., AVR Boards 1.8.6) that match your production environment.