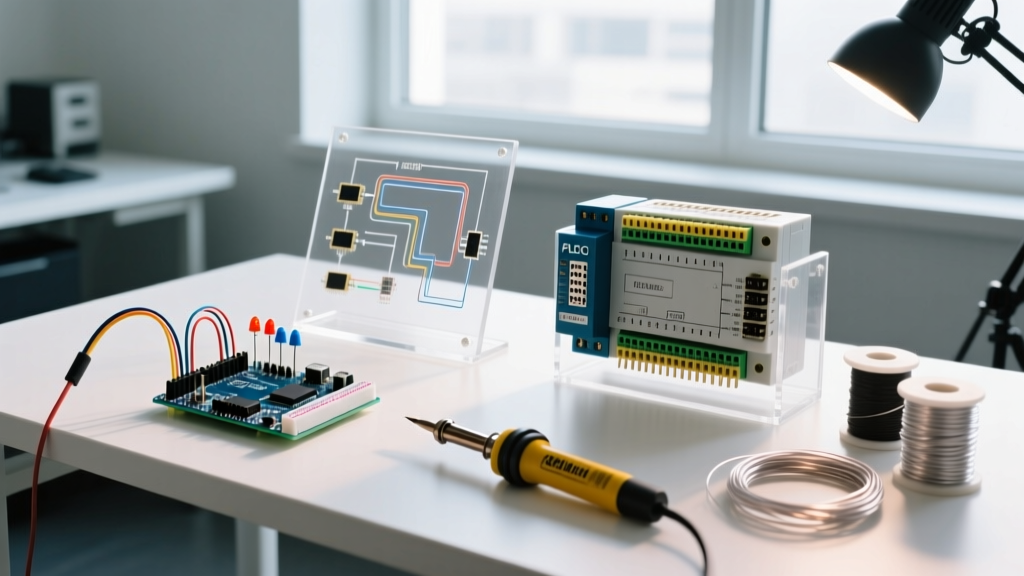

The debate between traditional Programmable Logic Controllers (PLCs) and microcontrollers like Arduino has evolved significantly. In 2026, the line between hobbyist boards and industrial automation hardware is blurrier than ever, thanks to the rise of 'Industrial Arduinos' and edge-computing gateways. However, deploying a bare-metal microcontroller on a noisy factory floor without proper isolation remains a recipe for catastrophic failure. This tutorial provides a step-by-step framework to evaluate the PLC vs Arduino dilemma, select the right hardware for your specific application, and wire it safely for industrial environments.
Step 1: Audit Your Electrical and Environmental Constraints
Before selecting a controller, you must define the physical and electrical environment. Traditional PLCs are built to withstand severe electromagnetic interference (EMI), voltage spikes, and extreme temperatures. Bare-metal Arduinos are not.
Voltage Logic and Noise Immunity
Industrial automation relies heavily on 24V DC logic for I/O signaling. A standard Arduino Uno R4 operates at 5V (or 3.3V for newer ARM-based boards). Feeding a 24V industrial sensor signal directly into a 5V microcontroller pin will instantly destroy the ATmega or Renesas RA4M1 silicon.
- Traditional PLC (e.g., Siemens SIMATIC S7-1200): Features native 24V DC sink/source I/O with built-in optical isolation and robust EMI filtering.
- Bare-Metal Arduino: Requires external signal conditioning, such as optocouplers (e.g., Omron G3VM MOSFET relays) or level shifters, to interface with 24V industrial sensors.
- Industrial Arduino (e.g., Arduino Opta): Bridges the gap by offering native 24V I/O, relay outputs, and DIN-rail mounting while retaining the Arduino programming ecosystem.
Expert Insight: If your project involves high-voltage motor switching, variable frequency drives (VFDs), or heavy welding equipment nearby, the EMI generated will cause brownouts and memory corruption in unshielded microcontrollers. Always default to a certified PLC or an industrially hardened Arduino Pro device in these scenarios. For deeper insights on industrial edge computing, refer to the Arduino Pro ecosystem documentation.
Step 2: Map I/O Requirements and Protocol Needs
Counting pins is not enough; you must map the type of I/O and the communication protocols required to integrate with existing SCADA or MES systems.
Digital vs. Analog vs. High-Speed Counters
PLCs excel at deterministic, high-speed counting and precise analog scaling (e.g., 4-20mA or 0-10V signals). While an Arduino can read 0-5V analog signals via its 14-bit ADC (on the Uno R4), it requires external precision op-amps and isolation amplifiers to safely read industrial 4-20mA current loops.
Communication Protocols
According to industry analysis by Control Engineering, modern facilities demand seamless OT/IT convergence.
- PLCs: Natively support PROFINET, EtherNet/IP, and Modbus TCP out of the box with dedicated ASICs for deterministic network handling.
- Arduinos: Excel at IT-friendly protocols like MQTT, HTTP, and WebSockets. Implementing industrial protocols like PROFINET on a standard Arduino requires complex software stacks and external chips (like the Hilscher netX), which often lack real-time certification.
Step 3: Choose Your Hardware Platform (Decision Matrix)
Use the following comparison matrix to select the right platform based on your project scope, budget, and reliability requirements.
| Feature | Bare-Metal Arduino (Uno R4 WiFi) | Industrial Arduino (Arduino Opta) | Traditional Micro PLC (AutomationDirect CLICK) | Premium PLC (Siemens S7-1200) |
|---|---|---|---|---|
| Approx. Cost (2026) | $28 - $35 | $230 - $280 | $139 - $180 | $450 - $700+ |
| I/O Voltage | 5V / 3.3V Logic | 24V DC (Isolated) | 24V DC (Isolated) | 24V DC (Isolated) |
| Programming | C++ / MicroPython | Arduino IDE / PLC IDE (IEC 61131-3) | Ladder Logic (Proprietary IDE) | Ladder, FBD, SCL (TIA Portal) |
| MTBF & Certifications | Low / CE, RoHS | High / CE, UL, RoHS | High / CE, UL, cUL | Very High / CE, UL, Marine, ATEX |
| Best Use Case | Prototyping, IT IoT Gateways | Light Industrial Edge, BMS | Standard Machine Control, Conveyors | Critical Process, Pharma, Automotive |
Step 4: Wiring an Arduino in an Industrial Panel (How-To)
If your budget or application dictates using a bare-metal or semi-industrial Arduino in a control panel, you must follow strict wiring protocols to prevent ground loops and inductive kickback. Here is how to properly integrate an Arduino into a 24V industrial DIN-rail environment.
1. Power Supply Isolation
Never power an industrial Arduino directly from a 24V machine supply without regulation. Use an isolated DIN-rail power supply, such as the Mean Well HDR-30-24 (approx. $35), to step down AC mains to 24V DC. Then, use a high-efficiency buck converter (like the Recom R-78E5.0-0.3) to drop 24V to 5V for the Arduino's VIN pin. This prevents 24V transients from frying the onboard USB voltage regulator.
2. Signal Isolation via Optocouplers
To read a 24V proximity sensor:
- Wire the sensor's 24V output to the anode of an optocoupler (e.g., PC817) via a 2.2kΩ current-limiting resistor.
- Connect the cathode to the 24V DC ground.
- On the transistor side, wire the collector to the Arduino's 5V pin and the emitter to a digital input pin configured with
INPUT_PULLUP. - When the sensor triggers, the optocoupler pulls the Arduino pin LOW, safely bridging the 24V and 5V domains without a shared electrical connection.
3. Output Switching with Flyback Protection
Arduino GPIO pins can only source ~20mA. To switch a 24V industrial relay or solenoid, use a logic-level N-channel MOSFET (e.g., IRLZ44N). Critical: Always place a flyback diode (e.g., 1N4007) in reverse parallel across the inductive load. Failing to do so will result in voltage spikes exceeding 100V when the magnetic field collapses, instantly destroying the MOSFET and potentially back-feeding into the Arduino's ground plane.
Step 5: Programming Paradigms - Ladder Logic vs C++
The PLC vs Arduino divide is heavily rooted in software. PLCs utilize the IEC 61131-3 standard, predominantly Ladder Diagram (LD) or Structured Text (ST). This paradigm is designed for maintenance by electrical technicians; logic is scanned top-to-bottom, left-to-right in a deterministic loop.
Arduino relies on C++ (Wiring framework). While infinitely more flexible for complex math, string manipulation, and API integration, C++ is event-driven and non-deterministic by default. If a delay() function or a blocking network call (like an unoptimized MQTT publish) stalls the main loop, machine safety interlocks may be missed. For machine control, you must write non-blocking, state-machine-based C++ code, utilizing millis() for timing, to mimic the deterministic scan cycle of a PLC.
Real-World Edge Cases and Failure Modes
When migrating from prototype to production, makers frequently encounter these specific failure modes:
- Ground Loops in Analog Signals: Connecting an Arduino's ground to a 24V DC power supply ground that is also tied to a VFD's ground will introduce high-frequency noise into analog readings. Solution: Use isolated analog-to-digital converters (ADCs) like the Texas Instruments ISO124.
- EEPROM Wear: Using the Arduino's internal EEPROM to log machine cycle counts will wear out the memory cells after ~100,000 writes. Solution: Implement wear-leveling algorithms or use external FRAM (Ferroelectric RAM) modules via I2C, which offer virtually unlimited write cycles.
- USB Ground Faults: Leaving a laptop plugged into an Arduino's USB port while the Arduino is connected to high-voltage machinery can fry the laptop's motherboard due to ground potential differences. Always use USB isolators (e.g., ADuM4160) when debugging live panels.
Conclusion
Choosing between a PLC and an Arduino is no longer a binary decision. By auditing your electrical constraints, mapping protocol needs, and applying rigorous industrial wiring techniques, you can successfully deploy microcontrollers in environments previously reserved for heavy iron. For comprehensive wiring diagrams and API references, always consult the official Arduino Documentation Hub before powering up your control panel.