
Mastering the Tinkercad Circuits Arduino Simulator Environment
In the rapidly evolving landscape of electronics education and rapid prototyping, the tinkercad circuits arduino simulator remains an indispensable, zero-cost browser-based IDE. As of 2026, Autodesk has continuously refined the platform's underlying AVR simulation engine, making it highly accurate for ATmega328P-based projects. However, many makers and engineers only scratch the surface of its capabilities. Properly configuring your workspace, power rails, serial debugging tools, and custom component blocks is the difference between a frustrating simulation experience and a seamless transition to physical hardware.
This comprehensive configuration guide will walk you through the advanced setup procedures required to maximize the fidelity and efficiency of your virtual microcontroller projects.
Initial Workspace and Browser Configuration
Before dragging a single virtual LED onto the breadboard, you must ensure your browser environment is optimized for the simulator's rendering engine. The platform relies heavily on WebGL and, increasingly, WebGPU for rendering complex 3D component models and real-time wire routing.
- Hardware Acceleration: Ensure hardware acceleration is enabled in your browser settings (Chrome, Edge, or Brave). Without it, complex circuits with over 50 components will experience severe frame-rate drops during simulation.
- Memory Allocation: The simulator can consume upwards of 1.5 GB of RAM for large projects. Close unnecessary tabs to prevent the browser's garbage collector from interrupting the simulation loop.
- Auto-Save Configuration: Navigate to the dashboard settings and verify that auto-save is set to a 1-minute interval. While the platform is stable, browser crashes during long compilation phases can result in lost wiring configurations.
Configuring the Virtual Breadboard and Power Rails
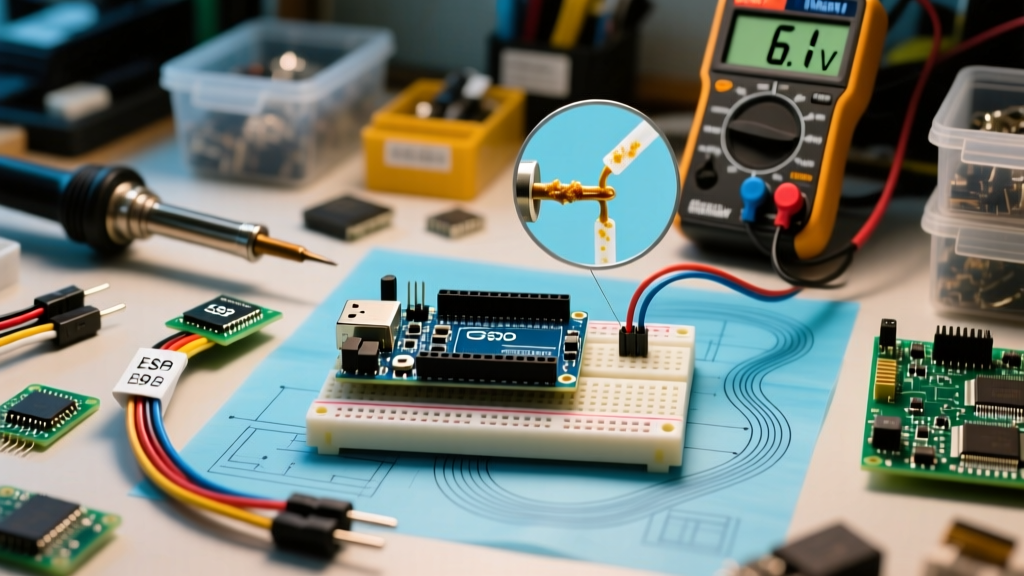
One of the most common configuration mistakes in the Tinkercad Circuits environment is ignoring the breadboard power rail settings. By default, the virtual breadboard provides unified power rails across the entire length of the board. However, physical breadboards often feature split rails in the center for mixed-voltage projects.
Step-by-Step: Splitting the Power Rails
- Click on the virtual breadboard to select it.
- Locate the small green and red voltage indicators on the left and right edges of the power rails.
- Click the small gap icon in the center of the red (+) or blue (-) rail to split it.
- Configure the top half for 5V (connected to the Arduino's 5V pin) and the bottom half for 3.3V (connected to the Arduino's 3.3V pin).
This configuration is critical when simulating mixed-logic circuits, such as interfacing a 5V Arduino Uno R3 with a 3.3V I2C sensor like the BME280, allowing you to accurately place logic level shifters across the split gap.
Virtual vs. Physical ATmega328P: Understanding Simulation Limits
To configure your code effectively, you must understand where the simulator diverges from physical silicon. The simulator models the Arduino Uno R3 documentation specifications closely, but abstracts certain timing and electrical edge cases.
| Parameter | Physical Arduino Uno R3 | Tinkercad Simulation Environment |
|---|---|---|
| Clock Speed | 16 MHz Quartz Crystal | 16 MHz (Simulated cycle-accurate) |
| SRAM | 2 KB | 2 KB (Strict overflow enforcement) |
| ADC Resolution | 10-bit (0-1023) | 10-bit (Idealized, zero noise floor) |
| I2C Pull-ups | Required (External 4.7kΩ) | Simulated internal pull-ups active by default |
| PWM Frequency | ~490 Hz (Pins 5,6: ~980 Hz) | Exact match, but analogWrite() smoothing is idealized |
Serial Monitor and Debugging Configuration
The Serial Monitor is your primary window into the MCU's runtime state. Proper configuration of the serial interface prevents the most common simulation errors: garbled text and buffer overflows.
Baud Rate and Newline Settings
Always match your Serial.begin() baud rate with the dropdown menu in the simulator's Serial Monitor. While the physical board can handle up to 2,000,000 baud via the native USB-to-Serial chip, the simulator's virtual terminal is most stable at 9600 or 115200 baud. Setting it to non-standard rates (like 31250 for MIDI) in the simulator may result in dropped characters.
Configure the newline dropdown to Carriage Return + Newline (\r\n) if you are using Serial.readStringUntil() or parsing CSV data. If left on 'No Line Ending', string parsing functions will hang indefinitely waiting for a termination character that never arrives, causing the simulation to freeze.
Expert Pro-Tip: When logging high-frequency sensor data (e.g., reading an accelerometer at 500Hz), do not use the standard Serial Monitor text view. Instead, configure your code to output comma-separated values and use the Serial Plotter tab. The plotter in the 2026 update supports up to 6 concurrent variables and allows you to export the buffer directly as a .CSV file for external analysis in Python or MATLAB.
Advanced Component Configuration: Custom Blocks
The native component library is extensive, but you will inevitably need a sensor or IC that is not included. The simulator allows you to create 'Custom Blocks' using a visual logic builder or C++ subroutines.
To configure a custom I2C temperature sensor:
- Drag the 'Custom' block from the components panel.
- Open the configuration panel and define your I2C slave address (e.g.,
0x48). - Map the virtual pins (VCC, GND, SDA, SCL).
- Use the internal C++ editor to define the
Wire.onRequest()behavior, ensuring you return a 2-byte integer representing the temperature.
This feature bridges the gap between basic component simulation and complex system-level testing, allowing you to simulate proprietary hardware before it arrives in the mail.
Troubleshooting Common Simulation Edge Cases
Even with perfect configuration, the virtual environment has specific quirks that can trip up experienced developers. Refer to this troubleshooting matrix when your simulation behaves differently than expected.
| Symptom | Root Cause in Simulator | Configuration Fix |
|---|---|---|
| Floating pin reads as HIGH | Simulator defaults unconnected inputs to HIGH to prevent infinite loop calculations. | Always configure physical pull-down resistors (10kΩ) in your schematic, even if the physical board behaves randomly. |
| Servo motor jitters | Power supply sag simulation is enabled, and the virtual USB port cannot supply >500mA. | Add a dedicated external 5V/2A power supply component to the servo's VCC pin, sharing a common ground with the Arduino. |
| I2C device not found | Simulated internal pull-ups are masking missing external resistors. | Add 4.7kΩ pull-up resistors to SDA and SCL to ensure your code will work on a physical breadboard. |
| Code compiles but won't run | SRAM overflow due to large static arrays or String objects. | Check the compilation output box for memory usage. Refactor code to use PROGMEM for constant strings. |
Exporting and Transitioning to Physical Hardware
The ultimate goal of using the tinkercad circuits arduino simulator is to validate a design before physical assembly. The platform's export configuration tools are vital for this transition.
When your simulation is stable, click the Export button. You have two primary configuration options:
- Download Code (.ino): This strips out the simulation-specific metadata and provides a clean C++ file compatible with the local Arduino IDE or VS Code (PlatformIO). Note that any block-based code will be automatically transpiled into readable C++.
- Download Electronics (.json / BOM): This generates a Bill of Materials and a netlist. In 2026, this netlist can be directly imported into Autodesk Fusion Electronics (formerly EAGLE) to auto-generate a schematic and PCB layout, saving hours of manual footprint assignment.
Final Thoughts on Virtual Prototyping
Configuring your environment correctly transforms the simulator from a simple educational toy into a robust engineering tool. By respecting the electrical nuances of the ATmega328P, properly managing power rails, and utilizing custom blocks for edge-case components, you can achieve near 1:1 parity between your virtual prototype and your physical deployment. For further reading on hardware limitations and best coding practices, always refer to the official Arduino FAQ and hardware documentation.