
Navigating the 2026 Pulse Sensor Ecosystem
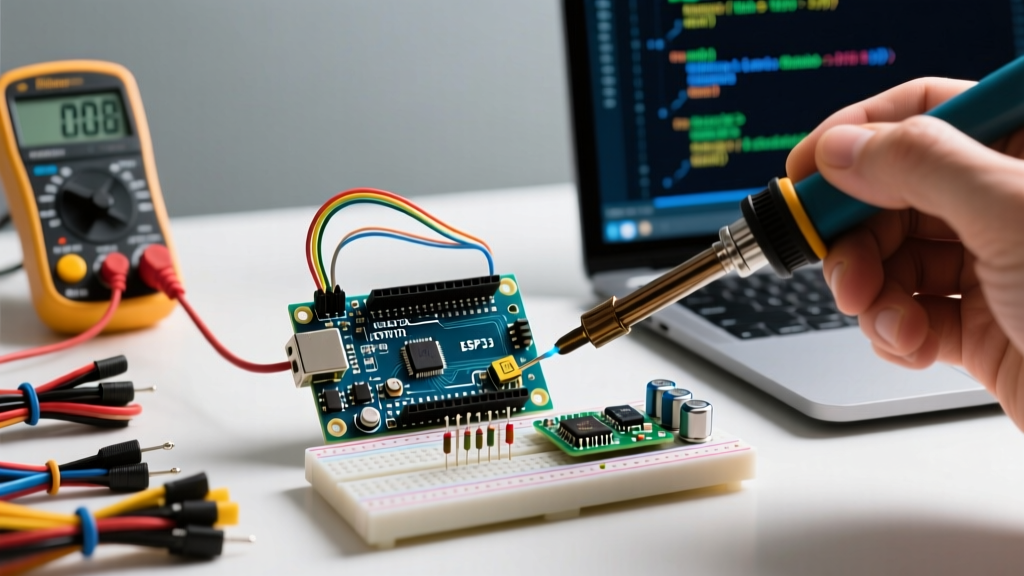
Building a pulse rate monitor Arduino project has evolved significantly over the last few years. While early makers relied on simple analog optical sensors, the 2026 maker landscape is dominated by high-precision Photoplethysmography (PPG) and clinical-grade ECG modules. However, this leap in sensor complexity has introduced severe compatibility bottlenecks. Makers frequently encounter I2C bus collisions, voltage logic mismatches, and FIFO buffer overflows when pairing modern biometric sensors with popular microcontrollers.
This compatibility guide cuts through the noise, providing exact hardware pairings, electrical tolerances, and library-level troubleshooting steps to ensure your heart rate and SpO2 monitors actually compile, upload, and function reliably.
Sensor Compatibility Matrix
Choosing the right sensor dictates your entire circuit architecture. Below is a comparison of the most prevalent biometric sensors in the DIY space, evaluated on interface, logic levels, and optimal MCU pairings.
| Sensor Model | Interface | Logic Level | Avg. 2026 Price | Best MCU Match |
|---|---|---|---|---|
| MAX30102 (Genuine) | I2C (up to 400kHz) | 3.3V (1.8V internal) | $16.95 | ESP32-S3, Nano 33 IoT |
| MAX30105 (Particle) | I2C / SPI | 3.3V | $19.50 | Arduino Uno R4 Minima |
| PulseSensor Amped | Analog (ADC) | 3.3V - 5V | $24.99 | Any 5V/3.3V MCU |
| AD8232 (ECG) | Analog (ADC) | 3.3V - 5V | $19.99 | Arduino Giga R1, Teensy 4.1 |
Voltage Logic: The 5V vs 3.3V Trap
The most common point of failure in a pulse rate monitor Arduino build is ignoring voltage logic thresholds. The MAX30102 and MAX30105 are strictly 3.3V devices. Supplying 5V to the VIN pin of a poorly regulated clone breakout board will instantly fry the internal optical driver ICs.
Microcontroller Pairing Rules
- ESP32-S3 / ESP32-C3: Native 3.3V logic. These are the ideal MCUs for MAX3010x sensors. You can connect SDA and SCL directly without level shifters, provided the breakout board does not have 5V-tolerant pull-up resistors.
- Arduino Uno R4 Minima: Operates at 5V. While the Renesas RA4M1 chip has some 5V-tolerant pins, the I2C bus requires 3.3V. You must use a bi-directional logic level converter (like a BSS138 MOSFET-based shifter) between the Uno R4 and the MAX30102.
- Arduino Nano 33 BLE Sense Rev2: Native 3.3V. Excellent for low-power, wearable pulse monitors due to its onboard IMU and Bluetooth Low Energy capabilities.
The I2C Pull-Up Resistor Conflict
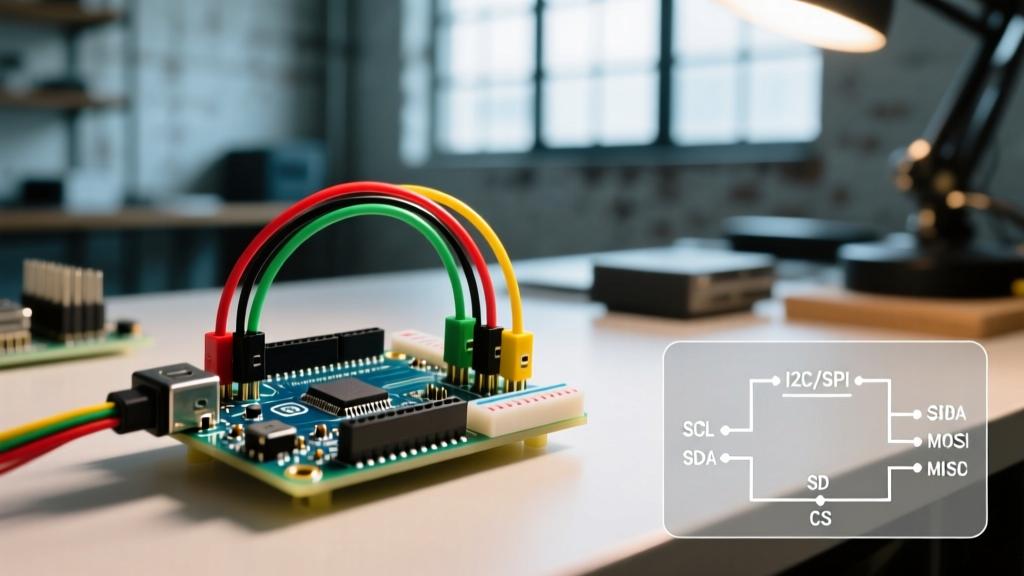
According to the NXP I2C-bus specification, I2C lines require pull-up resistors. Many third-party MAX30102 breakout boards include 4.7kΩ pull-up resistors tied directly to the 5V VIN rail. If you connect this board to an ESP32, the 5V pull-ups will backfeed voltage into the ESP32's GPIO pins, causing erratic behavior, Wi-Fi drops, or permanent silicon degradation. Fix: Use a multimeter to check the SDA/SCL lines for 5V when the board is powered. If 5V is present, carefully descratch the pull-up resistor traces or use an isolated I2C multiplexer.
Resolving I2C Address Collisions and Bus Capacitance
A standard pulse rate monitor requires a display. The ubiquitous SSD1306 OLED uses I2C address 0x3C. The MAX30102 uses 0x57. While these addresses do not directly collide, adding environmental sensors like the BME280 (0x76) or an MPU6050 IMU (0x68) for motion-artifact cancellation pushes the I2C bus to its limits.
Expert Insight: The I2C bus has a strict maximum capacitance limit of 400pF. Long jumper wires, breadboard parasitic capacitance, and multiple breakout boards will degrade the signal edges, causing the MAX30102 to fail initialization. If your Serial Monitor outputs MAX30102 was not found, check your bus capacitance before blaming the library.
The TCA9548A Solution: If you are building a multi-sensor biometric hub, integrate a TCA9548A I2C multiplexer (approx. $4.50). This isolates the bus capacitance of the OLED display from the highly sensitive PPG sensor, ensuring clean clock edges for the MAX30102's FIFO data retrieval.
Library and IDE Compatibility Deep Dive
Software compatibility is just as critical as hardware. The official Arduino Wire Library handles I2C communication, but its implementation varies wildly across architectures.
The FIFO Buffer Overflow Issue
The MAX30102 features an internal 32-sample FIFO buffer. Each sample (Red + IR) is 6 bytes, meaning a full FIFO read requires 192 bytes.
- AVR Architecture (Uno R3, Mega 2560): The
Wire.hreceive buffer is hardcoded to 32 bytes. Attempting a singleWire.requestFrom()for 192 bytes will truncate the data, resulting in corrupted heart rate calculations. You must write a custom loop to read the FIFO in 32-byte chunks. - ARM / Xtensa Architecture (Uno R4, ESP32, SAMD21): The I2C buffer is dynamically allocated or significantly larger (128-256 bytes). However, ESP32 I2C hardware peripherals are known to struggle with the MAX30102's clock-stretching requirements during deep FIFO reads. Using the software I2C library (
SoftwareWire) on ESP32 can sometimes yield more stable raw PPG waveforms than the hardware peripheral.
Recommended Libraries for 2026
For the MAX3010x family, the SparkFun MAX3010x Sensor Library remains the gold standard, offering robust FIFO management and multi-LED configuration. For the AD8232 ECG sensor, avoid digital filtering libraries that introduce phase shifts; instead, sample at 500Hz using hardware timers and apply a digital notch filter (50Hz/60Hz) in post-processing or via the Arduino CMSIS-DSP library on ARM Cortex boards.
Real-World Edge Cases & Signal Noise
Hardware compatibility means nothing if the signal is buried in noise. When designing your pulse rate monitor Arduino enclosure and firmware, account for these physical edge cases:
- Motion Artifacts: PPG sensors are highly susceptible to movement. If your project is wearable, you must pair the MAX30102 with an accelerometer (like the LIS3DH). Use the accelerometer data to gate the PPG readings, discarding heart rate calculations when acceleration exceeds 0.5G.
- Ambient Light Cancellation: The MAX30102 uses internal ambient light cancellation (ALC). However, high-frequency PWM lighting (like cheap LED room bulbs) can beat against the sensor's sampling frequency. Hardcode your sensor sampling rate to avoid multiples of 100Hz/120Hz to prevent aliasing.
- Skin Tone and Perfusion: Optical sensors rely on light absorption. Darker skin tones and tattoos absorb more IR light, reducing the signal-to-noise ratio. If your device will be used across diverse demographics, increase the IR LED pulse amplitude (via the
setPulseAmplitudeIR()function) and increase the ADC range to 4096 to capture weaker reflections.
Frequently Asked Questions
Why does my MAX30102 initialize but output flatline data?
This is almost always a physical contact issue or a broken IR LED. The sensor requires a light-tight seal against the skin. If ambient room light floods the photodetector, the internal ALC maxes out, and the output flatlines. Add a 3D-printed TPU shroud around the sensor to block peripheral light.
Can I use the PulseSensor Amped with an ESP32?
Yes, but you must account for the ESP32's 12-bit ADC (0-4095) versus the Arduino Uno's 10-bit ADC (0-1023). The standard PulseSensor Playground library expects 10-bit resolution. You must either use analogReadResolution(10) in your ESP32 setup function, or modify the library's threshold constants to match the 12-bit scale.
Is the AD8232 better than the MAX30102 for heart rate variability (HRV)?
Absolutely. The MAX30102 measures blood volume changes (PPG), which introduces a slight physiological delay (pulse transit time) compared to the actual electrical depolarization of the heart. The AD8232 measures the ECG directly, capturing the exact R-peak timing required for clinical-grade HRV analysis. For HRV projects, pair the AD8232 with a high-resolution ADC like the ADS1115.
For further reading on optical sensor integration, refer to the SparkFun MAX30105 Hookup Guide, which provides excellent baseline schematics that apply broadly to the MAX30102 as well.