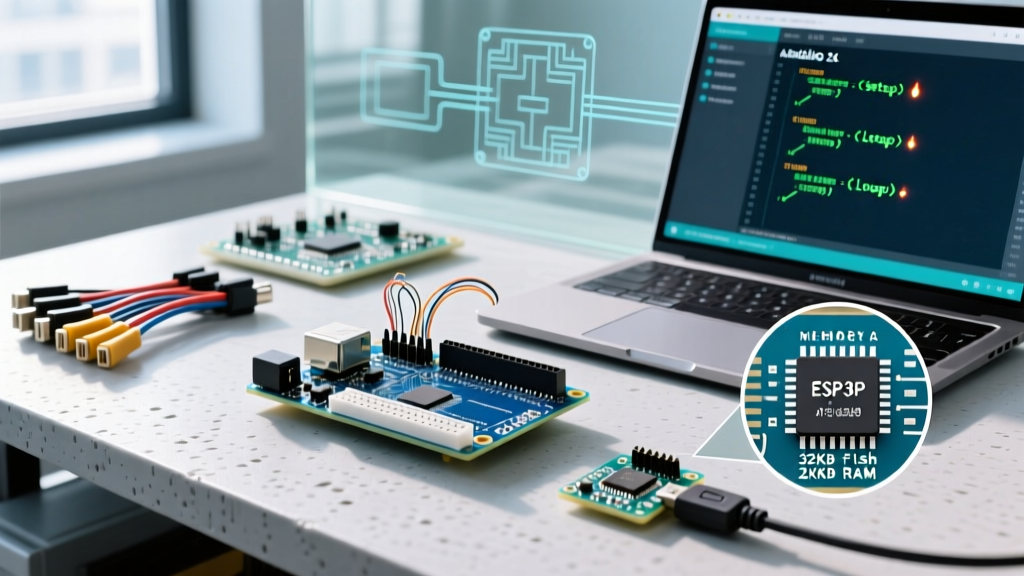

The Arduino Uno Ecosystem: Beyond the Blink Sketch
When beginners search for how to program in Arduino Uno, they are usually directed to a simple LED blinking tutorial. However, true proficiency requires understanding the broader ecosystem. As of 2026, the Arduino ecosystem encompasses the advanced Arduino IDE 2.x environment, a massive repository of community-driven libraries, and a standardized hardware shield form factor. Whether you are using a classic Genuine Uno R3 (featuring the ATmega328P-PU) or the newer Uno R4 Minima (powered by the Renesas RA4M1 ARM Cortex-M4), programming the board is only 20% syntax and 80% ecosystem management.
This guide moves past basic syntax to explore how to leverage the Arduino IDE, manage severe memory constraints, integrate third-party libraries, and debug hardware-level communication protocols within the Uno ecosystem.
Step-by-Step: Configuring the Arduino IDE 2.x Environment
The transition from the legacy 1.8.x IDE to the modern Arduino IDE 2.x branch fundamentally changed how developers interact with the Uno. The new IDE introduces autocomplete, real-time syntax checking, and a unified board manager.
1. Board Manager and Core Selection
- Install the IDE: Download the latest Arduino IDE 2.3+ from the official site.
- Connect the Uno: Use a high-quality USB-B to USB-A cable (or USB-C for the R4). Avoid charge-only cables, which cause 'Port not found' errors.
- Select the Core: Navigate to Tools > Board > Boards Manager. Search for 'Arduino AVR Boards' and ensure you are running version 1.8.6 or higher for R3 compatibility.
- Verify the Port: Go to Tools > Port. On Windows, this will be a COM port (e.g., COM3); on macOS/Linux, it will resemble
/dev/tty.usbmodem14201.
2. The Anatomy of an Arduino Sketch
Every Uno program (sketch) relies on two mandatory functions. Understanding their execution context is critical for ecosystem integration:
setup(): Executes exactly once upon power-up or reset. Use this to initialize serial communication (Serial.begin(115200)), configure pin modes, and initialize I2C/SPI buses.loop(): Runs continuously. This is where sensor polling, state-machine logic, and actuator control reside. Never use blocking delays here if your project requires real-time responsiveness.
The 2KB SRAM Bottleneck: Memory Management Strategies
The most common failure mode for intermediate developers learning how to program in Arduino Uno is ignoring the hardware limits. The classic ATmega328P-PU features 32 KB of ISP Flash Memory (with 0.5 KB reserved for the bootloader), 1 KB of EEPROM, and only 2 KB of SRAM.
Expert Insight: If your Uno randomly resets, freezes, or outputs garbled Serial data, you have likely experienced an SRAM overflow. The heap and stack have collided, corrupting the execution state.
Saving SRAM with the F() Macro and PROGMEM
By default, string literals in your code are copied from Flash memory into SRAM at runtime. A single debug statement like Serial.println("Sensor initialization complete, awaiting I2C handshake..."); consumes over 50 bytes of precious SRAM.
The Fix: Wrap string literals in the F() macro. This forces the microcontroller to read the string directly from Flash memory during execution, bypassing SRAM entirely.
Serial.println(F("Sensor initialization complete, awaiting I2C handshake..."));
Expanding the Ecosystem: Third-Party Libraries
The true power of the Arduino platform lies in its open-source library ecosystem. According to Adafruit's comprehensive library guide, the Arduino Library Manager hosts over 5,000 verified repositories. However, not all libraries are optimized for the Uno's limited architecture.
| Library Category | Recommended Ecosystem Choice | Uno R3 Compatibility Notes |
|---|---|---|
| Addressable LEDs | FastLED (via GitHub) or Adafruit NeoPixel | FastLED requires careful memory mapping; limit to ~150 WS2812B LEDs to avoid SRAM exhaustion on the Uno. |
| Motor Control | Adafruit Motor Shield V2 Library | Uses I2C (Pins A4/A5). Offloads PWM generation to the onboard PCA9685 chip, saving Uno timer resources. |
| IoT / Networking | UIPEthernet (for ENC28J60) | Standard Ethernet shields use the WizNet W5500. The UIPEthernet library is required for cheaper ENC28J60 SPI modules. |
| Display Drivers | U8g2 | Highly optimized for monochrome OLEDs (SSD1306). Uses minimal RAM buffering compared to the older Adafruit GFX buffer methods. |
Hardware Integration: Navigating the Shield Pinout Ecosystem
Programming the Uno is intrinsically linked to its physical pinout. The 'Uno' form factor is an industry standard, meaning code written for a specific shield pin mapping will work across hundreds of third-party clones and derivatives.
Communication Protocol Pin Mapping
When integrating sensors, you must program the correct hardware interfaces. The Uno R3 ecosystem relies on the following dedicated pins:
- UART (Serial): Pins 0 (RX) and 1 (TX). Warning: These are shared with the USB-to-Serial ATmega16U2 chip. Disconnect devices on these pins when uploading code via USB, or the upload will fail with a 'programmer is not responding' error.
- SPI (High-Speed): Pins 11 (MOSI), 12 (MISO), 13 (SCK), and 10 (SS). Used for SD card modules, RFID readers (RC522), and TFT displays. SPI is hardware-driven and significantly faster than I2C.
- I2C (Two-Wire): Pins A4 (SDA) and A5 (SCL). The Uno's internal pull-up resistors are disabled by default. When programming I2C devices, ensure your breakout boards have 4.7kΩ pull-up resistors to VCC, or the
Wirelibrary will hang indefinitely.
Advanced Debugging in the Uno Ecosystem
Unlike the ESP32 or Raspberry Pi Pico, the classic Uno R3 lacks an onboard hardware debugger (JTAG/SWD). Therefore, learning how to program in Arduino Uno effectively means mastering software-based debugging techniques.
1. Non-Blocking Timing with millis()
Using delay() halts the CPU, preventing the Uno from reading sensors or handling serial commands. The ecosystem standard for timing is the millis() function, which tracks milliseconds since boot.
Implementation Pattern:
unsigned long previousMillis = 0;
const long interval = 1000;
void loop() {
unsigned long currentMillis = millis();
if (currentMillis - previousMillis >= interval) {
previousMillis = currentMillis;
// Execute non-blocking task here
}
}
2. Serial Plotter for Sensor Calibration
The Arduino IDE 2.x includes a built-in Serial Plotter. Instead of parsing raw text in the Serial Monitor, format your debug output as comma-separated values (e.g., Serial.print(temp); Serial.print(","); Serial.println(humidity);). The Plotter will render these as real-time graphs, making it vastly easier to identify sensor noise, I2C dropouts, or analog-to-digital conversion (ADC) jitter.
Frequently Asked Questions (FAQ)
Can I use Python to program the Arduino Uno?
Natively, the Uno executes compiled C++ (AVR-GCC). However, you can use the Firmata ecosystem. By uploading the StandardFirmata sketch to the Uno, you can control its pins directly from a Python script running on a host PC using the pyFirmata library. This is ideal for data-heavy processing where the Uno acts merely as an I/O peripheral.
Why does my code compile but fail to upload to a clone Uno?
Many budget Uno clones (priced around $10-$14) replace the official ATmega16U2 USB-Serial chip with a CH340 or CP2102 chip. To program these, you must download and install the specific CH340/CP2102 USB drivers for your operating system, and in some cases, select the corresponding 'Clone' board option in the IDE's Tools menu.
How do I recover a 'bricked' Uno with a corrupted bootloader?
If you accidentally overwrote the bootloader by uploading a sketch via an ISP programmer, the Uno will no longer accept USB code. You can restore it using a second Arduino as an 'ArduinoISP' programmer. Wire the ICSP headers (MISO, MOSI, SCK, Reset, 5V, GND) between the two boards, and select Tools > Burn Bootloader in the IDE.