
The Economics and Reality of the CH340 Nano Clone
If you are building a multi-node IoT sensor network or a budget-friendly robotics platform in 2026, paying $24.90 for a genuine Arduino Nano for every single node is financially impractical. Enter the Arduino Nano CH340 clone. Retailing between $3.50 and $5.50 on major electronics marketplaces, these boards offer the exact same ATmega328P microcontroller and pinout as the original, but they substitute the proprietary FTDI or ATmega16U2 USB-to-Serial chip with the WCH CH340 series.
While the hardware is virtually identical, the setup process introduces a unique hurdle: the CH340 driver. This guide will walk you through the exact hardware identification, driver installation, IDE configuration, and a practical first project to get your clone board running flawlessly.
Hardware Anatomy: Identifying Your CH340 Variant
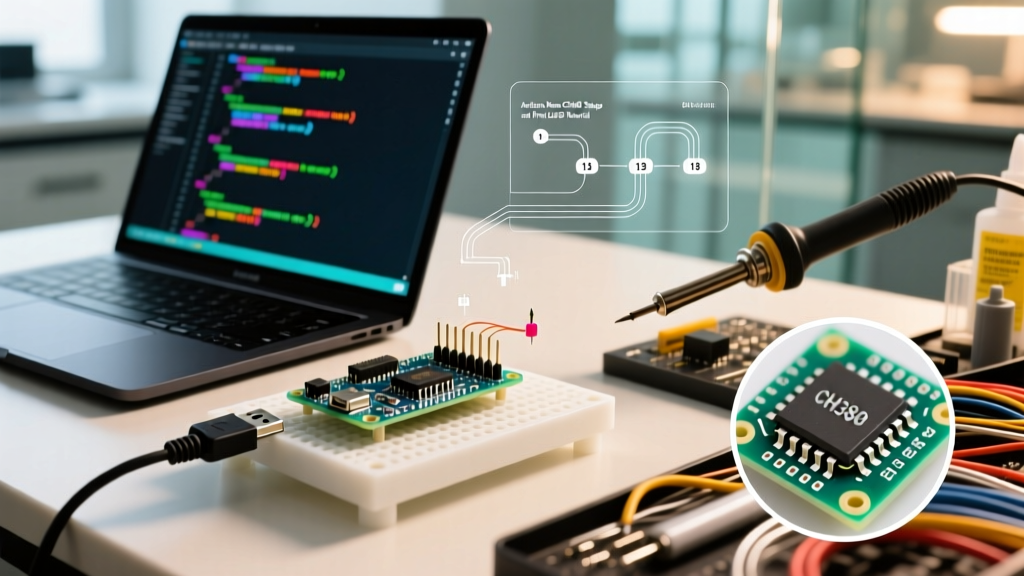
Before plugging in your board, look closely at the USB-to-Serial chip located near the Mini-B or USB-C port. Understanding which variant you have will save you hours of troubleshooting.
- CH340G: The older, wider 16-pin SOP chip. It requires an external 12MHz crystal oscillator (the small silver oval next to it). Common on boards manufactured before 2021.
- CH340C: The modern standard for 2026 clone boards. It features an internal clock generator, eliminating the need for the external crystal. It runs cooler and is slightly more reliable on Windows 11 and macOS Sonoma/Sequoia.
- CH340E: A rare 10-pin MSOP variant found on ultra-compact "Nano-alike" boards.
Expert Tip: Always inspect the main microcontroller. You want an ATmega328P-AU (32KB Flash). Some ultra-cheap $2.00 boards use the ATmega168 (16KB Flash), which will cause memory overflow errors when compiling larger sketches with modern libraries.
Step 1: Conquering the CH340 Driver Installation
Unlike genuine boards that use native OS CDC drivers, the CH340 requires a specific proprietary driver from Nanjing Qinheng Microelectronics (WCH).
Windows 11 Installation Protocol
- Download the official CH341SER.EXE installer from the WCH Official CH340 Product Page or refer to the SparkFun CH340 Driver Guide for mirrored downloads.
- Run the executable as Administrator and click INSTALL.
- Plug in your Arduino Nano CH340 using a verified data-sync USB cable.
- Open Windows Device Manager. Under Ports (COM & LPT), you should see
USB-SERIAL CH340 (COMX).
The Infamous "Code 10" Error
If Device Manager shows a yellow triangle with "This device cannot start. (Code 10)", you have encountered a known issue with counterfeit CH340 chips. WCH updated their drivers (version 3.8.x and above) to intentionally block unauthorized silicon clones. The Fix: Uninstall the current driver and manually install the legacy version 3.4.2014.8, which lacks the clone-blocking signature check.
Step 2: Arduino IDE 2.x Configuration
Open Arduino IDE 2.3 (or newer). The board selection menu is where 90% of beginners fail when using clones.
- Board: Arduino Nano
- Port: COMX (Windows) or /dev/cu.wchusbserialX (macOS)
- Processor: ATmega328P (Old Bootloader)
Why "Old Bootloader"? Genuine Nano Rev3 boards use the Optiboot bootloader (communicating at 115200 baud). Most clone manufacturers flash the older Duemilanove bootloader (communicating at 57600 baud) to save 1.5KB of flash space or due to outdated manufacturing scripts. If you select the standard ATmega328P, the IDE will attempt to upload at the wrong baud rate, resulting in a timeout error.
Step 3: First Project - Traffic Light Sequencer
Let us move past the basic onboard "Blink" and build a 3-LED Traffic Light Sequencer. This tests multiple digital I/O pins and verifies the board's 5V logic output.
Component BOM & Wiring Matrix
| Component | Specification | Nano Pin | Notes |
|---|---|---|---|
| Red LED | 5mm Standard | D10 | Use 220Ω resistor |
| Yellow LED | 5mm Standard | D9 | Use 220Ω resistor |
| Green LED | 5mm Standard | D8 | Use 220Ω resistor |
| Ground | Common Cathode | GND | Connect all LED cathodes |
The C++ Sketch
const int RED_PIN = 10;
const int YELLOW_PIN = 9;
const int GREEN_PIN = 8;

void setup() {
  pinMode(RED_PIN, OUTPUT);
  pinMode(YELLOW_PIN, OUTPUT);
  pinMode(GREEN_PIN, OUTPUT);
}

void loop() {
  // Green Light (Go)
  digitalWrite(GREEN_PIN, HIGH);
  delay(3000);
  digitalWrite(GREEN_PIN, LOW);

  // Yellow Light (Caution)
  digitalWrite(YELLOW_PIN, HIGH);
  delay(1500);
  digitalWrite(YELLOW_PIN, LOW);

  // Red Light (Stop)
  digitalWrite(RED_PIN, HIGH);
  delay(3000);
  digitalWrite(RED_PIN, LOW);
}
Click the Upload arrow. The RX/TX LEDs on the Nano should flicker rapidly. If the onboard LED (Pin 13) pulses in a heartbeat pattern during upload, the bootloader is active and receiving data.
Advanced Troubleshooting Matrix
Clone boards occasionally exhibit edge-case behaviors. Use this matrix to diagnose upload failures based on the official Arduino CH340 troubleshooting documentation.
| Symptom | Root Cause | Exact Solution |
|---|---|---|
| Port is greyed out in IDE | Charge-only USB cable or dead CH340 chip. | Swap to a verified data cable. Test cable on a smartphone. |
| "avrdude: stk500_recv(): programmer is not responding" | Wrong bootloader selected or corrupted flash. | Switch Processor to "Old Bootloader". If it fails, reburn bootloader via ISP. |
| Upload finishes but code doesn't run | Insufficient USB power from hub. | Plug directly into motherboard rear I/O. Check for 5V pin output with multimeter. |
| Serial Monitor shows garbled text | Baud rate mismatch in Serial.begin(). | Ensure sketch baud rate matches IDE Serial Monitor dropdown (usually 9600). |
Final Verdict on CH340 Clones
For prototyping, educational kits, and permanent embedded installations where budget is a constraint, the Arduino Nano CH340 remains the undisputed king of cost-effective microcontrollers in 2026. By understanding the bootloader nuances and keeping a legacy driver installer on your USB toolkit, you eliminate the only real friction points associated with these boards.