
The Architecture of the Vin Arduino Nano Pin
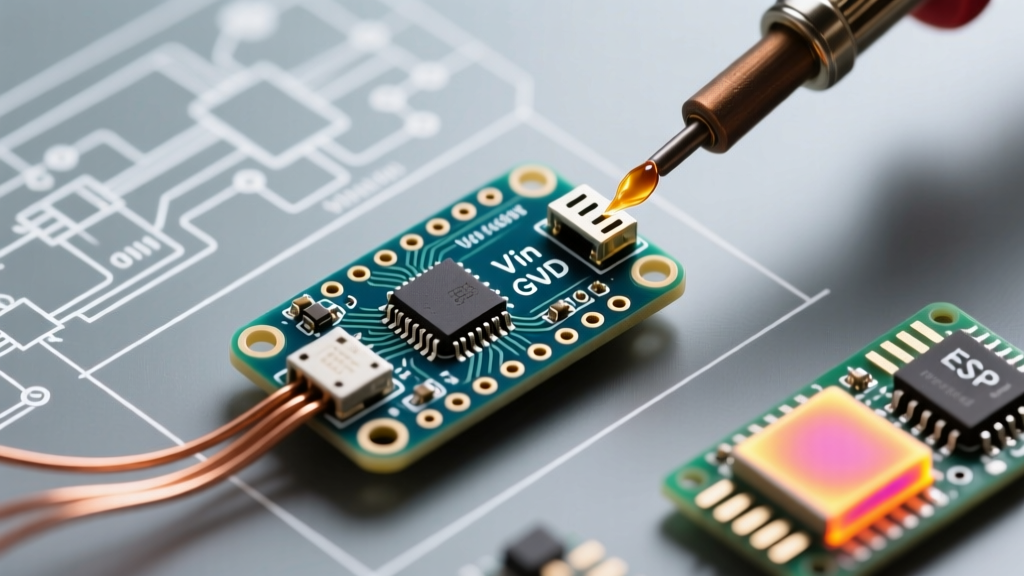
When designing embedded systems, power delivery is often the most overlooked subsystem until it fails. For hobbyists and engineers working with the Arduino Nano, the Vin (Voltage Input) pin is a critical but frequently misunderstood interface. Unlike the 5V pin, which expects a highly regulated, clean 5.0V source, the Vin pin routes directly to the input of the board's onboard voltage regulator. This means it is designed to accept unregulated DC voltage—typically from a wall adapter, battery pack, or raw DC source—and step it down to the 5V logic level required by the ATmega328P microcontroller.
However, not all Nano boards are created equal. As we navigate the electronics landscape in 2026, the market is saturated with official boards, legacy revisions, and millions of overseas clones. Understanding the exact electrical characteristics, thermal limits, and failure modes of the Vin pin across these variants is essential for preventing catastrophic board failure. In this comprehensive review, we dissect the power architecture of the Vin Arduino Nano ecosystem, comparing the classic Rev3, modern Nano Every, and ubiquitous third-party clones.
Voltage Regulator Showdown: Classic vs. Every vs. Clones
The fundamental limitation of the Vin pin is dictated by the voltage regulator IC soldered to the PCB. The classic Arduino Nano relies on a linear regulator, which burns off excess voltage as heat. Below is a detailed comparison matrix of the power delivery architectures across the three most common Nano variants you will encounter today.
| Board Variant | Regulator IC (Typical) | Recommended Vin Range | Absolute Max Vin | Dropout Voltage | Thermal Management |
|---|---|---|---|---|---|
| Classic Nano (Rev3) | LM1117-5.0 (SOT-223) | 7V - 12V | 20V | 1.2V (Typical) | Standard PCB copper pour |
| Nano Every | Custom PMIC / High-Eff LDO | 7V - 21V | 21V | Varies (Switching/Hybrid) | Optimized thermal vias |
| V3.0 Clone (CH340) | AMS1117-5.0 or Unbranded | 7V - 9V | 12V - 15V | 1.3V - 1.5V | Poor (Minimal copper area) |
The official Arduino Nano utilizes a high-quality linear regulator, typically the LM1117-5.0 or an equivalent SOT-223 package LDO. According to the Texas Instruments LM1117 datasheet, this component can technically survive up to 20V, but the recommended operating ceiling is 12V to maintain thermal stability. Conversely, cheap clones often substitute this with lower-binned AMS1117 chips that lack internal thermal shutdown protection, making them highly susceptible to catastrophic failure when pushed beyond 9V.
The Math Behind Thermal Throttling and Power Dissipation
To truly master the Vin Arduino Nano pin, you must understand the thermodynamics of linear voltage regulation. A linear regulator operates by dropping excess voltage across a pass transistor. The power dissipated as heat ($P_d$) is calculated using the following formula:
$P_d = (V_{in} - V_{out}) \times I_{load}$
Let us apply this to a real-world scenario. Suppose you are powering a classic Nano via the Vin pin using a 12V DC wall adapter. Your project includes the ATmega328P, a 5V relay module, and an I2C OLED display, drawing a combined current ($I_{load}$) of 150mA (0.15A).
- Voltage Drop: $12V - 5V = 7V$
- Power Dissipated: $7V \times 0.15A = 1.05W$
While 1.05W sounds negligible, it is massive for a surface-mount SOT-223 package without a dedicated heatsink. The thermal resistance junction-to-ambient ($\theta_{JA}$) for a standard SOT-223 on a basic 2-layer PCB is approximately 60°C/W. This means the regulator's internal silicon junction will rise by roughly 63°C above ambient room temperature. If your enclosure sits at 30°C, the regulator junction hits 93°C. While this is below the typical 125°C thermal shutdown threshold, it is hot enough to cause severe discomfort if touched and will drastically reduce the lifespan of surrounding electrolytic capacitors.
Step-by-Step: Calculating Your Safe Current Draw
To ensure your project does not trigger thermal shutdown, follow this engineering workflow:
- Identify your $V_{in}$: Measure the actual output of your power supply with a multimeter. A nominal 12V adapter might actually output 12.6V under load.
- Estimate Total Current: Sum the quiescent current of the Nano (~19mA) and all peripherals powered from the 5V pin.
- Calculate $P_d$: Use the formula above. Keep $P_d$ below 0.8W for continuous operation in an enclosed space without active cooling.
- Verify Dropout: Ensure your $V_{in}$ is at least $V_{out} + 1.5V$ (i.e., minimum 6.5V) to prevent the regulator from dropping out of regulation, which causes brownouts and erratic microcontroller behavior.
Real-World Failure Modes When Pushing the Vin Pin
Through extensive teardowns and field testing, we have cataloged the most common failure modes associated with misusing the Vin pin on Nano boards. Understanding these edge cases is crucial for robust voltage regulator design.
- Thermal Cycling and Solder Joint Fatigue: When a clone board is subjected to repeated high-load cycles (e.g., a motor turning on and off), the LDO rapidly heats up and cools down. Over months of operation, this thermal expansion and contraction causes micro-fractures in the SOT-223 solder joints, leading to intermittent power loss.
- Input Capacitor Dielectric Breakdown: The classic Nano features a small electrolytic capacitor (typically 10µF to 22µF) on the Vin line. These are often rated for 16V. If you connect a 19V laptop charger to the Vin pin, voltage spikes during connection can exceed the capacitor's dielectric limit, causing it to vent or short out, effectively killing the board's power rail.
- Reverse Polarity Destruction: Unlike the barrel jack on the Arduino Uno, which includes a reverse-polarity protection diode, the Vin pin on the Nano is largely unprotected. Accidentally swapping the positive and negative leads from a battery pack will instantly destroy the LDO and potentially back-feed 5V components.
- USB Back-Feeding Conflicts: If you supply 12V to the Vin pin while simultaneously having the USB cable plugged into a PC, the board's internal Schottky diode (or ideal diode controller) attempts to isolate the rails. On poorly manufactured clones, this diode is often omitted or undersized, allowing 12V to back-feed into your computer's USB port, risking severe damage to your motherboard.
Expert Verdict: When to Use Vin vs. Alternatives
The Vin Arduino Nano pin is perfectly suited for low-current, quick-prototype scenarios where a 7V to 9V battery pack is the only available power source. For example, powering a standalone Nano with a few low-draw sensors from a 9V alkaline battery is an excellent use case, as the low current draw (~30mA) keeps thermal dissipation well under 0.2W.
However, for permanent installations, high-current peripherals (like Neopixel LED strips, servo motors, or Wi-Fi shields), or input voltages exceeding 10V, the onboard linear regulator is fundamentally inadequate. In these scenarios, we strongly recommend bypassing the Vin pin entirely. Instead, utilize an external switching buck converter (such as an MP1584 or LM2596 module) to step your raw 12V or 24V source down to a highly regulated 5.0V. Feed this directly into the Nano's 5V pin. This approach shifts the thermal burden off the tiny SOT-223 LDO and onto a high-efficiency switching regulator capable of delivering 2A to 3A of current with minimal heat generation.
Ultimately, treating the Vin pin as a high-current power delivery solution is a recipe for thermal throttling and hardware degradation. By respecting the mathematical limits of linear regulation and selecting the right board variant for your voltage requirements, you can ensure your embedded projects remain stable, efficient, and resilient in the field.