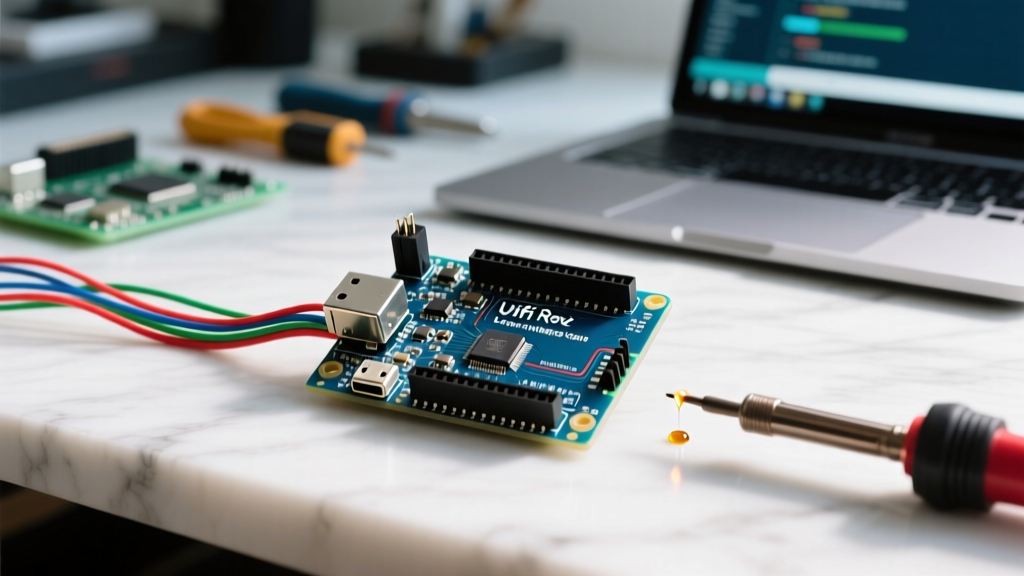

The 2026 Landscape: Legacy Hardware Meets Modern IoT
If you have just unboxed an Arduino Uno WiFi Rev2 or found one in your lab's parts bin, you are holding a fascinating piece of microcontroller history. Originally released to bridge the gap between classic 8-bit AVR architecture and modern IoT connectivity, this board paired the ATmega4809 with a u-blox NINA-W102 ESP32 module. However, as of 2026, Arduino has officially retired the Rev2 in favor of the vastly superior Arduino Uno R4 WiFi.
This does not mean your board is obsolete. For beginners, the Rev2 remains an excellent platform for learning dual-processor architectures, local network communication, and sensor integration. This guide will walk you through the exact setup requirements, notorious firmware pitfalls, and practical troubleshooting steps to get your Rev2 online. Finally, we will provide a concrete migration framework for when you are ready to upgrade your code to the modern R4 ecosystem.
Hardware Architecture: Inside the ATmega4809 & NINA-W102
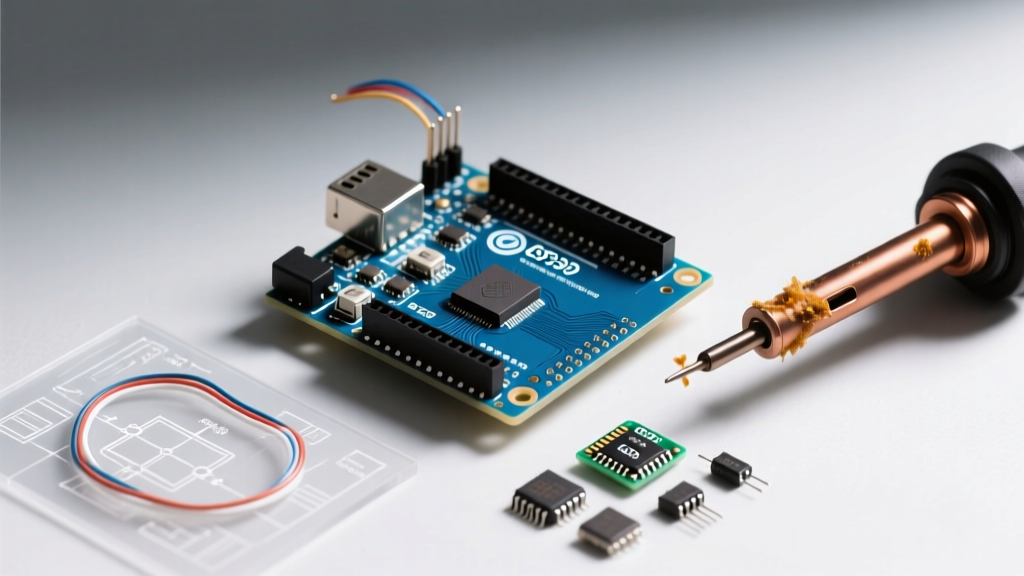
Unlike the classic Uno R3, which relies solely on the ATmega328P, the Rev2 is a heterogeneous system. The main microcontroller is the Microchip ATmega4809 (a megaAVR chip), while the network processing is offloaded to the u-blox NINA-W102 (an ESP32-based module). Furthermore, the board includes an onboard LSM6DS3 IMU (accelerometer and gyroscope) and a Microchip ATECC608A cryptographic chip for secure TLS connections.
Expert Insight: The NINA-W102 module draws approximately 120mA to 180mA during peak WiFi transmission bursts. If you are powering the Rev2 via the 5V pin from an external buck converter, ensure your power supply can deliver at least 500mA to prevent brownout resets during network handshakes.
Specification Matrix: Rev2 vs. Modern R4 WiFi
| Feature | Uno WiFi Rev2 (Legacy) | Uno R4 WiFi (2026 Standard) |
|---|---|---|
| Main MCU | ATmega4809 (8-bit AVR) | Renesas RA4M1 (32-bit ARM Cortex-M4) |
| Clock Speed | 16 MHz | 48 MHz |
| Flash / SRAM | 48 KB / 6 KB | 256 KB / 32 KB |
| WiFi Module | u-blox NINA-W102 (ESP32) | ESP32-S3-MINI-1 |
| ADC Resolution | 10-bit | 14-bit |
| Current Retail/Market Price | ~$55 - $70 (Secondary/NOS) | ~$28 - $32 (Direct Retail) |
Step-by-Step IDE Setup & NINA Firmware Flashing
The most common point of failure for beginners setting up the Arduino Uno WiFi Rev2 is a mismatch between the board's firmware and the IDE libraries. Follow this exact sequence to ensure a stable environment.
- Install the Correct Board Package: Open the Arduino IDE (version 2.3 or newer). Navigate to Tools > Board > Boards Manager. Search for
Arduino megaAVR Boardsand install the latest release. Do not use the standard "Arduino AVR Boards" package, as it lacks the ATmega4809 registers. - Select the Board and Port: Go to Tools > Board and select Arduino Uno WiFi Rev2 under the megaAVR section. Select your active COM port.
- Install the WiFiNINA Library: Open the Library Manager and install the
WiFiNINAlibrary by Arduino. This library is explicitly written to communicate with the u-blox NINA module via the onboard SPI bus. - Update the NINA Firmware (Critical): Out-of-the-box Rev2 boards often ship with outdated ESP32 firmware that conflicts with the latest WiFiNINA library.
- Navigate to File > Examples > WiFiNINA > Tools > FirmwareUpdater.
- Upload the sketch to your Rev2.
- Open the Serial Monitor, set the baud rate to 115200, and follow the on-screen prompts to flash the latest NINA firmware binary directly from the IDE.
For comprehensive official pinout diagrams and legacy schematics, refer to the Arduino Uno WiFi Rev2 Documentation.
Critical Troubleshooting: Rev2 Edge Cases
Working with retired or legacy hardware requires an understanding of its specific quirks. Here are the most frequent failure modes encountered by beginners and how to resolve them.
1. The "WL_CONNECT_FAILED" Infinite Loop
If your serial monitor is stuck printing WL_CONNECT_FAILED despite correct SSID and password credentials, the issue is almost always a SPI bus contention or a firmware mismatch. The ATmega4809 communicates with the NINA module via the ICSP header pins. If you have a shield attached that utilizes the SPI bus (pins 11, 12, 13) without properly managing the Chip Select (CS) pins, the WiFi module will fail to initialize. Fix: Ensure any external SPI devices use a dedicated CS pin and are set to HIGH before calling WiFi.begin().
2. I2C Logic Level Translation Bugs
The ATmega4809 operates at 5V logic, but the NINA-W102 and the LSM6DS3 IMU operate at 3.3V. The Rev2 includes onboard MOSFET-based level shifters on the I2C lines (A4/A5). However, if you are connecting external 5V I2C sensors (like older LCD backpacks), the pull-up resistors on the 5V side can sometimes overpower the translation circuit, causing the internal 3.3V sensors to drop off the bus. Fix: Use an external dedicated I2C multiplexer (like the TCA9548A) or a dedicated bidirectional level shifter module for external 5V peripherals.
3. Cryptographic Chip Initialization Failures
When attempting to connect to AWS IoT or Azure via MQTT using TLS, beginners often utilize the onboard ATECC608A chip. If the ArduinoECCX08 library throws a 0x01 initialization error, the chip's internal configuration lock has likely been corrupted or was never set at the factory. You must run the ECCX08SelfTest example sketch to verify the chip's health before attempting to provision certificates.
The 2026 Reality: Migrating to the Arduino Uno R4 WiFi
While the Rev2 is a capable learning tool, commercial and advanced hobbyist projects in 2026 should utilize the Arduino Uno R4 WiFi. The R4 replaces the 8-bit AVR with a 32-bit ARM Cortex-M4 and upgrades the network module to the ESP32-S3, which supports WiFi 4 and Bluetooth 5 LE natively. For detailed specifications on the modern successor, review the Arduino Uno R4 WiFi Hardware Guide.
Code Migration Checklist
Transitioning your sketch from the Rev2 to the R4 WiFi requires specific library and syntax updates. The ESP32-S3 on the R4 is wired directly to the RA4M1 via a hardware UART bridge, eliminating the complex SPI bottlenecks of the Rev2.
- Library Swap: Replace
#include <WiFiNINA.h>with#include <WiFiS3.h>. The WiFiS3 library is optimized for the ESP32-S3 UART bridge. - Server Class Updates: The
WiFiServerandWiFiClientclasses remain largely compatible, but timeout behaviors differ. Increase yourclient.setTimeout()values by 20% to account for the ARM Cortex-M4's faster execution loop. - ADC Resolution Adjustments: The Rev2 defaults to 10-bit analog reads (0-1023). The R4 defaults to 12-bit (0-4095). You must either add
analogReadResolution(10);in yoursetup()function to maintain legacy math, or update your voltage divider calculations to utilize the full 14-bit hardware capability. - IMU Removal: The R4 WiFi does not include the onboard LSM6DS3 IMU. If your project relies on the
Arduino_LSM6DS3.hlibrary, you will need to wire an external I2C IMU module to the R4's Qwiic connector or A4/A5 pins.
Sourcing and Pricing in the Secondary Market
Because Arduino has ceased manufacturing the Uno WiFi Rev2, you cannot purchase it directly from the official Arduino store. If you are sourcing this board for a university lab or a legacy repair project in 2026, expect to navigate the secondary market.
New Old Stock (NOS) units on platforms like Amazon, eBay, or specialized surplus electronics vendors typically range between $55.00 and $70.00 USD. Beware of counterfeit clones; the Rev2's complex multi-chip layout (ATmega + ESP32 + Crypto + IMU) is rarely cloned accurately due to the high BOM cost. If you see a "Rev2 WiFi" selling for $18, it is almost certainly a mislabeled standard Uno R3 with a cheap ESP-01 shield taped to the headers. Always verify the presence of the u-blox NINA module and the Microchip crypto chip near the USB port.
Frequently Asked Questions
Can I program the ESP32 module directly on the Rev2?
Technically, yes, but it is highly discouraged for beginners. The NINA-W102 is wired as a slave coprocessor. Reprogramming it with custom ESP-IDF firmware breaks the SPI bridge to the ATmega4809, effectively destroying the board's ability to use standard Arduino WiFiNINA libraries. Stick to the ATmega4809 as your primary code host.
Does the Rev2 support Over-The-Air (OTA) updates?
Out of the box, the Arduino IDE's OTA features are tailored for standard ESP32 or ESP8266 boards. To achieve OTA on the Rev2, you must implement a custom bootloader on the ATmega4809 and write a specialized TCP/UDP listener sketch that receives the compiled binary via the NINA module and writes it to the AVR's flash memory. For native, beginner-friendly OTA, the Uno R4 WiFi or a standalone ESP32 board is highly recommended.
For further exploration of the underlying network library architecture, you can review the source code and issue trackers on the WiFiNINA GitHub Repository. Understanding how the AVR handles SPI interrupts will vastly improve your debugging skills when working with legacy IoT hardware.