
The Anatomy of Arduino Uno SPI Pins
Serial Peripheral Interface (SPI) remains the undisputed standard for short-distance, high-speed communication in embedded systems. Whether you are driving an ILI9341 TFT display, reading from a W25Q128 flash memory chip, or interfacing with a high-resolution ADC, understanding the physical and electrical limitations of your microcontroller's SPI bus is critical. For the classic Arduino Uno (ATmega328P), the hardware SPI peripheral is deeply tied to specific I/O pins, dictating how you route your PCB traces and wire your breadboards.
Primary Digital Pinout vs. ICSP Header
Most hobbyists route SPI using the standard digital headers. However, expert embedded engineers know that the Uno actually breaks out these exact same SPI lines in two separate physical locations. Relying solely on the digital pins can lead to shield compatibility issues, which is why the ICSP (In-Circuit Serial Programming) header is the preferred routing method for custom shield design.
| SPI Function | Uno Digital Pin | ATmega328P Port | ICSP Header Pin |
|---|---|---|---|
| MOSI (Master Out Slave In) | 11 | PORTB3 | 4 |
| MISO (Master In Slave Out) | 12 | PORTB4 | 1 |
| SCK (Serial Clock) | 13 | PORTB5 | 3 |
| SS (Slave Select / CS) | 10 | PORTB2 | N/A (User Defined) |
Expert Insight: Pin 10 (SS) must be configured as anOUTPUTin yoursetup()function, even if you are using a different pin for your actual Chip Select. If Pin 10 is left as anINPUTand pulled low by external circuitry, the ATmega328P hardware SPI peripheral will automatically demote itself to Slave mode, causing silent, catastrophic communication failures.
Board Comparison Matrix: Uno vs. Mega vs. ESP32
While the Arduino Uno is the baseline for prototyping, its single SPI bus and 5V logic architecture often become bottlenecks in complex 2026 IoT and robotics projects. Below is a hardware-level comparison of the Uno against other popular development boards to help you select the right platform for SPI-heavy architectures.
| Feature | Arduino Uno R3/R4 | Arduino Mega 2560 | ESP32 DevKit V1 |
|---|---|---|---|
| Hardware SPI Buses | 1 | 1 | 3 (SPI, HSPI, VSPI) |
| Logic Voltage | 5V | 5V | 3.3V |
| Max Practical Clock | 8 MHz | 8 MHz | 80 MHz |
| Default MOSI/MISO/SCK | 11 / 12 / 13 | 51 / 50 / 52 | GPIO 23 / 19 / 18 (VSPI) |
| DMA Support | No | No | Yes |
When to Upgrade from the Uno
- Stick with the Uno: If your project uses a single SPI device (like an SD card module or a basic RFID reader) and operates in a low-noise environment where 5V logic is acceptable.
- Upgrade to the Mega 2560: Only if you need more general-purpose I/O pins for multiple independent Chip Select (CS) lines, as the Mega still only possesses a single hardware SPI bus.
- Upgrade to the ESP32: Mandatory if you are driving high-resolution TFT displays, reading high-speed ADCs, or utilizing modern 3.3V sensors. The ESP32's DMA (Direct Memory Access) capabilities allow it to push pixel data to displays without blocking the main CPU loop, a feat the Uno's ATmega328P simply cannot achieve.
The 8MHz Bottleneck: Signal Integrity and Parasitic Capacitance
The ATmega328P runs at a 16MHz system clock. According to the Arduino SPI Reference, the maximum hardware SPI clock speed is F_CPU/2, yielding an 8MHz theoretical maximum. However, pushing 8MHz on a breadboard using standard 20cm Dupont jumper wires is a recipe for signal degradation.
At 8MHz, the square wave clock signal (SCK) is highly susceptible to parasitic capacitance and crosstalk. Unshielded jumper wires introduce approximately 15pF to 30pF of capacitance. This capacitance rounds the sharp edges of the clock signal, potentially causing the slave device to misinterpret clock pulses, resulting in corrupted data bytes or shifted pixels on a display.
Mitigating High-Speed SPI Failures
- Shorten the Bus: Keep SPI traces or wires under 10cm. If you must run SPI over a distance, use a dedicated SPI bus extender IC like the NXP PCA9615, which converts the SPI signals to a differential I2C-like signal for long-haul transmission.
- Lower the Clock Divider: If data corruption occurs, use
SPI.setClockDivider(SPI_CLOCK_DIV4)to drop the bus speed to 4MHz. This provides a wider timing margin for the slave device to sample the MISO/MOSI lines. - Add Series Termination Resistors: Placing 33Ω to 50Ω resistors in series with the MOSI and SCK lines near the master (Uno) helps dampen high-frequency ringing caused by trace inductance.
The 5V Logic Trap: Interfacing 3.3V SPI Sensors
Perhaps the most common hardware failure mode when using the Arduino Uno for SPI is ignoring logic level thresholds. The vast majority of modern SPI peripherals—including the BME280 environmental sensor, MPU9250 IMU, and modern NAND flash chips—operate strictly at 3.3V. Feeding the Uno's 5V MOSI and SCK signals directly into a 3.3V slave will degrade the slave's internal ESD protection diodes over time, eventually leading to permanent silicon damage.
Furthermore, while the Uno outputs 5V, its MISO pin requires a solid 5V HIGH signal to register a logic '1'. A 3.3V sensor outputting 3.3V on MISO might fall into the ATmega328P's undefined logic threshold zone (Vih minimum is typically 0.6 * VCC, or 3.0V, leaving almost zero noise margin).
Hardware Solutions for Level Shifting
To safely bridge the Uno's 5V SPI bus to a 3.3V peripheral, you must use a bidirectional logic level shifter. Avoid cheap resistor-divider networks for SPI; the parasitic capacitance of the resistors will destroy your 8MHz clock edges.
- BSS138 MOSFET Breakouts: Costing around $1.50, these use N-channel MOSFETs to shift levels with minimal capacitance. They are reliable up to about 2-4MHz.
- TXS0108E / TXB0106: Texas Instruments auto-direction sensing shifters. These are the gold standard for high-speed SPI, easily handling the Uno's 8MHz clock without edge degradation. Expect to pay $3.00 to $5.00 for a pre-assembled breakout board.
Managing Multiple SPI Slaves on the Uno
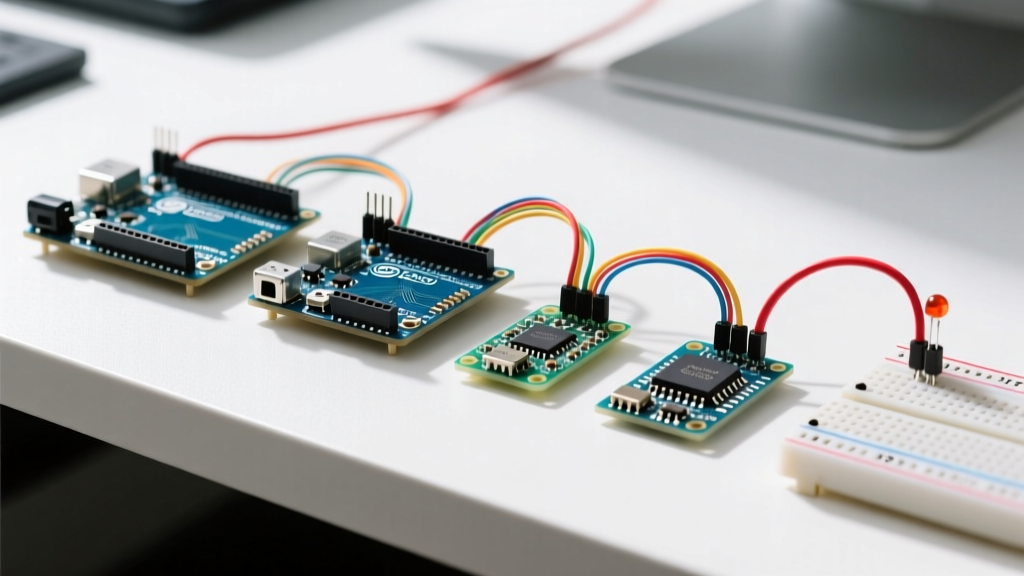
Because the Uno only has one hardware SPI bus, connecting multiple devices (e.g., an SD card and an OLED display) requires sharing the MOSI, MISO, and SCK lines. The SparkFun SPI Tutorial correctly identifies that the devices are isolated using individual Chip Select (CS) lines. However, sharing the bus introduces software conflicts.
If Library A (for the SD card) sets the SPI clock to 4MHz, and Library B (for the display) expects 8MHz, calling functions from both libraries in the same loop() will cause one device to fail. The modern, robust solution is to use the SPI.beginTransaction() and SPI.endTransaction() methods.
SPISettings settingsSD(4000000, MSBFIRST, SPI_MODE0);
SPISettings settingsDisplay(8000000, MSBFIRST, SPI_MODE0);

void loop() {
  // Talk to SD Card
  SPI.beginTransaction(settingsSD);
  digitalWrite(CS_SD, LOW);
  // ... SD transfer code ...
  digitalWrite(CS_SD, HIGH);
  SPI.endTransaction();

  // Talk to Display
  SPI.beginTransaction(settingsDisplay);
  digitalWrite(CS_Display, LOW);
  // ... Display transfer code ...
  digitalWrite(CS_Display, HIGH);
  SPI.endTransaction();
}
Final Verdict for System Architects
The Arduino Uno's SPI pins (11, 12, 13, and 10) offer a reliable, well-documented entry point for learning synchronous serial communication. Its 5V logic and 8MHz speed limit are perfectly adequate for basic data logging and low-speed sensor polling. However, as project complexity scales—requiring multiple high-speed peripherals, DMA-driven displays, or native 3.3V integration—the Uno's single SPI bus becomes a severe architectural bottleneck. For advanced SPI topologies in 2026, migrating to an ESP32 or a dedicated 3.3V ARM Cortex-M board is not just a luxury; it is an electrical necessity.