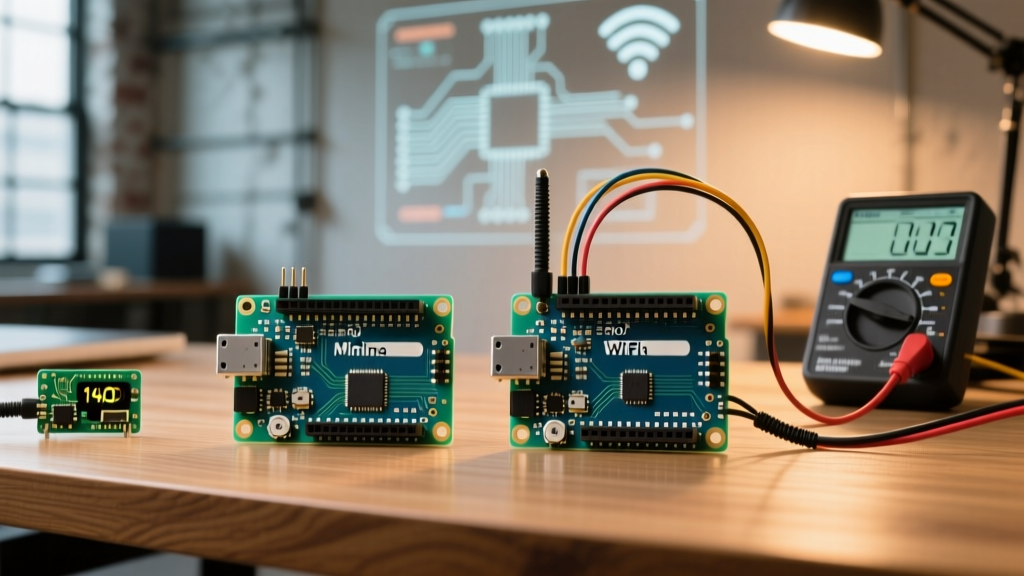

The Architecture Shift: Goodbye ATmega, Hello Renesas RA4M1
For over a decade, the Arduino Uno relied on the 8-bit ATmega328P. The Arduino Uno R4 fundamentally rewrites this legacy by migrating to a 32-bit ARM Cortex-M4 architecture via the Renesas RA4M1 microcontroller. Clocked at 48 MHz, the RA4M1 delivers a massive leap in computational throughput, floating-point math capabilities (thanks to the hardware FPU), and memory density. But beneath the familiar blue silkscreen and R3-compatible header layout lies a suite of advanced peripherals that most hobbyists completely overlook.
This deep dive bypasses the basic blink tutorials to explore the hidden hardware features, thermal edge cases, and architectural nuances of both the Uno R4 Minima and Uno R4 WiFi models as they stand in the 2026 development ecosystem.
Arduino Uno R4 Minima vs. WiFi: Feature Comparison Matrix
While both boards share the same Renesas RA4M1 core, their auxiliary hardware targets entirely different project scopes. Below is a technical breakdown of the hardware deltas.
| Specification | Uno R4 Minima | Uno R4 WiFi |
|---|---|---|
| Core MCU | Renesas RA4M1 (48MHz, Cortex-M4) | Renesas RA4M1 (48MHz, Cortex-M4) |
| Flash / SRAM | 256 KB / 32 KB | 256 KB / 32 KB |
| Wireless Coprocessor | None | ESP32-S3 (8MB Flash, 2MB PSRAM) |
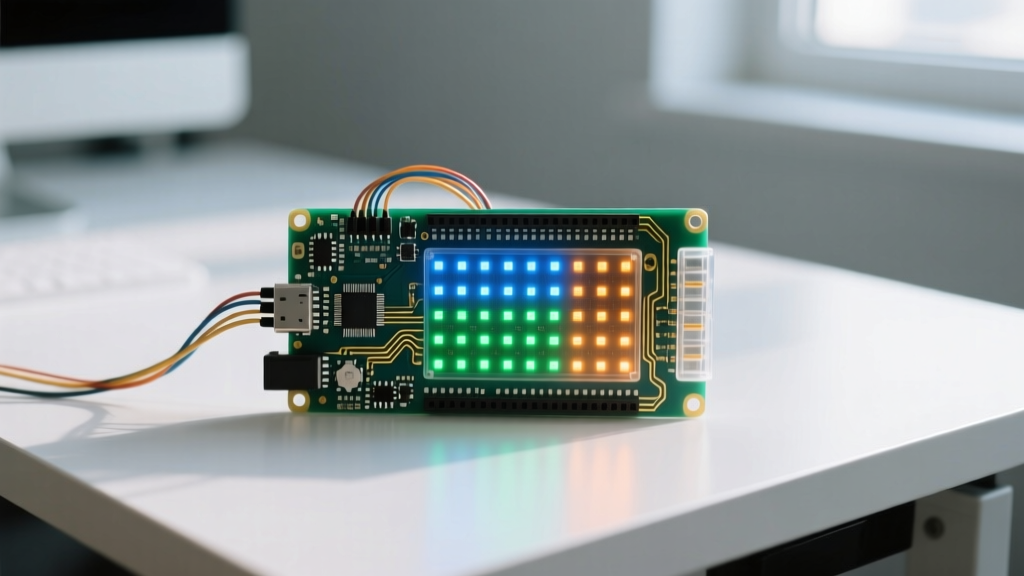
| LED Matrix | None | 12x8 Red LED Matrix (Addressable) |
| USB Connector | USB-C (Data + 5V Power) | USB-C (Data + 5V Power) |
| Qwiic / I2C Connector | Yes (Onboard) | Yes (Onboard) |
| Typical 2026 Price | $19.90 USD | $27.50 USD |
Hidden Hardware Features You Need to Exploit
The standard Arduino API abstracts away the most powerful features of the RA4M1. To extract maximum value from the Uno R4, you must dig into the hardware registers and extended libraries.
1. Unlocking the True 14-Bit ADC
The RA4M1 features a 14-bit Analog-to-Digital Converter. However, to maintain backward compatibility with legacy AVR code, the Arduino core defaults to a 10-bit resolution (returning values from 0 to 1023). If you are reading precision sensors like load cells or thermistors, leaving it at 10-bit wastes 93% of the hardware's resolution.
Actionable Fix: Add analogReadResolution(14); in your setup() loop. This expands your return values to 0–16,383, drastically reducing quantization noise without requiring an external MCP3421 breakout board.
2. The Internal Programmable Gain Amplifier (PGA)
One of the most underutilized features documented in the official Arduino Uno R4 Minima docs is the internal operational amplifier. The RA4M1 includes an internal op-amp that can be routed to specific GPIO pins.
- Use Case: Amplifying low-voltage shunt resistor signals (e.g., a 50mV drop across a current shunt) directly to the 0-5V ADC range.
- Edge Case: The internal op-amp has a typical input offset voltage of around 2mV. For ultra-precision micro-amp current sensing, you still need an external zero-drift amplifier like the INA219. But for general motor current monitoring, the internal PGA saves board space and BOM cost.
3. Native 5V Tolerance in a 32-Bit World
Migrating to 32-bit ARM usually means accepting 3.3V logic and risking silicon death if you accidentally connect a 5V sensor. The Renesas RA4M1 is a rare exception: its GPIOs are natively 5V tolerant. You can directly interface legacy 5V modules (like the HC-SR04 ultrasonic sensor or standard 5V I2C LCDs) without logic level shifters. This makes the Uno R4 vastly superior to the ESP32 or Raspberry Pi Pico for mixed-voltage bench prototyping.
CAN Bus Support: The Missing Transceiver
The RA4M1 includes a native CAN 2.0B peripheral, making the Uno R4 an excellent candidate for automotive or industrial robotics networks. However, a common point of confusion for beginners is that neither the Minima nor the WiFi board includes the physical CAN transceiver chip (like a TJA1050 or MCP2551).
Pro-Tip for CAN Integration: You cannot wire CAN_H and CAN_L directly to the microcontroller pins. You must wire the RA4M1's CAN TX/RX pins to an external 3.3V/5V CAN transceiver module. Ensure you use a transceiver with a 3.3V logic output to avoid back-feeding the 5V tolerant pins unnecessarily, though the RA4M1 can handle it.
Power Delivery Nuances and Thermal Limits
The transition to USB-C on the Uno R4 was highly requested, but it comes with specific power delivery caveats that have caught many engineers off guard.
The USB-C PD Misconception
The USB-C port on the Uno R4 does not support USB Power Delivery (PD) negotiation. It lacks the necessary pull-down resistors on the CC lines to request 9V, 12V, or 20V from a PD charger. It will strictly negotiate 5V. If you need higher voltage for motor drivers, you must use the barrel jack or the VIN pin.
VIN Pin Thermal Throttling
The VIN pin accepts 6V to 24V. However, the board uses a linear voltage regulator to step this down to 5V. If you supply 24V to VIN and attempt to draw 200mA from the 5V rail, the regulator must dissipate nearly 4 Watts of heat. The copper pours on the PCB act as a heatsink, but in a 2026 enclosed IoT project, this will trigger thermal shutdown. Rule of Thumb: If your 5V load exceeds 100mA, keep the VIN input at or below 12V, or bypass the onboard regulator entirely by feeding a regulated 5V directly into the 5V header pin.
Real-World Failure Modes and Troubleshooting
Based on field deployments and community telemetry, here are the most common hardware and firmware edge cases associated with the Uno R4 platform:
- ESP32-S3 Bridge Firmware Corruption (WiFi Model): The ESP32-S3 handles the 12x8 LED matrix and network stack. If you upload a sketch that aggressively bit-bangs the SPI pins connected to the ESP32, you can crash the coprocessor or corrupt its bridge firmware. Fix: Use the 'ESP32-S3 Firmware Updater' sketch included in the Arduino IDE 2.3.x examples to reflash the bridge.
- USB-C Hub Enumeration Failures: Some unpowered USB 3.0 hubs fail to enumerate the RA4M1's USB peripheral due to strict timing requirements. Always plug the Uno R4 directly into a motherboard root port or a powered hub when doing heavy serial debugging.
- I2C Pull-up Resistor Conflicts: The onboard Qwiic connector includes 4.7k pull-up resistors. If you daisy-chain multiple external I2C sensors that also have pull-ups, the parallel resistance drops, causing signal rise-time issues at 400kHz. Fix: Drop the I2C clock to 100kHz using
Wire.setClock(100000);or physically cut the pull-up traces on your external breakouts.
2026 Pricing and Sourcing Verdict
As of early 2026, the Arduino Uno R4 WiFi retails consistently around $27.50, while the Minima sits at $19.90. For educational labs and pure offline data-logging, the Minima is the undisputed champion due to its raw 5V-tolerant I/O and low cost. However, if your project requires MQTT telemetry, OTA updates, or Arduino Cloud integration, the WiFi model's inclusion of the ESP32-S3 and the visual debugging capability of the 12x8 LED matrix easily justifies the $7.60 premium.
For a comprehensive look at the underlying silicon, engineers should review the Renesas RA4M1 product overview to understand the exact memory mapping and DMA channel configurations that the standard Arduino core abstracts away.