
The Great Divide: Budget Clones vs. Premium Silicon
The ESP32 ecosystem has completely transformed the landscape of DIY electronics and professional IoT prototyping. However, as the platform has matured, a distinct bifurcation has emerged in the hardware market. On one side, you have the ultra-cheap, mass-produced generic development boards flooding global marketplaces. On the other, you have premium, officially supported development kits with advanced features like native USB and integrated JTAG debugging. When you sit down to configure the Arduino IDE for ESP32, the hardware you choose dictates your entire development experience, from driver installation to deployment reliability.
In this comprehensive guide, we break down the real-world differences between the budget and premium ESP32 hardware tiers, specifically analyzing how they interact with the modern Arduino IDE 2.x environment. Whether you are building a $5 smart home sensor or a $50 commercial IoT gateway prototype, understanding these trade-offs is critical for project success.
The Budget Tier: The $5 ESP32-WROOM-32 Clone Experience
The 'budget' route almost always involves purchasing generic ESP32-DevKitC V4 clones equipped with the standard ESP32-WROOM-32E module. Sourced from platforms like AliExpress or Amazon bulk packs, these boards typically cost between $4.00 and $6.50 per unit. They are the undisputed champions of cost-effective IoT deployment, but they come with distinct friction points when using the Arduino IDE for ESP32.
Setup and the 'Board Manager' Dance
Out of the box, the Arduino IDE does not natively recognize generic Espressif silicon. You must manually add the official Espressif Arduino Core JSON URL to your IDE preferences. While this process is well-documented, it introduces versioning complexities. Budget boards often ship with older flash memory chips (like certain XMC or generic unbranded SPI flash) that may require specific 'Flash Frequency' and 'Flash Mode' adjustments in the IDE tools menu to prevent boot loops.
The UART Bottleneck and Driver Fatigue
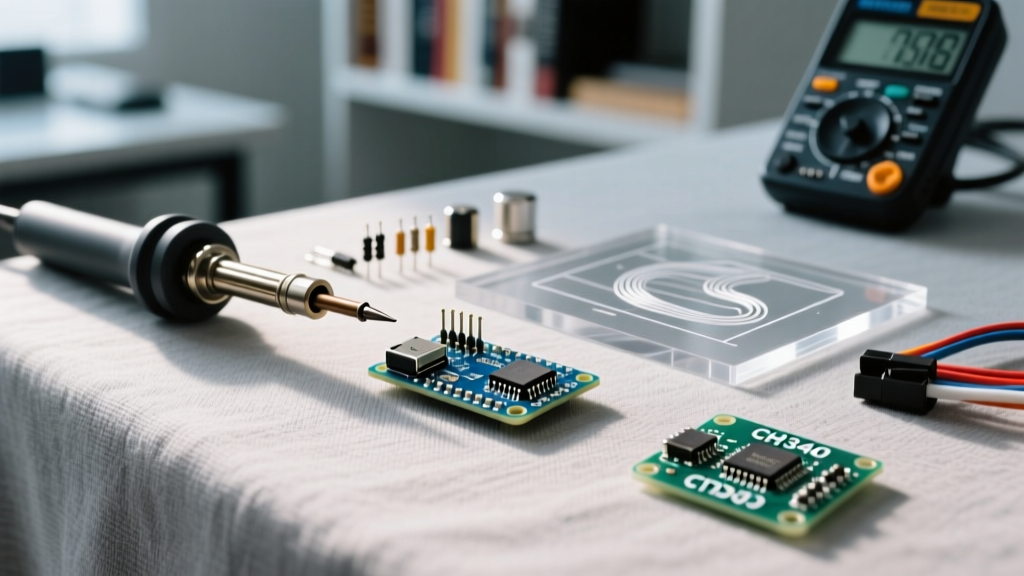
Budget boards rely on external USB-to-UART bridge chips to communicate with the IDE. The most common are the CH340G, CH340C, and CP2102N.
- CH340G/CH340C: Notorious for causing driver conflicts on Windows 11 updates. You will frequently find yourself hunting for specific legacy drivers just to get the IDE's Serial Monitor to connect.
- CP2102N: Generally more stable and supports higher baud rates, but slightly increases the board cost.
The Premium Tier: Arduino Nano ESP32 & ESP32-S3 DevKits
The premium tier shifts the focus from raw cost-savings to developer experience and advanced silicon capabilities. This tier includes the official Arduino Nano ESP32 (retailing around $27.00) and high-end Espressif dev kits like the ESP32-S3-DevKitC-1-N8R8 ($15.00 - $18.00).
Native Integration and USB-CDC
The most profound advantage of premium boards in the Arduino IDE is native USB support. The Arduino Nano ESP32 is recognized instantly by the IDE without requiring third-party JSON board manager URLs. More importantly, the ESP32-S3 silicon features native USB-CDC (Communication Device Class). This eliminates the external UART chip entirely. The 'Boot Button Dance' is replaced by automatic software reset via the USB data lines. Additionally, native USB unlocks HID (Human Interface Device) capabilities, allowing your ESP32 to act as a native keyboard or mouse using the standard Arduino USB.h libraries—a feat impossible on standard budget WROOM boards without complex workarounds.
Expert Insight: When designing a product for mass manufacture, prototyping on a premium native-USB board like the S3 saves dozens of hours in firmware debugging, even if the final production PCB downgrades to a standard ESP32-C3 to save $1.50 per unit on the BOM.
Head-to-Head Comparison Matrix
| Feature | Budget (Generic WROOM-32 Clone) | Premium (Nano ESP32 / S3 DevKit) |
|---|---|---|
| Average Cost | $4.00 - $6.50 | $16.00 - $28.00 |
| IDE Setup | Requires Espressif JSON URL | Native / Official Arduino Core |
| USB Interface | External UART (CH340/CP2102) | Native USB-CDC / JTAG |
| Code Upload | Manual BOOT button required | Automatic software reset |
| Hardware Debugging | Not supported via USB | Native JTAG via USB-CDC |
| Power Delivery | Micro-USB (Often thin VBUS traces) | USB-C (Robust power regulation) |
Toolchain and Debugging: Serial Prints vs. Hardware JTAG
One of the most significant upgrades in Arduino IDE 2.x is the introduction of a dedicated hardware debugging tab. How you utilize this feature depends entirely on your hardware tier.
The Budget Debugging Bottleneck
On a $5 clone board, your debugging options are strictly limited to Serial.println() statements and software-based assertions. If your code crashes due to a memory leak or a watchdog timer (WDT) reset, you are left deciphering raw hex stack traces in the Serial Monitor. While tools like the 'EspExceptionDecoder' exist, they require manual copy-pasting and are inherently reactive rather than proactive.
Unlocking Hardware Debugging in Arduino IDE 2.x
Premium ESP32-S3 boards and the Arduino Nano ESP32 expose the internal JTAG interface directly through the native USB-C pins. By simply selecting the 'Debug' tab in Arduino IDE 2.x and choosing 'CMSIS-DAP' or 'J-Link' as the debugger, you gain access to:
- Live Breakpoints: Pause execution inside complex ISR (Interrupt Service Routines) without crashing the radio stack.
- Memory Inspection: View real-time heap fragmentation and PSRAM allocation.
- Variable Watch: Monitor the exact state of FreeRTOS task queues as they execute.
Real-World Failure Modes & Edge Cases
Working extensively with both tiers reveals distinct hardware failure modes that directly impact your IDE workflow and code reliability. Adhering to the Espressif Hardware Design Guidelines is crucial, as budget manufacturers frequently ignore them.
The 'Brownout Detector' Loop
The Symptom: You upload a sketch utilizing WiFi and the Serial Monitor immediately spams: Brownout detector was triggered. The board enters an infinite boot loop.
The Cause: Budget clones use incredibly thin copper traces for the 5V to 3.3V LDO regulator path. When the ESP32 transmits a WiFi packet, it draws a transient spike of up to 350mA. The voltage drops below the 2.4V threshold, triggering the hardware brownout reset.
The Fix: Solder a 100µF electrolytic capacitor directly across the 5V and GND header pins on the dev board to act as a transient current reservoir. Do not attempt to disable the brownout detector in code; this masks a critical hardware flaw that will cause flash memory corruption over time.
Flash Memory Degradation on Clones
Cheap boards often utilize refurbished or out-of-spec SPI flash chips. When using the Arduino IDE's 'LittleFS' or 'SPIFFS' partition schemes for heavy data logging, these generic chips can develop bad sectors within a few months of continuous write cycles. Premium boards utilize certified Winbond or Macronix flash chips rated for 100,000+ erase cycles, ensuring your OTA (Over-The-Air) updates and local logging survive long-term deployment.
Final Verdict: Which Path Should You Choose?
The decision between budget and premium hardware when using the Arduino IDE for ESP32 comes down to your project phase and deployment scale.
If you are a hobbyist building a static, low-power sensor network, or a startup needing to deploy 50 temporary test nodes, the budget ESP32-WROOM-32 clones are unbeatable. Just be prepared to manage CH340 drivers, keep a soldering iron handy for capacitor fixes, and rely on serial debugging.
However, if you are developing complex firmware utilizing FreeRTOS, dual-core task management, or native USB HID features, the premium ESP32-S3 or Arduino Nano ESP32 is mandatory. The time saved by avoiding the boot-button dance, combined with the ability to use hardware JTAG breakpoints directly inside the Arduino IDE, pays for the $20 hardware premium within the first week of development.