
The Standard Arduino Uno Size: Exact Physical Specifications
The Arduino Uno form factor is arguably the most influential physical footprint in the modern maker ecosystem. Originally dictated by the length of the bulky USB Type-B connector and the ATmega328P DIP package, the Arduino Uno size has become a de facto industry standard for educational kits, prototyping shields, and off-the-shelf enclosures. Whether you are designing a custom 3D-printed housing or integrating a microcontroller into a commercial product, understanding the precise mechanical tolerances of this board is critical.
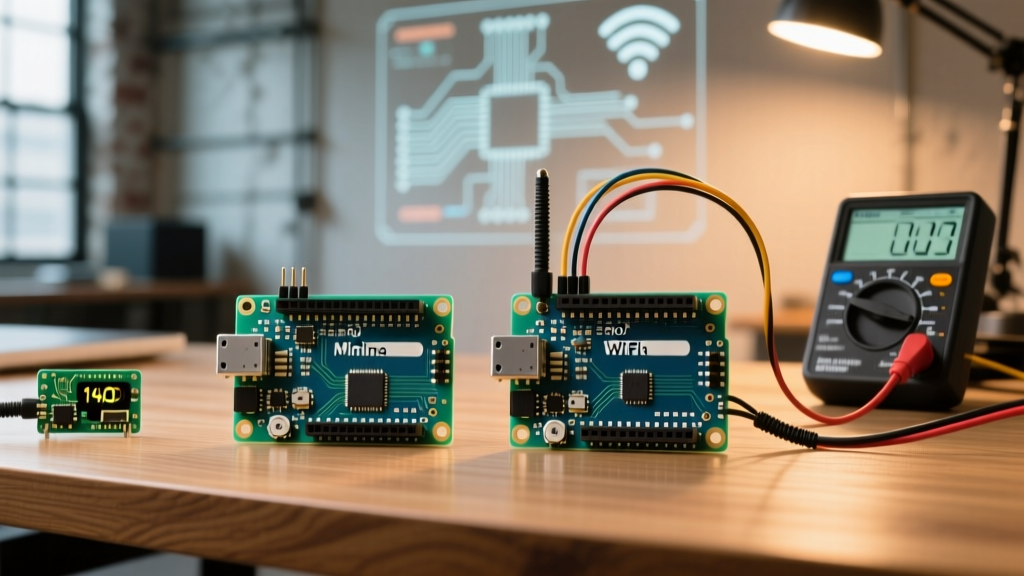
Below is the definitive mechanical breakdown of the genuine Arduino Uno R3 and the newer R4 Minima/WiFi variants, measured with digital calipers to ensure precision for CAD modeling and PCB design.
| Specification | Metric (mm) | Imperial (inches) | Engineering Notes |
|---|---|---|---|
| Board Length (X-axis) | 68.58 mm | 2.70" | Excludes USB/DC jack overhang |
| Board Width (Y-axis) | 53.34 mm | 2.10" | Measured at the widest PCB point |
| Mounting Hole Diameter | 3.20 mm | 0.126" | Fits standard M3 screws/standoffs |
| Header Pitch | 2.54 mm | 0.10" | Standard 0.1" pin spacing |
| Digital to Analog Header Gap | 48.26 mm | 1.90" | Distance between inner pin rows |
The Z-Axis Clearance Problem
While the X and Y dimensions are standardized, the Z-axis (height) is where most enclosure designers encounter failure modes. The base FR4 PCB is 1.6mm thick. Standard female stacking headers add 8.5mm, bringing the top of the pins to 10.1mm. However, the USB Type-B port peaks at 10.8mm, and the DC barrel jack peaks at 13.2mm. If you are designing a flush-mount lid, you must account for a minimum 14mm Z-axis clearance on the connector side, or the lid will crack under pressure.
With the release of the Arduino Uno R4 series, the mechanical footprint remains identical to maintain backward compatibility. However, the Uno R4 WiFi introduces an ESP32-S3 module and a 12x8 LED matrix on the top side, pushing localized Z-axis component heights to nearly 15mm. Always verify your specific board revision before finalizing CAD models.
How the Uno Footprint Dictates the Shield Ecosystem
The physical size of the Uno directly birthed the 'Arduino Shield' standard. Because the Uno's headers are spaced exactly 1.9 inches (48.26mm) apart on the long sides and 0.6 inches (15.24mm) on the short sides, thousands of third-party expansion boards have been manufactured to match this exact geometry. According to the Adafruit Arduino Shields Overview, this standardization allowed the ecosystem to scale rapidly, but it also introduced several persistent mechanical quirks.
Common Shield Clearance Pitfalls
When stacking shields on an Uno-sized board, the physical dimensions create specific edge cases that can short circuits or prevent proper seating:
- The USB Port Overhang: The USB Type-B connector extends approximately 1.5mm past the edge of the PCB. Shields with wide components (like large electrolytic capacitors or RJ45 Ethernet jacks) placed on the extreme bottom-left edge will physically collide with the USB housing, preventing the shield from seating fully into the female headers.
- The ICSP Header Offset: The 2x3 ICSP (In-Circuit Serial Programming) header is not perfectly aligned to the 0.1" grid relative to the main digital headers. Shields that attempt to route traces through the ICSP footprint without accounting for this slight offset often suffer from manufacturing shorts or require awkward via routing.
- Reset Button Accessibility: Many early motor and relay shields completely covered the Uno's tactile reset switch. Modern shield design guidelines now mandate a 10mm cutout or a secondary reset button routed to the shield's top plane.
Arduino Uno Size vs. The Broader Maker Ecosystem
While the Uno is the baseline, understanding its size relative to other popular development boards helps engineers choose the right platform for space-constrained projects. The table below compares the Uno's footprint against other staple microcontrollers in the 2026 landscape.
| Board Model | Dimensions (mm) | Approx. Area | Best Use Case |
|---|---|---|---|
| Arduino Uno R3/R4 | 68.6 x 53.4 | 3663 mm² | Education, Shield Stacking, Desktop Prototyping |
| Arduino Nano / Nano ESP32 | 45.7 x 18.5 | 845 mm² | Breadboarding, Compact IoT, Wearables |
| Arduino Mega 2560 | 101.5 x 53.3 | 5410 mm² | 3D Printers, CNC Routers, High I/O Count |
| Raspberry Pi Pico | 51.0 x 21.0 | 1071 mm² | Custom PCB Integration, PIO State Machines |
| ESP32 DevKit V1 (30-pin) | 54.8 x 28.0 | 1534 mm² | Wi-Fi/Bluetooth IoT, Battery-Powered Sensors |
As the data illustrates, the Uno is massive compared to modern surface-mount alternatives. The Nano offers a 77% reduction in physical area while retaining the same ATmega328P (or ESP32) core logic, making it the superior choice when the Uno's physical size becomes a liability.
Engineering Custom Enclosures Around the Uno Form Factor
Designing a custom enclosure for the Arduino Uno size requires strict adherence to mechanical tolerances, especially when using FDM 3D printing (PLA, PETG, or ABS). Here is an actionable framework for designing a two-part snap-fit or screw-together enclosure:
- Standoff Selection: Use M3 brass threaded inserts heat-set into the bottom shell. Pair these with 6mm or 11mm M3 male-female hex standoffs. Do not rely on plastic printed threads; they will strip after two or three assembly cycles.
- XY Tolerance Gap: FDM printers typically exhibit a 0.15mm to 0.25mm dimensional inaccuracy on outer walls. Design the internal cavity of your enclosure to be 69.2mm x 54.0mm. This 0.3mm clearance gap on all sides prevents the board from binding while keeping it from rattling.
- Port Cutouts: The USB-B and DC barrel jack centers are located at specific Y-axis offsets. The USB port center is exactly 11.4mm from the top board edge, and the DC jack center is 39.4mm from the top edge. Use these exact coordinates for your CAD cutouts to ensure cables seat without scraping the enclosure walls.
Expert Warning on Clone Boards: If you are designing an enclosure for mass production or a client, be aware that cheap 'Uno-compatible' clone boards (often priced around $5 to $8) frequently substitute the USB Type-B port for a Micro-USB or USB-C connector. This alters the Z-axis profile and shifts the X-axis cutout requirement by up to 4mm. Always design enclosures with modular port plates or specify 'Genuine Arduino' in your project BOM to guarantee dimensional consistency.
When to Downsize: Moving Beyond the Uno Footprint
The Arduino Uno size is perfect for the workbench, but it is rarely optimal for a finished, deployed product. The 2.7" x 2.1" footprint consumes valuable real estate, and the through-hole headers add unnecessary Z-axis bulk. When transitioning from prototype to production, engineers typically follow one of two paths:
1. The Nano Drop-In Replacement
If your circuit relies on shields, you are locked into the Uno size. If you are wiring components directly via jumper wires or a custom perfboard, switch to the Arduino Nano. The Nano maps the exact same ATmega328P pinout to a 0.6" wide breadboard-friendly footprint. You can design a custom carrier board that accepts a Nano, reducing your overall PCB area by over 60% while retaining the ability to swap out the microcontroller for field replacements.
2. Custom PCB Integration
For high-volume or highly constrained designs, the ultimate solution is to abandon the development board entirely. Using the Arduino Hardware Portal schematics as a reference, you can integrate the ATmega328P-AU (TQFP-32 surface mount package) directly onto your custom PCB. This eliminates the Uno's physical dimensions entirely, allowing you to route only the necessary power regulation, crystal oscillators, and I/O traces required for your specific application.
Frequently Asked Questions
Does the Arduino Uno R4 have the same size as the R3?
Yes. The Arduino R4 Minima and R4 WiFi maintain the exact 68.58mm x 53.34mm PCB footprint and identical M3 mounting hole placements as the legacy R3. This ensures that all existing shields and enclosures remain mechanically compatible, despite the internal silicon upgrade to the Renesas RA4M1 ARM Cortex-M4.
What size screws do I need to mount an Arduino Uno?
The mounting holes on the Uno are 3.2mm in diameter. You should use standard M3 screws (typically M3x6mm or M3x8mm pan head or socket head cap screws) paired with M3 standoffs to secure the board to a chassis or enclosure base.
Why is the Arduino Uno so large compared to modern ESP32 boards?
The Uno's size is largely a legacy artifact. It was designed in 2011 around the bulky USB Type-B connector, a 5.5mm DC barrel jack, and large through-hole components (like the 16MHz crystal and DIP ICSP headers) to make it durable and easy to solder for students. Modern ESP32 DevKits use surface-mount components and USB-C/Micro connectors, allowing for a much denser, smaller footprint.