
Navigating the 2026 Prototyping Landscape
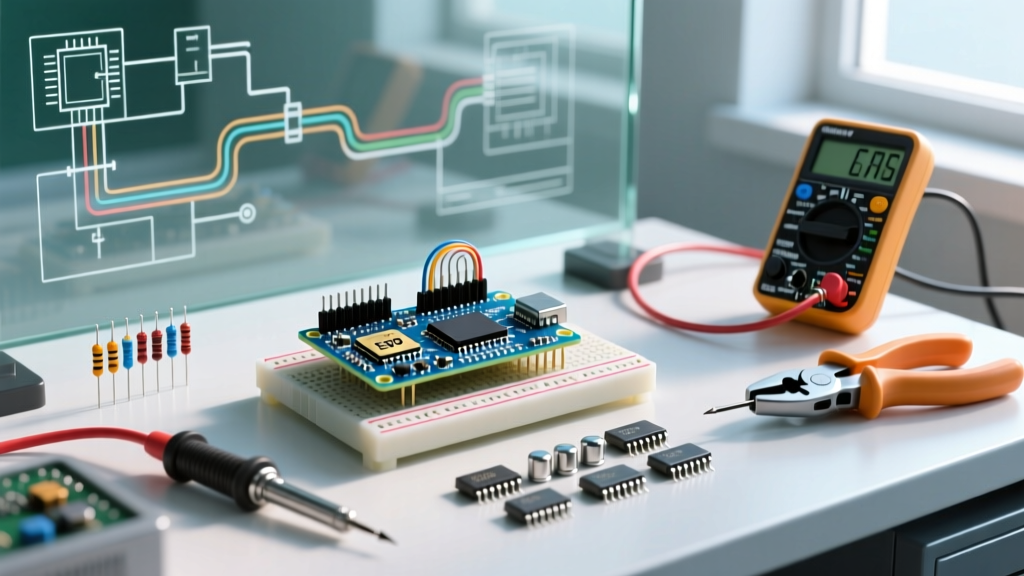
When beginners first search for an electron component kit, they are usually looking for a comprehensive electronic component assortment that bridges the gap between theoretical physics and practical circuit building. As of 2026, the maker market has undergone a massive hardware shift. The days of relying on outdated Mini-B or Micro-USB development boards are over; modern prototyping demands USB-C native microcontrollers, surface-mount device (SMD) soldering practice boards, and Wi-Fi/BLE-enabled chips right out of the box.
Selecting the right electron component assortment is no longer just about getting a handful of blinking LEDs and 555 timers. A high-quality beginner kit must now include modern logic-level MOSFETs, USB-C programmable boards like the Arduino Uno R4 or ESP32-C3, and high-tolerance passive components. In this guide, we break down the top kits available this year, analyze their exact component lists, and provide a step-by-step framework for your first successful build.
Industry Note: The terminology can be tricky. While many newcomers type 'electron component' into search engines, the industry standard is 'electronic component.' However, understanding the flow of electrons through a circuit is the foundational physics principle that dictates how every single part in your kit operates—from the bandgap of an LED to the dielectric breakdown voltage of a ceramic capacitor.
Top 3 Electron Component Kits Compared
To help you make an informed purchasing decision, we evaluated the three most popular beginner kits on the market based on component variety, modern relevance (USB-C integration), and overall value. Below is a detailed comparison matrix.
| Feature | Elegoo Super Starter V3.0 | Arduino Uno R4 Minima Kit | SparkFun Inventor's Kit v4.1 |
|---|---|---|---|
| Price (2026) | $35.99 | $65.00 | $99.95 |
| Core Microcontroller | Arduino Uno R3 (Clone) | Arduino Uno R4 Minima (USB-C) | SparkFun RedBoard Qwiic (USB-C) |
| Passive Components | Assorted (5% Carbon Film) | Assorted (1% Metal Film) | Premium (1% Metal Film) |
| Breadboard Size | 400 Tie-Points (Mini) | 830 Tie-Points (Full) | 830 Tie-Points (Full) |
| Modern Sensors | Basic (Photoresistor, Thermistor) | Basic + Qwiic I2C Adapter | Advanced (BME280, APDS9960) |
| Best For | Ultra-budget hobbyists | Future-proofing & modern I/O | Deep-dive sensor integration |
Deep Dive: Essential Parts Breakdown
A kit is only as good as the individual parts it houses. Let us examine the specific electron component categories you will interact with most frequently and what specifications you should demand in 2026.
Resistors and Capacitors: The Passive Backbone
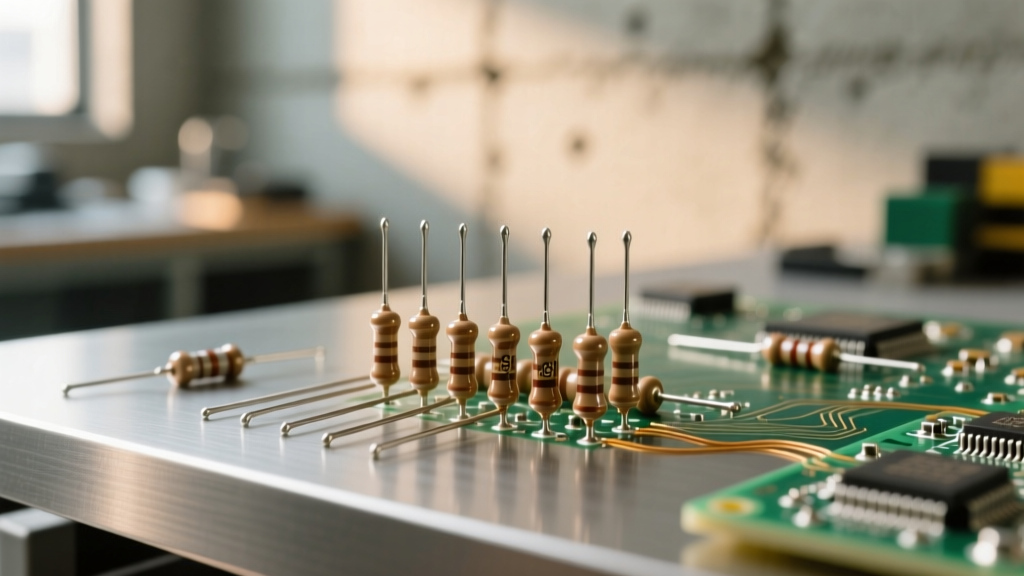
Cheap kits often include 5% tolerance carbon film resistors. While fine for basic pull-up networks, they introduce unnecessary noise in analog sensor readings. Look for kits that specify 1/4W Metal Film resistors with 1% tolerance. According to SparkFun's Resistor Guide, metal film resistors offer superior temperature stability (typically ±50 ppm/°C), which is critical if you are building temperature-sensitive circuits or precision voltage dividers.
For capacitors, ensure your kit includes ceramic disc capacitors (10pF to 100nF) for high-frequency decoupling, and electrolytic capacitors rated for at least 16V (even if you are only running 5V logic, a 16V or 25V rating provides a safe derating margin to prevent dielectric failure over time).
Microcontrollers and I/O Expansion
The transition to the Arduino Uno R4 architecture has changed the baseline for beginner kits. The R4 Minima features a 48MHz Arm Cortex-M4 microcontroller, a 12-bit DAC, and an op-amp, vastly outperforming the legacy 16MHz ATmega328P found in older R3 clones. When evaluating a kit's microcontroller, check the official Arduino Products Page to verify the board's exact silicon revision and native USB-C support. Additionally, kits that include a Qwiic or STEMMA QT I2C adapter are highly recommended, as modern prototyping has moved away from messy jumper-wire sensor modules toward standardized, plug-and-play I2C ecosystems.
Prototyping Hardware: Breadboards and Wires
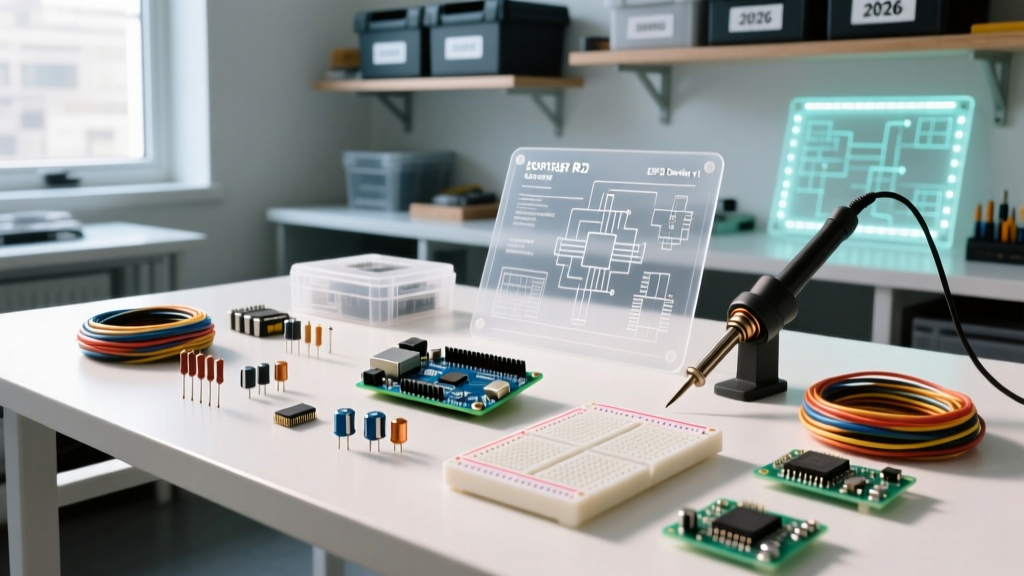
Do not underestimate the importance of the breadboard. A standard full-size breadboard features 830 tie-points. The internal spring clips must be made of phosphor bronze or nickel-plated beryllium copper to maintain grip on 24AWG solid-core wire. If the clips are loose, you will experience intermittent connection failures that are nearly impossible to debug. For jumper wires, prioritize pre-formed, U-shaped wire kits over loose male-to-male Dupont cables for complex digital logic circuits, as they lay flat and prevent short-circuits. For a comprehensive primer on internal breadboard topology, refer to the SparkFun Breadboard Tutorial.
Step-by-Step: Your First Blinking LED Circuit
Before writing complex code, you must master basic electron component flow and hardware protection. Here is how to safely wire a standard 5mm LED without burning it out.
- Identify the LED Polarity: The longer leg is the Anode (positive), and the shorter leg is the Cathode (negative). The flat edge on the plastic bulb also indicates the Cathode.
- Calculate the Current Limiting Resistor: A standard red LED has a forward voltage (Vf) of ~2.0V and a maximum continuous current of 20mA. Using a 5V Arduino pin, the voltage drop across the resistor is 3V (5V - 2.0V). Using Ohm's Law (R = V / I), 3V / 0.02A = 150Ω. The nearest standard E12 value is 150Ω or 220Ω.
- Insert Components: Place the LED Anode into row 10, Column A. Place the Cathode into row 11, Column A. Insert one leg of a 220Ω resistor into row 10, Column B, and the other leg into the positive (red) power rail.
- Wire to the MCU: Use a male-to-male jumper wire to connect the negative (blue) ground rail to the Arduino GND pin. Connect row 11, Column B (where the LED Cathode is) to the ground rail.
- Complete the Circuit: Connect the positive power rail to Arduino Digital Pin 8. Upload the standard 'Blink' sketch, changing the pin definition to 8. The LED should illuminate safely.
Common Beginner Mistakes & Troubleshooting
- Shorting 5V to GND: Accidentally connecting the 5V pin directly to GND without a load will cause a massive current spike. Modern boards like the Uno R4 have a polyfuse that will trip and reset, but older clone boards will permanently destroy the linear voltage regulator, resulting in a hot, smoking chip.
- Ignoring LED Forward Voltage: Connecting a Blue or White LED (Vf = 3.2V) directly to a 5V pin without a resistor will push excessive current through the semiconductor junction, causing immediate thermal runaway and a burnt-out LED.
- Breadboard Power Rail Discontinuity: Many full-size 830-point breadboards have a physical break in the middle of the long power rails (usually marked by a gap in the red/blue printed lines). If your circuit stops working halfway down the board, check if you need to bridge this gap with a jumper wire.
- Using Stranded Wire in Breadboards: Stranded wire frays when pushed into breadboard clips, causing short circuits and leaving broken copper strands trapped in the springs. Always use 24AWG solid-core wire for prototyping.
Frequently Asked Questions
Do I need a soldering iron for these electron component kits?
No. Beginner kits are designed entirely around solderless breadboard prototyping. However, as you transition from prototyping to building permanent enclosures in late 2026, investing in a temperature-controlled soldering station (like the Pinecil V2 or Hakko FX-888D) will be necessary for working with perfboards and custom PCBs.
What is the difference between active and passive electron components?
Passive components (resistors, capacitors, inductors) cannot amplify a signal or control current flow using another electrical signal; they simply consume, store, or release energy. Active components (transistors, integrated circuits, diodes) rely on semiconductor physics to amplify signals, switch currents, or rectify AC to DC, requiring an external power source to function as intended.
Are clone Arduino boards safe to use?
Clone boards (like those found in budget Elegoo or Rexqualis kits) are generally safe and legal, as the Arduino hardware design is open-source. However, they often use cheaper USB-to-Serial converter chips (like the CH340 instead of the ATmega16U2), which may require you to manually install specific drivers on Windows or macOS before you can upload code.