
The DHT11 Sensor Arduino Reality Check
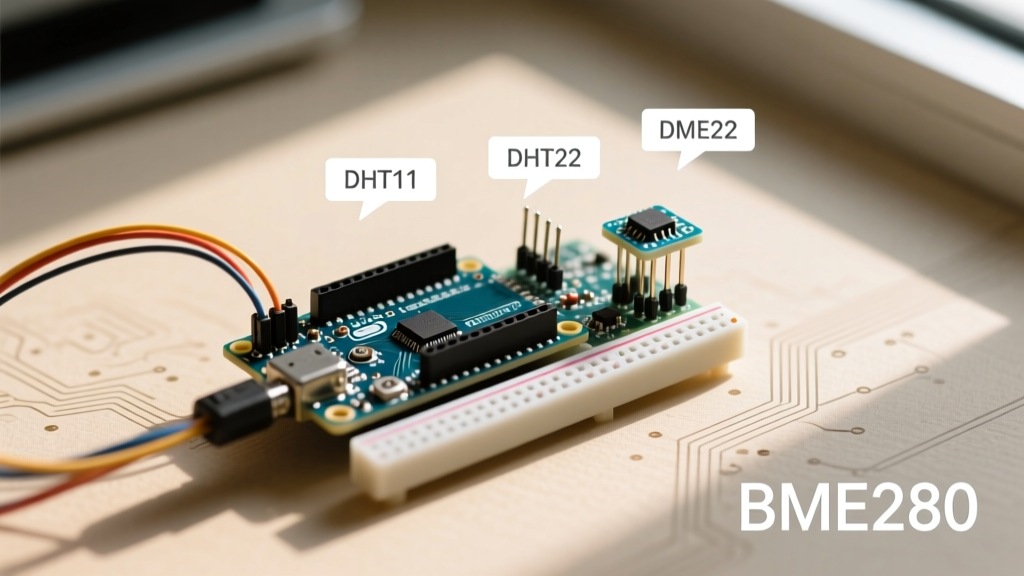
For over a decade, the blue plastic grid of the DHT11 has been the ultimate rite of passage for environmental monitoring. But as component prices have plummeted and maker requirements have evolved, does the classic dht11 sensor arduino combination still hold up? In this component comparison, we strip away the nostalgia and evaluate the DHT11 against modern heavyweights like the DHT22 (AM2302) and the Bosch BME280. Whether you are building a simple indoor thermometer or an outdoor greenhouse controller, understanding the exact limitations of these peripherals will save you hours of debugging.
Head-to-Head: DHT11 vs. DHT22 vs. BME280
When designing a weather station, choosing the right peripheral is critical. The DHT11 uses a proprietary single-bus protocol and an internal NTC thermistor paired with a resistive humidity sensor. While it is incredibly cheap, its specifications reveal why many engineers quickly migrate to I2C alternatives.
Specification & Pricing Breakdown
| Feature | DHT11 | DHT22 (AM2302) | Bosch BME280 | AHT10 |
|---|---|---|---|---|
| Temp Range | 0°C to 50°C | -40°C to 80°C | -40°C to 85°C | -40°C to 85°C |
| Temp Accuracy | ±2.0°C | ±0.5°C | ±1.0°C | ±0.3°C |
| RH Range | 20% to 80% | 0% to 100% | 0% to 100% | 0% to 100% |
| RH Accuracy | ±5.0% | ±2.0% | ±3.0% | ±2.0% |
| Interface | Single-Bus (Custom) | Single-Bus (Custom) | I2C / SPI | I2C |
| Sample Rate | 1 Hz (1 sec) | 0.5 Hz (2 sec) | Up to 25 Hz | Fast (ms range) |
| Avg Clone Price | ~$1.50 | ~$4.00 | ~$3.50 | ~$2.00 |
Note: Pricing reflects average AliExpress/Amazon clone module costs. Genuine Bosch BME280 chips on breakout boards from reputable vendors like Adafruit typically cost $8-$10.
Wiring the DHT11 to Arduino (And Avoiding the 3.3V Trap)
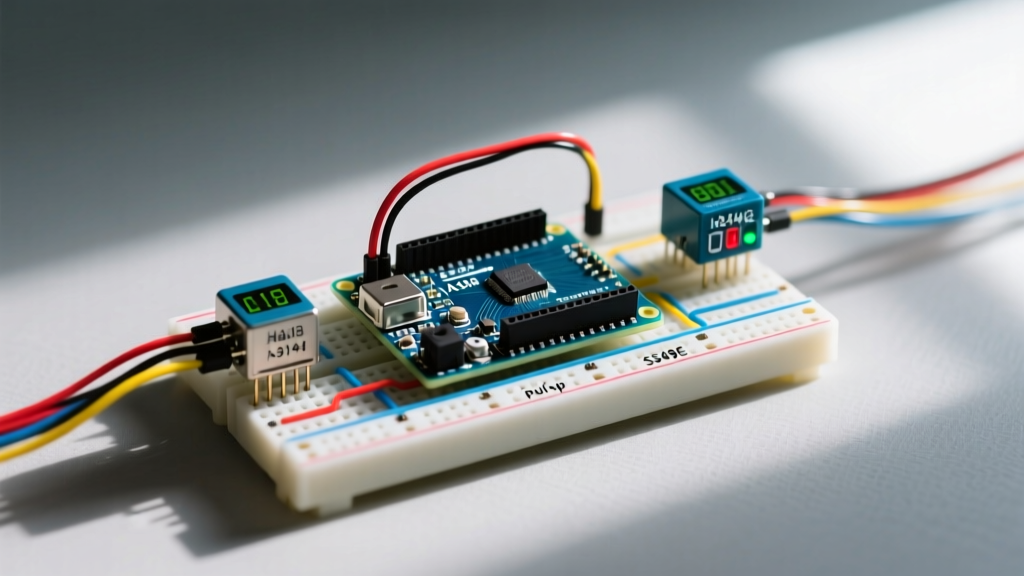
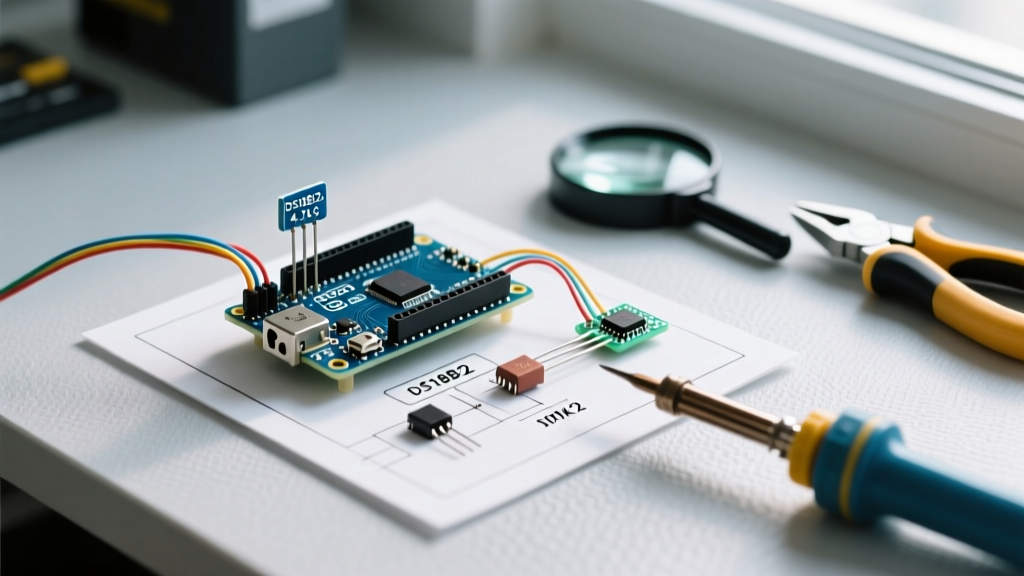
The physical wiring of the DHT11 is deceptively simple, but the electrical realities of its single-bus protocol often trip up beginners. A standard DHT11 module has three active pins: VCC, Data, and GND. The Data pin requires a pull-up resistor to function correctly. While many cheap modules include a 10kΩ surface-mount resistor on the breakout board, it is often too weak for reliable communication over long wires.
- VCC: Connect to 5V. The DHT11 is natively a 5V device.
- Data: Connect to your chosen Arduino digital pin (e.g., Pin 2). Add an external 4.7kΩ pull-up resistor to 5V if your wire exceeds 1 meter.
- GND: Connect to Arduino GND.
The 3.3V Logic Level Problem
If you are using a 3.3V Arduino (like the Arduino Due, Zero, or an ESP32), you will run into logic threshold issues. The DHT11 requires a high-level input voltage (VIH) that often hovers near 3.5V. Feeding it 3.3V data signals can result in intermittent "Checksum Error" failures. To fix this, you must either use a logic level shifter or power the DHT11 with 5V while using a voltage divider on the data line back to the 3.3V microcontroller.
Pro Tip: If you are locked into a 3.3V ecosystem, abandon the DHT11 entirely. The AHT10 or BME280 are native 3.3V I2C devices that completely eliminate single-bus timing headaches and logic level mismatches. Read the Adafruit BME280 Guide for I2C wiring diagrams.
Known Failure Modes & Troubleshooting Checksum Errors
The most common complaint when searching for dht11 sensor arduino troubleshooting is the dreaded "Checksum Error" or "Timeout Error" in the serial monitor. Understanding why this happens requires looking at how the sensor communicates.
1. Interrupt Collisions
The DHT11 transmits 40 bits of data by pulling the data line HIGH and LOW for specific microsecond intervals. To read this, the Arduino library (like the standard Adafruit DHT library) must disable all hardware interrupts and use blocking micros() loops. If a background interrupt fires—such as a servo timer, a PWM update, or SoftwareSerial—the Arduino misses a bit transition, the 40-bit stream shifts, and the checksum fails. Arduino Interrupt Documentation confirms that disabling interrupts for the 5ms read window will cause severe jitter in PWM outputs and servo motors.
2. Humidity Saturation and Condensation
The DHT11 measures humidity using a polymer capacitor that changes resistance based on moisture absorption. Its rated operating range is strictly 20% to 80% RH. If deployed outdoors or in a greenhouse where humidity exceeds 85%, or if the sensor experiences rapid temperature drops causing internal condensation, the polymer becomes saturated. The sensor will output a hard lock of 99% RH and will not recover until the internal grid is completely dried out, which can take days.
3. Wire Capacitance
Because the single-bus protocol relies on sharp, square-wave digital edges, long wires act as capacitors. A wire longer than 2 meters will round off the signal edges, causing the Arduino to misinterpret the timing of the 1s and 0s. Always keep DHT11 wires under 1 meter, or switch to an I2C sensor with proper bus buffers.
Code Implementation: The Blocking Code Penalty
When integrating the DHT11 into an Arduino sketch, the most widely used library is the Adafruit DHT library. While reliable, its underlying architecture relies on a bit-banged single-bus protocol. This means the microcontroller must sit and wait, counting microseconds between voltage transitions to determine if a bit is a '0' or a '1'.
During this 4 to 5-millisecond window, the Arduino cannot do anything else. It cannot update a display, read a button press, or maintain smooth PWM signals. In a simple data-logging sketch with a 2-second delay(), this blocking behavior is unnoticeable. However, if you are building a robot that requires simultaneous motor control and temperature monitoring, the DHT11's read function will cause your motors to stutter every time a reading is taken.
Conversely, I2C sensors like the BME280 utilize the Arduino Wire library, which leverages hardware I2C buffers and interrupts. You can request a temperature reading and allow the microcontroller to continue executing other tasks while the hardware peripheral handles the data transfer in the background. This architectural difference is the primary reason professional engineers avoid single-bus sensors in complex embedded systems.
Final Verdict: Which Sensor Should You Actually Buy?
The dht11 sensor arduino pairing remains a fantastic, low-cost educational tool for learning about single-bus protocols, bit-banging, and basic environmental logging in controlled indoor environments. If your project is a simple bedroom temperature monitor on an Arduino Uno, the DHT11 is perfectly adequate.
However, for any project requiring outdoor deployment, high precision, 3.3V logic compatibility, or integration with RTOS/ESP32 environments without blocking code, the DHT11 is obsolete. The DHT22 offers better range but suffers from the same blocking-code and single-bus flaws. Therefore, the ultimate upgrade path is the BME280 or AHT10. They cost only marginally more, utilize the robust I2C protocol, support hardware interrupts natively, and provide vastly superior accuracy and recovery times in harsh environments.
For more deep-dives into sensor calibration and I2C pull-up resistor calculations, check out the comprehensive Adafruit DHT Sensor Library Documentation and community forums.