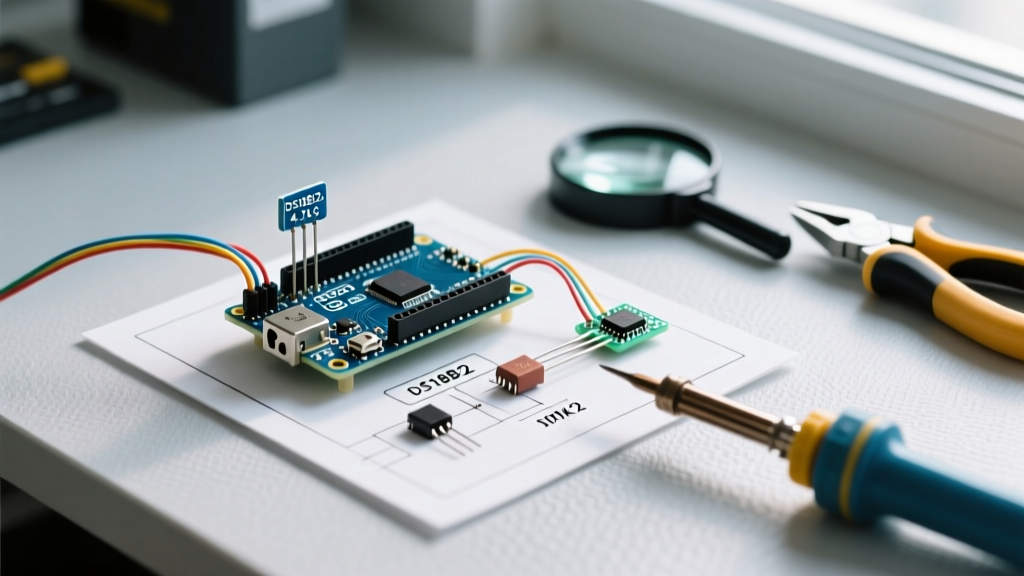

The Foundation: Choosing the Right Arduino Temp Sensor
Integrating an arduino temp sensor into your microcontroller project is a rite of passage for DIY electronics enthusiasts, but selecting the wrong component or wiring it improperly can lead to erratic data, system hangs, and hardware damage. Whether you are building a precision 3D printer enclosure monitor, a hydroponic nutrient reservoir tracker, or a server rack thermal alarm, understanding the underlying protocols is critical.
In 2026, the hobbyist market remains dominated by two distinct architectures for temperature sensing: the 1-Wire protocol (championed by the DS18B20) and the custom single-bus protocol (used by the DHT22/AM2302). While both can interface with 5V and 3.3V logic boards like the classic Arduino UNO R3 or the modern Arduino UNO R4 Minima, their electrical requirements, timing constraints, and failure modes are vastly different. This guide provides a deep-dive engineering perspective on wiring, coding, and troubleshooting these two ubiquitous sensors.
Component Comparison Matrix (2026 Market Data)
| Feature | DS18B20+ (Analog Devices) | DHT22 / AM2302 (Aosong) |
|---|---|---|
| Protocol | 1-Wire (Open-Drain) | Custom Single-Bus (Microsecond Timing) |
| Measurement Range | -55°C to +125°C | -40°C to +80°C |
| Accuracy | ±0.5°C (-10°C to +85°C) | ±0.5°C (0°C to +60°C) |
| Resolution | 9 to 12-bit (User Configurable) | 0.1°C (Fixed) |
| Form Factors | TO-92, Waterproof Stainless Probe | 4-Pin Plastic Housing, PCB Mount |
| Avg. Cost (Genuine) | $4.50 - $8.00 USD | $5.50 - $9.00 USD |
| Best Use Case | Liquids, Long Cable Runs, Multi-Drop | Ambient Air, HVAC, Indoor Climate |
Deep Dive: DS18B20 1-Wire Temperature Sensor
The DS18B20 is an engineering marvel for distributed sensing. Because every chip is laser-trimmed with a unique 64-bit silicon serial number at the factory, you can wire dozens of sensors to a single digital pin on your Arduino. However, the 1-Wire protocol relies on an open-drain architecture, which dictates strict hardware pull-up requirements.
Hardware Wiring & The 4.7kΩ Pull-Up Rule
The standard DS18B20 waterproof probe features three wires: Red (VDD, 3.3V-5V), Black (GND), and Yellow or White (Data). The data line must be pulled high via a 4.7kΩ resistor to the logic voltage rail. Without this resistor, the open-drain transistor inside the sensor cannot release the line to a HIGH state, resulting in constant LOW readings.
⚠️ 2026 Counterfeit Warning: The market is currently saturated with cloned DS18B20 chips from unauthorized foundries. These clones often fail catastrophically above 80°C or return phantom addresses on the 1-Wire bus. Always source from authorized Analog Devices distributors (like Mouser or Digi-Key) or verified hobbyist brands like Adafruit and SparkFun. If your sensor reads exactly 85°C on startup and never changes, you are likely dealing with a power delivery failure or a defective clone.
C++ Implementation: Non-Blocking Code
A common beginner mistake is using the default sensors.requestTemperatures() function, which halts the Arduino for up to 750ms while the sensor performs a 12-bit analog-to-digital conversion. In real-time applications (like reading encoders or managing PID loops), a 750ms blocking delay is unacceptable. We use the setWaitForConversion(false) method to implement a non-blocking state machine.
#include <OneWire.h>
#include <DallasTemperature.h>

const int ONE_WIRE_BUS = 2;
OneWire oneWire(ONE_WIRE_BUS);
DallasTemperature sensors(&oneWire);

unsigned long lastTempRequest = 0;
const int DELAY_MS = 750; // 12-bit resolution takes 750ms

void setup() {
  Serial.begin(115200);
  sensors.begin();
  sensors.setWaitForConversion(false); // Crucial for non-blocking
  sensors.requestTemperatures(); // Initiate first request
  lastTempRequest = millis();
}

void loop() {
  if (millis() - lastTempRequest >= DELAY_MS) {
    float tempC = sensors.getTempCByIndex(0);
    Serial.print("Temp: "); Serial.println(tempC);
    sensors.requestTemperatures(); // Request next reading
    lastTempRequest = millis();
  }
  // MCU is free to perform other tasks here
}
For comprehensive protocol timing details, refer to the official Analog Devices DS18B20 Datasheet, which outlines the exact microsecond reset and presence pulses required by the bus master.
Deep Dive: DHT22 (AM2302) Air & Humidity Sensor
While the DS18B20 excels in liquids and harsh environments, the DHT22 (often labeled as AM2302) is the go-to for ambient air temperature and relative humidity. Unlike the 1-Wire protocol, the DHT22 uses a proprietary single-bus protocol that relies on precise microsecond pulse-width modulation to transmit 40 bits of data.
Wiring for Stability: The 100nF Decoupling Secret
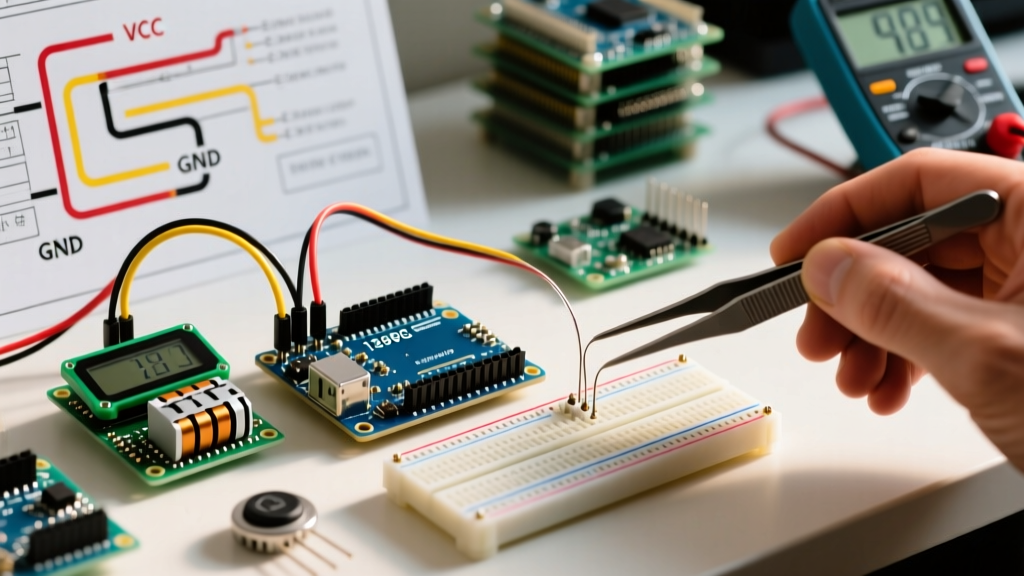
The DHT22 requires a 4.7kΩ or 10kΩ pull-up resistor on the data line (many breakout boards include this on the PCB). However, a frequently overlooked hardware requirement is decoupling. During the data transmission burst, the sensor's internal microcontroller and capacitive humidity element draw a sudden spike of current. If your Arduino's power rail has any impedance (which is common when powering via long USB cables), this spike causes a localized brownout, resetting the sensor mid-transmission.
- The Fix: Solder a 100nF (0.1µF) ceramic capacitor directly across the VCC and GND pins of the DHT22 sensor housing.
- Wire Length: Do not exceed 2 meters of cable for the DHT22. The strict microsecond timing degrades over long wire capacitance, leading to checksum failures.
Handling Read Failures in Code
Because the DHT library disables global interrupts to accurately time the incoming pulses, it can conflict with WiFi stacks on boards like the ESP32 or Arduino Nano 33 IoT. Furthermore, the DHT22 hardware requires a minimum of 2 seconds between reads. Polling it faster will yield NaN (Not a Number) errors.
#include <DHT.h>
#define DHTPIN 4
#define DHTTYPE DHT22

DHT dht(DHTPIN, DHTTYPE);
unsigned long lastRead = 0;

void setup() {
  Serial.begin(115200);
  dht.begin();
}

void loop() {
  if (millis() - lastRead >= 2500) { // Wait 2.5s between reads
    float h = dht.readHumidity();
    float t = dht.readTemperature();

    // Edge Case Handling: Check for NaN
    if (isnan(h) || isnan(t)) {
      Serial.println("Failed to read from DHT sensor! Check wiring & pull-up.");
    } else {
      Serial.printf("Humidity: %.1f%% | Temp: %.1fC\n", h, t);
    }
    lastRead = millis();
  }
}
You can review the underlying timing mechanics and interrupt handling in the Adafruit DHT Sensor Library repository, which remains the gold standard for Arduino IDE integration.
Advanced Troubleshooting & Edge Cases
Even with perfect wiring, environmental and architectural factors can corrupt sensor data. Here is how to diagnose the most common edge cases encountered in the field:
1. The 85°C Power-On Reset Error (DS18B20)
If your serial monitor outputs exactly 85.00°C, your sensor is not broken; it is simply failing to execute the conversion command. The 85°C value is the hardware default stored in the sensor's scratchpad EEPROM upon power-up. Cause: You are likely using "Parasitic Power" mode (powering the sensor via the data line pull-up) and the 4.7kΩ resistor cannot supply the 1.5mA required during the conversion phase. Solution: Switch to external power mode by connecting the Red VDD wire to the Arduino 5V/3.3V pin.
2. Long Wire Run Signal Degradation
The PJRC OneWire Library documentation notes that while 1-Wire theoretically supports runs up to 100 meters, standard 22AWG jumper wires will fail past 3 meters due to capacitance. Solution: For runs over 5 meters, use CAT5 twisted-pair cable ( dedicating one pair to Data/GND and another to VCC), and lower the pull-up resistor to 2.2kΩ or 1kΩ to speed up the RC rise time of the signal edge.
3. Self-Heating Errors in Enclosed Spaces
Both the DS18B20 and DHT22 generate a small amount of internal heat during active conversion. If mounted inside a sealed, unventilated 3D-printed enclosure, the sensor will read 1°C to 2°C higher than actual ambient room temperature. Solution: Implement a duty-cycling sleep mode in your code, powering the sensor via a MOSFET only for the 2 seconds required to take a reading, or mount the sensor externally on a thermal breakaway stalk.
Summary
Choosing between the DS18B20 and DHT22 depends entirely on your physical environment and timing constraints. For submerged, high-temperature, or multi-node applications, the DS18B20's robust 1-Wire protocol is unmatched. For simple, cost-effective ambient air and humidity monitoring, the DHT22 remains a reliable staple—provided you respect its strict 2-second polling limit and decoupling requirements. By implementing non-blocking code structures and adhering to proper pull-up and decoupling hardware practices, you ensure your Arduino temp sensor projects deliver lab-grade reliability in the real world.