
Understanding the Workshop Electrical Outlet Panel
When outfitting a garage, barn, or dedicated workspace, relying on extension cords from the main house is both a safety hazard and a code violation. The professional solution is installing a dedicated electrical outlet panel—typically a 60A to 125A subpanel or a temporary power outlet assembly (like the Siemens TL137RT or Square D QO24L70S). This setup acts as a localized distribution hub, allowing you to branch off multiple 120V and 240V receptacles safely.
Unlike a main service panel, an electrical outlet panel installed in an outbuilding or detached garage operates under strict NFPA 70 National Electrical Code (NEC) guidelines regarding grounding, feeder sizing, and fault protection. This reference guide breaks down the exact wiring topology, termination torque specifications, and 2026 code mandates required to wire your panel flawlessly.
Panel Selection: Subpanel vs. Temporary Power Outlet Panel
Before pulling wire, you must define the physical form factor of your electrical outlet panel:
- Standard Subpanel (e.g., Square D QO24L70S): A flush or surface-mounted load center where you install individual breakers to feed wall-mounted receptacles. Ideal for finished garages and workshops.
- Temporary/Spa/RV Outlet Panel (e.g., Siemens TL137RT): A factory-assembled, weather-resistant enclosure featuring integrated GFCI receptacles (20A 120V duplex) and high-amperage 240V twist-lock or straight-blade outlets. Ideal for exterior walls, RV pads, or construction staging.
The Core Wiring Diagram: Feeder to Branch Circuits
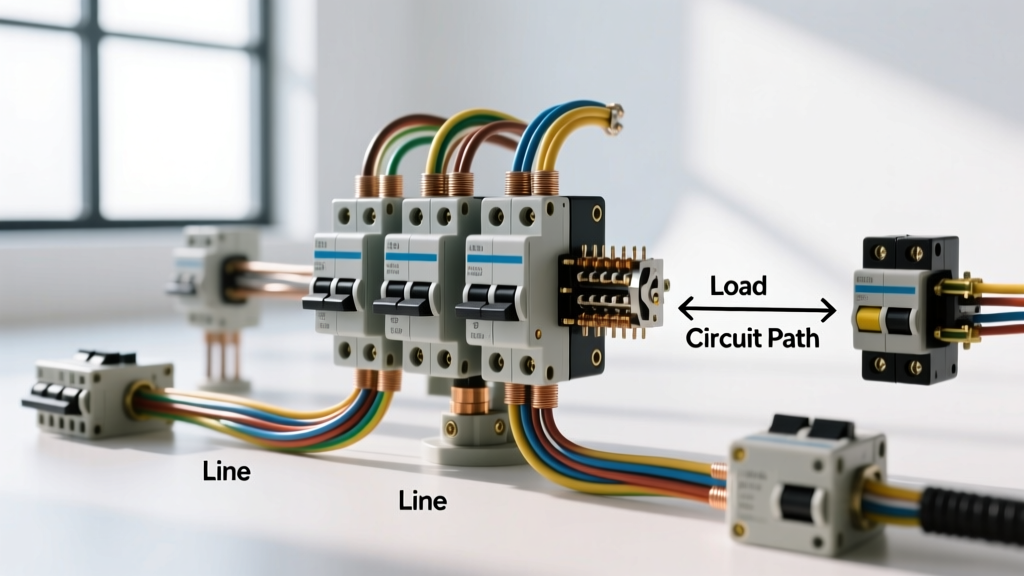
The most critical aspect of wiring an electrical outlet panel is the feeder connection. A standard 240V/120V split-phase feeder requires four wires: two ungrounded conductors (Hot/Line 1 and Line 2), one grounded conductor (Neutral), and one equipment grounding conductor (EGC).
NEC 250.142 Warning: In any subpanel or secondary electrical outlet panel, the neutral bar and ground bar MUST remain isolated. Remove the green bonding screw or bonding jumper strap that comes pre-installed on the neutral bar. Bonding neutral to ground at a subpanel creates a parallel neutral path, energizing the grounding system and creating a severe shock hazard.
Feeder Routing & Termination Sequence
- Lines 1 & 2 (Hots): Land on the main breaker lugs (if using a main breaker panel) or the main disconnect lugs. Color-code with black and red tape.
- Neutral (White): Lands exclusively on the isolated neutral bus bar. Ensure the bar is not bonded to the panel enclosure.
- Ground (Green/Bare): Lands on the equipment grounding bus bar, which is directly bolted to the panel's metal chassis. If your panel lacks a separate ground bar, purchase an accessory bar (e.g., Square D PK7GTA) and bond it to the enclosure using the provided self-tapping screw.
Feeder Sizing & Voltage Drop Matrix
Undersized feeder wire causes voltage drop, which can damage power tools and trip sensitive electronics. The table below outlines minimum NEC-compliant wire gauges based on ampacity and run length.
| Target Ampacity | Copper THHN Size | Aluminum XHHW Size | Max Run (3% Drop) | Recommended Conduit |
|---|---|---|---|---|
| 60 Amp | #6 AWG | #4 AWG | 60 feet | 1.5-inch PVC |
| 100 Amp | #3 AWG | #1 AWG | 50 feet | 1.5-inch PVC |
| 100 Amp (Long) | #2 AWG | #1/0 AWG | 100 feet | 2-inch PVC |
| 125 Amp | #1 AWG | #2/0 AWG | 80 feet | 2-inch PVC |
Note: Aluminum SER (Service Entrance Rated) cable is highly cost-effective for indoor, dry-location runs between the main panel and an attached garage electrical outlet panel.
Branch Circuits: Wiring the Receptacles
Once the feeder is energized, you must wire the branch circuits to the actual outlets. Modern workshops require a mix of standard 120V 20A duplex receptacles and high-power 240V outlets for welders, air compressors, and EV chargers.
The 240V NEMA 14-50 EV Charger Circuit
With electric vehicle adoption surging, dedicating a 50A circuit on your electrical outlet panel is standard practice. Wiring a NEMA 14-50R receptacle requires:
- Breaker: 50A 2-pole (e.g., Square D QO250 or Siemens Q250).
- Wire: #6 AWG Copper THHN (4 wires: Black, Red, White, Green).
- Termination: Line 1 to Brass X, Line 2 to Brass Y, Neutral to Silver W, Ground to Green G.
Edge Case: If the EV charger manual specifies a hardwired connection over a receptacle, omit the NEMA 14-50 and run the #6 AWG directly into a junction box. Hardwiring eliminates the thermal failure point inherent in high-amperage plug connections.
Termination & Torque Specifications (NEC 110.14)
Loose connections cause arcing, heat buildup, and fires. Under NEC 110.14(D), you must use a calibrated torque tool to tighten panel lugs to the manufacturer's exact specifications. Guessing is a code violation.
- 100A Main Lugs (Square D QO): 45 in-lbs (inch-pounds).
- Branch Breaker Lugs (15A-50A): 35 in-lbs.
- Neutral & Ground Bus Bars: 20 in-lbs.
- Receptacle Side-Wiring Screws: 14 in-lbs.
Always strip wire to the exact length indicated on the breaker or lug (typically 5/8-inch for branch breakers). Exposed copper outside the lug is a shock hazard; insulation inside the lug causes a high-resistance connection.
2026 NEC Compliance: AFCI & GFCI Mandates
Recent code cycles have drastically expanded ground-fault and arc-fault protection. When wiring your electrical outlet panel, you must adhere to OSHA and NEC safety standards regarding fault protection in outbuildings.
- GFCI Protection (NEC 210.8(F)): All 125V through 250V receptacles supplied by single-phase branch circuits rated 150 volts or less to ground, 50 amperes or less, installed in garages, accessory buildings, and unfinished basements MUST be GFCI protected. Use GFCI breakers at the panel or GFCI receptacles at the first outlet in the daisy chain.
- AFCI Protection (NEC 210.12): If the electrical outlet panel feeds living spaces, bedrooms, or family rooms within an attached garage apartment, AFCI breakers are mandatory to detect parallel and series arcing faults.
Troubleshooting Common Panel Wiring Faults
Even experienced DIYers encounter issues when commissioning a new electrical outlet panel. Use this diagnostic matrix to resolve common faults:
- Symptom: GFCI breaker trips immediately upon reset.
Cause: Shared neutral. A 240V GFCI breaker monitors the vector sum of Line 1, Line 2, and Neutral. If a 120V circuit on Line 1 shares a neutral with a circuit on Line 2, the GFCI detects an imbalance and trips. Fix: Ensure every 120V circuit has its own dedicated neutral wire routed back to the panel. - Symptom: 120V outlets read 90V or 140V under load.
Cause: Floating or high-resistance neutral on the feeder. If the main feeder neutral is loose at the subpanel or main panel, the 240V supply splits unevenly based on the resistance of the connected loads. Fix: De-energize and re-torque the feeder neutral lug to 45 in-lbs. - Symptom: Voltage detected on the panel metal enclosure.
Cause: Missing Equipment Grounding Conductor (EGC) or accidental neutral-to-ground bond at the subpanel. Fix: Remove the bonding screw, verify 4-wire feeder presence, and ensure the ground bar is bonded to the chassis.
By strictly following this wiring diagram reference and adhering to torque and separation protocols, your electrical outlet panel will provide decades of safe, high-capacity power for your most demanding tools and equipment.