
The Challenge of Antique Electrical Outlets in Modern Homes
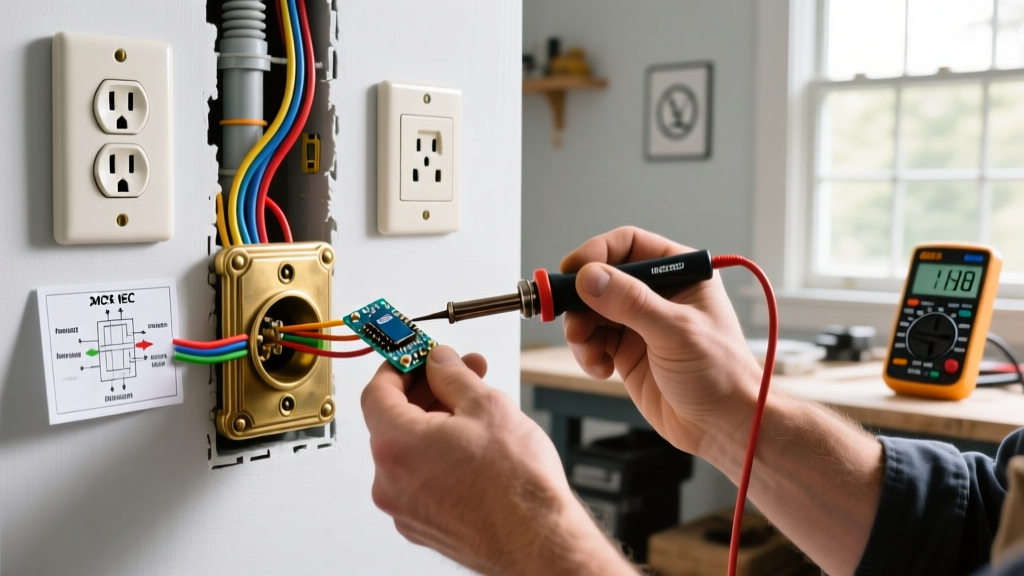
Restoring a Craftsman bungalow or an Art Deco apartment often involves confronting the home's original electrical infrastructure. While original hardwood floors and crown molding are highly prized, an antique electrical outlet presents a severe safety hazard if left unaddressed. Early 20th-century receptacles—often made of brittle Bakelite, ceramic, or early thermoset plastics—were designed for the low-draw appliances of the 1920s and 1930s. Today, they are frequently connected to degraded cloth-insulated wiring and lack an equipment grounding conductor.
As of 2026, the National Electrical Code (NEC) has strict mandates for replacing or upgrading these vintage components. Homeowners and DIY electricians face a common dilemma: how do you maintain the historical aesthetic of a vintage room while ensuring the circuit meets modern safety standards? This guide explores the most common wiring scenarios for antique outlets, detailing exact product models, NEC compliance strategies, and step-by-step upgrade paths.
Identifying Your Antique Electrical Outlet Types
Before touching a wire stripper, you must identify the specific era and type of antique receptacle you are dealing with. The construction materials dictate the failure modes and the necessary upgrade path.
- Early 2-Prong Ungrounded (1915–1950s): Characterized by narrow, parallel slots and no grounding hole. Often constructed from dark brown or black Bakelite. These are the most common antique outlets found in pre-WWII homes.
- Ceramic Rosette Receptacles: Surface-mounted ceramic bases with exposed brass terminals, often found in basements, attics, or early knob-and-tube installations. Highly dangerous due to exposed live parts.
- Push-Button Integrated Receptacles: Rare 1930s designs where a mechanical push-button switch is integrated directly into the receptacle faceplate to control a localized lamp.
- Baseboard/Skirting Outlets: 1930s surface-mount metal or Bakelite boxes attached directly to the wood baseboard, fed by surface-mounted metal conduit or wooden molding.
The 2026 NEC Mandates for Ungrounded Vintage Receptacles
When replacing an antique electrical outlet, you are legally required to bring the receptacle up to current code, even if you are not rewiring the entire circuit. The National Fire Protection Association (NFPA) outlines these rules in NEC Article 406.4(D).
NEC 406.4(D)(2) Replacements: Where a grounding means does not exist in the receptacle enclosure, the installation shall comply with (a), (b), or (c). Most notably, (b) allows for a nongrounding-type receptacle (2-prong) to be replaced with a GFCI-protected receptacle, provided it is marked with a "No Equipment Ground" label.
This code section is the cornerstone of preserving antique aesthetics. It legally permits you to install a replica 2-prong antique outlet, provided it is protected by a Ground Fault Circuit Interrupter (GFCI) upstream.
Scenario 1: Preserving the Aesthetic with Hidden GFCI Protection
The Goal: Keep the visual authenticity of a 1920s parlor room by installing a 2-prong antique-style receptacle, while protecting the user from lethal ground faults.
The Strategy: Install a modern GFCI receptacle at the first outlet in the circuit (usually in a less visible area like a hallway or behind furniture), and wire the antique replica downstream on the GFCI's LOAD terminals.
Step-by-Step Wiring Flow
- Map the Circuit: Use a non-contact voltage tester and a plug-in circuit analyzer to identify the first receptacle on the branch circuit (the one closest to the breaker panel).
- Install the Upstream GFCI: Replace the first outlet with a modern GFCI, such as the Pass & Seymour 2095-W (approx. $24.00). Connect the incoming hot and neutral wires to the LINE terminals.
- Wire the LOAD Terminals: Connect the wires continuing to the rest of the room to the LOAD terminals on the GFCI. This extends ground-fault protection to all downstream antique outlets.
- Install the Antique Replica: At the visible antique location, install a replica 2-prong receptacle. The Leviton 8832-CW (Ivory, 2-prong, 15A) is the industry standard for historical restorations (approx. $3.50). Connect the hot and neutral wires to the brass and silver terminals, respectively.
- Apply Mandatory Labels: Affix the UL-listed "GFCI Protected" and "No Equipment Ground" stickers to the faceplate of the Leviton 8832-CW. This satisfies the NEC inspector and warns users not to plug in surge protectors.
Scenario 2: Upgrading to Grounded 3-Prong in Plaster Walls
The Goal: The homeowner needs a true equipment ground for sensitive electronics (e.g., a home office setup in a vintage study) and wants to replace the antique 2-prong with a grounded 3-prong receptacle.
The Challenge: Fishing a new ground wire through lath and plaster walls without causing massive structural damage.
Retrofitting the Ground (NEC 250.134 Exceptions)
You do not necessarily need to tear open the walls to pull a brand new 12/2 or 14/2 NM-B Romex cable. The NEC allows you to retrofit a separate equipment grounding conductor (EGC). You can run a single 12 AWG bare copper wire from the antique outlet's metal junction box to any of the following:
- The main service panel.
- An accessible point on the grounding electrode system (like the copper water main within 5 feet of where it enters the earth).
- Another receptacle that is already on a properly grounded circuit (provided that circuit originates from the same panel).
Pro-Tip for Plaster Walls: Use a 54-inch flexible bell-hanger drill bit (e.g., Klein Tools 31800) to drill through the wall studs from the outlet cutout. Feed a fish tape through the hole to pull the 12 AWG bare copper ground wire down to the basement, where it can be routed back to the panel's ground bar.
Cost & Material Breakdown for Vintage Rewiring (2026 Estimates)
| Component / Material | Specific Model / Spec | Avg. Cost (2026) | Primary Application |
|---|---|---|---|
| Replica 2-Prong Receptacle | Leviton 8832-CW (Ivory) | $3.50 | Aesthetic preservation in living spaces |
| Upstream GFCI Receptacle | Pass & Seymour 2095-W | $24.00 | Providing hidden fault protection |
| Retrofit Ground Wire | 12 AWG Bare Copper (THHN) | $0.85 / ft | Adding true ground to 3-prong upgrades |
| Flexible Bell-Hanger Bit | Klein Tools 31800 (54-inch) | $42.00 | Fishing wire through lath and plaster |
| "No Equipment Ground" Labels | Carlton-Bates 3303 (Pack of 50) | $8.50 | NEC code compliance for 2-prong installs |
Common Failure Modes in Cloth-Wired Antique Outlets
When you open the junction box behind an antique electrical outlet, you are likely to encounter cloth-insulated wiring. According to the Electrical Safety Foundation International (ESFI), homes built before 1960 often suffer from specific degradation patterns that DIYers must watch for.
1. Insulation Crumbling at the Terminal
The rubber and cloth insulation on wires from the 1930s becomes brittle over time. When you loosen the terminal screw to remove the old outlet, the insulation often flakes off, exposing bare copper right up to the edge of the junction box. The Fix: Slip a piece of modern 14 AWG or 12 AWG heat-shrink tubing (or flexible silicone spaghetti tubing) over the exposed wire and shrink it with a heat gun to recreate the missing insulation before attaching the new terminal.
2. The "Phantom Ground" via Metal Armor
Many DIYers test the metal armored cable (BX/AC) or the metal junction box with a multimeter and see 120V between the hot wire and the box. They mistakenly assume the metal box is a valid ground. The Reality: In pre-1960s BX cable, the metal spiral armor was never rated as an equipment grounding conductor. The impedance is too high to trip a modern breaker during a fault. Always use a dedicated plug-in tester (like the Gardner Bender GFI-3501) to verify a true low-impedance ground before installing a 3-prong outlet.
3. Oversized Breakers on 14 AWG Wire
Early circuits were often protected by 30-amp fuse panels. When these were upgraded to breaker panels in the 1970s, lazy contractors sometimes installed 20A or 30A breakers on 14 AWG cloth wire. This is a massive fire hazard, as the wire will melt before the breaker trips. Always verify the wire gauge; if you find 14 AWG wire, the breaker must be strictly limited to 15 Amps.
Frequently Asked Questions (FAQ)
Can I use a standard 3-prong outlet if I have no ground wire?
No. Installing a standard 3-prong outlet on an ungrounded circuit without GFCI protection is a direct violation of the NEC and creates a lethal shock hazard. You must either use a 2-prong antique replica, install a GFCI receptacle, or protect a downstream standard receptacle with an upstream GFCI and apply the mandatory warning labels.
Are ceramic antique outlets safe to keep?
Ceramic itself is an excellent insulator and highly fire-resistant. However, the internal brass contacts in 100-year-old ceramic rosettes are often corroded, loose, and lack the tension required to hold modern plugs securely. This loose connection causes arcing and extreme heat. It is highly recommended to replace the internal ceramic components with modern, UL-listed equivalents, even if you preserve the external aesthetic.
Do I need an AFCI breaker for my antique outlet circuit?
Under the 2026 NEC, if you are replacing an antique outlet and extending the circuit, or if the circuit serves a bedroom, living room, or similar habitable space, Arc Fault Circuit Interrupter (AFCI) protection is generally required. Because old cloth wiring can generate nuisance arcs that trip modern AFCI breakers, you may need to use a combination-type AFCI/GFCI dual-function breaker to ensure both fire and shock protection while minimizing false trips.