
The 2026 Code Reality: Why Island Outlet Rules Changed
Kitchen islands are the command centers of modern homes, serving as prep stations, dining areas, and makeshift offices. Naturally, adding power to this central hub is one of the most requested DIY electrical projects. However, if you are planning to install an electrical outlet on island countertops, you must understand the critical safety updates in the National Electrical Code (NEC) that have reshaped how these installations are performed.
Historically, electricians would simply cut a hole in the countertop and mount a standard face-up receptacle. As of the 2023 NEC revision, which has been widely adopted into the 2026 local code cycles, this practice is largely prohibited. According to NFPA NEC Article 210.52(C)(3), standard receptacles can no longer be installed face-up on flat countertop surfaces due to the severe liquid spill and electrocution hazard. Today, you have two primary code-compliant options: installing a listed pop-up assembly or side-mounting the receptacle on the cabinet face.
Choosing Your Hardware: Pop-Up vs. Side-Mount
Before routing any wire, you must decide which physical configuration fits your kitchen layout and budget. Both methods satisfy the requirement that no point along the island wall line is more than 24 inches from a receptacle, but they differ vastly in execution.
| Feature | Listed Pop-Up Assembly (e.g., Lew Electric PUR30) | Side-Mount Cabinet Receptacle |
|---|---|---|
| Average Cost | $220 - $300 (Hardware only) | $25 - $40 (Standard 20A GFCI) |
| Installation Difficulty | High (Requires precision countertop coring) | Low (Requires basic cabinet woodworking) |
| Countertop Modification | 3.125-inch diamond core hole required | None (Countertop remains untouched) |
| Spill Safety | Excellent (IP-rated waterproof seals) | Excellent (Gravity prevents liquid ingress) |
| Aesthetics | Hidden when closed, sleek metal finish | Visible on the cabinet knee-space panel |
Tools and Materials Checklist
To execute this tutorial, we will focus on the pop-up assembly method, as it is the most common choice for high-end kitchen islands. Ensure you have the following specific materials:
- Receptacle: Lew Electric PUR30-20 Pop-Up Outlet (Includes integrated 20A GFCI)
- Wire: 12/2 NM-B (Romex) with ground (Must be 12 AWG for 20-Amp kitchen circuits)
- Drilling: 3.125-inch Diamond Core Drill Bit (for quartz/granite) or Bi-Metal Hole Saw (for butcher block)
- Hand Tools: Klein Tools 11063W Wire Stripper, Phillips screwdriver, Non-Contact Voltage Tester
- Sealant: 100% Silicone Kitchen and Bath Sealant (Clear)
Safety Warning: Kitchen countertop receptacles must be connected to a 20-Amp Small Appliance Branch Circuit. Never wire an island outlet to a 15-Amp lighting circuit or a dedicated appliance circuit (like a dishwasher). Always verify local permitting requirements before opening your electrical panel.
Step-by-Step Installation Guide
Step 1: Circuit Prep and Power Shutoff
Navigate to your main electrical panel and turn off the 20-Amp breaker controlling the kitchen small-appliance circuit. Use a non-contact voltage tester on an existing kitchen outlet to confirm the power is dead. If you are running a brand new circuit, you must install a new 20-Amp GFCI breaker or use a standard 20-Amp breaker if your GFCI protection will be located at the island receptacle itself (the Lew PUR30 has it built-in).
Step 2: Routing the 12/2 NM-B Cable
Islands are notoriously difficult to wire because they are disconnected from walls. You have two routing options:
- Overhead Drop: If you have an unfinished basement or crawl space below, drop the cable from the panel, run it through the floor joists, and bring it up through the subfloor directly into the island cabinet toe-kick.
- Trenching (Concrete Slab): If your home is on a slab foundation, the conduit should have been trenched into the concrete before the pour. If not, you will need to hire a professional to core-drill the concrete and run PVC conduit to the island base.
Once the 12/2 NM-B cable enters the island cabinet, secure it to the interior wood framing using cable staples within 8 inches of the electrical box or pop-up assembly. Leave at least 12 inches of slack for wiring.
Step 3: Coring the Countertop
This is the most nerve-wracking step for beginners. If you have a quartz or granite countertop, you must use a diamond core drill bit and a variable-speed drill.
- Mark the center point for the outlet, ensuring it is at least 6 inches away from the edge of the countertop to prevent structural cracking.
- Use a guide board clamped to the counter to keep the drill perfectly plumb.
- Drill at a low RPM (around 300-500 RPM) while continuously spraying water onto the bit to cool the diamonds and suppress silica dust.
- Stop drilling just as you break through the surface to avoid chipping the underside of the stone.
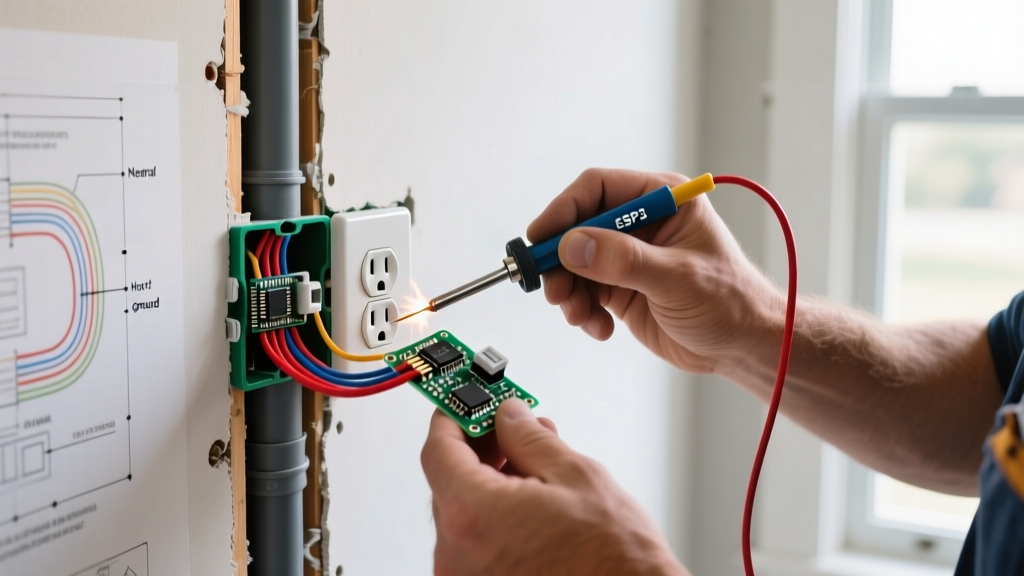
Step 4: Wiring the GFCI Pop-Up Assembly
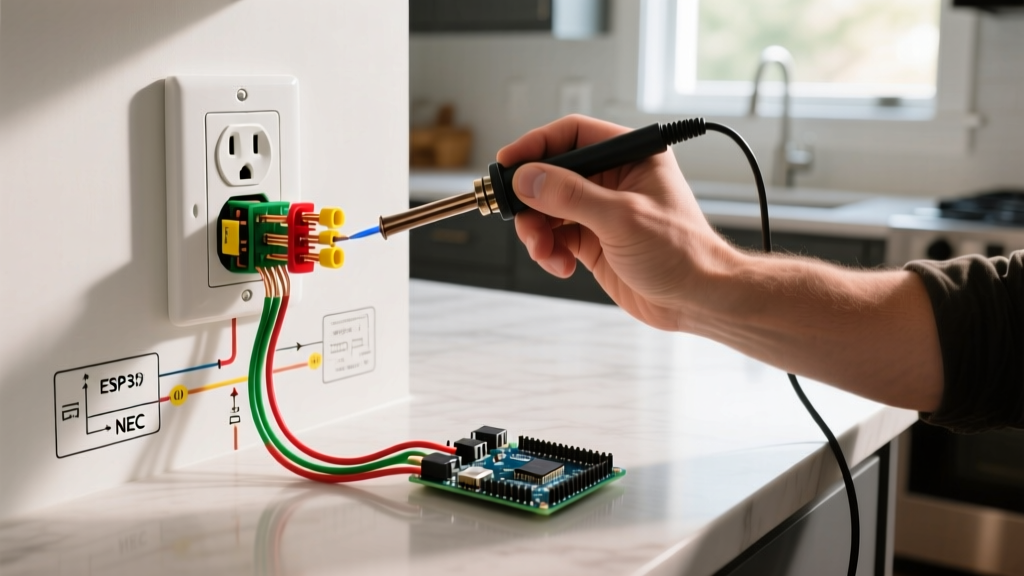
Feed the 12/2 cable into the base of the pop-up housing. Strip the outer sheathing, leaving 3/4 inch of insulation on the individual black, white, and bare copper wires.
- Ground: Attach the bare copper wire to the green grounding screw on the GFCI module.
- Line vs. Load: Because this is the end of the run, you will only use the LINE terminals. Connect the black (hot) wire to the brass LINE screw and the white (neutral) wire to the silver LINE screw. Ensure the wires are wrapped clockwise around the screws so tightening the screw pulls the wire tighter.
- Torque: If your assembly specifies a torque value (usually around 14 in-lbs), use a torque screwdriver to prevent loose connections that can cause arcing.
Step 5: Sealing and Final Testing
Before dropping the assembly into the hole, apply a generous, continuous bead of 100% silicone sealant around the underside of the mounting flange. This is a critical step cited by the Electrical Safety Foundation International (ESFI) to prevent water from migrating under the countertop and into the cabinetry. Drop the unit in, tighten the internal locking ring, wipe away excess silicone, and restore power to test the GFCI reset button.
Common Beginner Mistakes to Avoid
When wiring an electrical outlet on island setups, DIYers frequently make errors that lead to failed inspections or fire hazards. Avoid these pitfalls:
- Using 14 AWG Wire: Kitchen countertops require 20-Amp circuits. 14 AWG wire is only rated for 15 Amps and is a severe fire hazard when paired with a 20-Amp breaker. Always use 12 AWG (12/2 NM-B).
- Skipping the Silicone Seal: Even if the pop-up claims to be waterproof, the gap between the metal flange and the porous stone countertop will wick water. Silicone is mandatory.
- Violating the 24-Inch Rule: The NEC requires that no point along the island wall line is more than 24 inches from a receptacle. If your island is longer than 4 feet, a single outlet in the center may not be code-compliant; you may need two.
Frequently Asked Questions
Can I install a standard wall outlet face-up on a butcher block island?
No. Regardless of the countertop material, the NEC prohibits standard face-up receptacles on any horizontal countertop surface where liquids may be present. You must use a listed pop-up assembly or mount the outlet vertically on the side of the cabinet.
Does an island outlet need to be GFCI protected?
Yes. All 125-volt, single-phase, 15- and 20-ampere receptacles installed to serve countertop surfaces in kitchens must have Ground-Fault Circuit-Interrupter (GFCI) protection. This can be achieved via a GFCI breaker at the panel or a GFCI receptacle at the island.
What if my island has no power and the concrete is already poured?
If you do not have pre-installed conduit in your slab, you cannot easily run wire underground. Some homeowners opt for a surface-mounted floor conduit painted to match the floor, or they abandon the island power idea and rely on heavy-duty, low-profile extension cords routed under area rugs, though the latter is not recommended for high-draw kitchen appliances.