
Understanding the 'Hot' Electrical Outlet Plug: Wiring vs. Overheating
When electricians and DIYers search for information on a hot electrical outlet plug, they are typically referring to one of two distinct concepts. First, it can mean wiring an 'always hot' (unswitched) receptacle where the hot wire (ungrounded conductor) provides continuous 120V power to the brass terminals. Second, it can refer to a physical safety hazard: an outlet plug that is physically hot to the touch due to high resistance, loose connections, or overload.
This comprehensive wiring diagram reference addresses both scenarios. We will break down the exact terminal anatomy for wiring a standard 15A or 20A always-hot duplex receptacle, compare it to switched configurations, and provide a rigorous troubleshooting matrix for diagnosing thermally compromised (overheating) outlets in accordance with the 2026 National Electrical Code (NEC) standards.
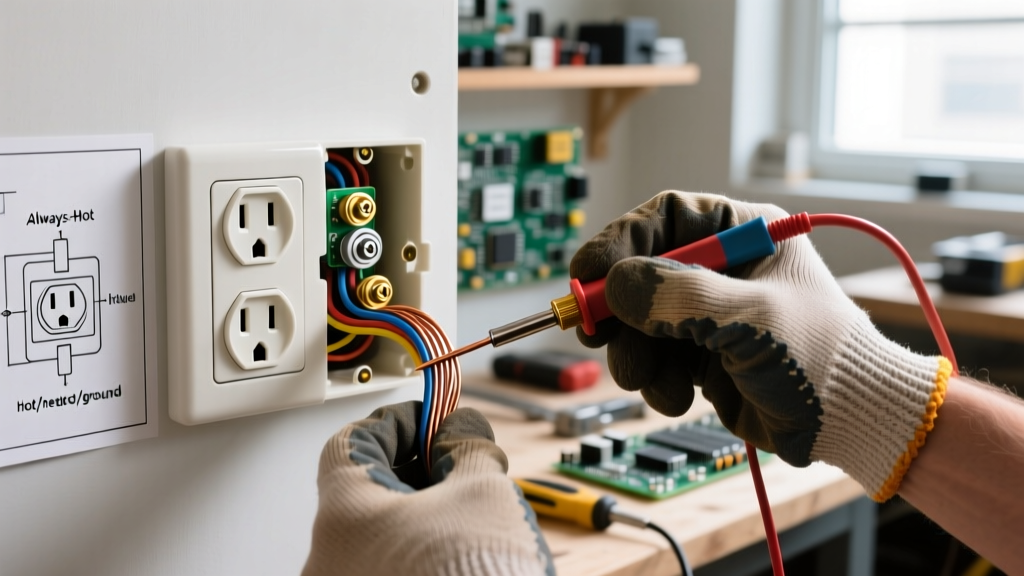
Anatomy of an Always Hot Outlet Wiring Diagram
An 'always hot' configuration means the receptacle receives uninterrupted power directly from the circuit breaker, bypassing any wall switches. This is the standard configuration for living rooms, bedrooms, and kitchens (excluding GFCI/AFCI specific appliance loops).
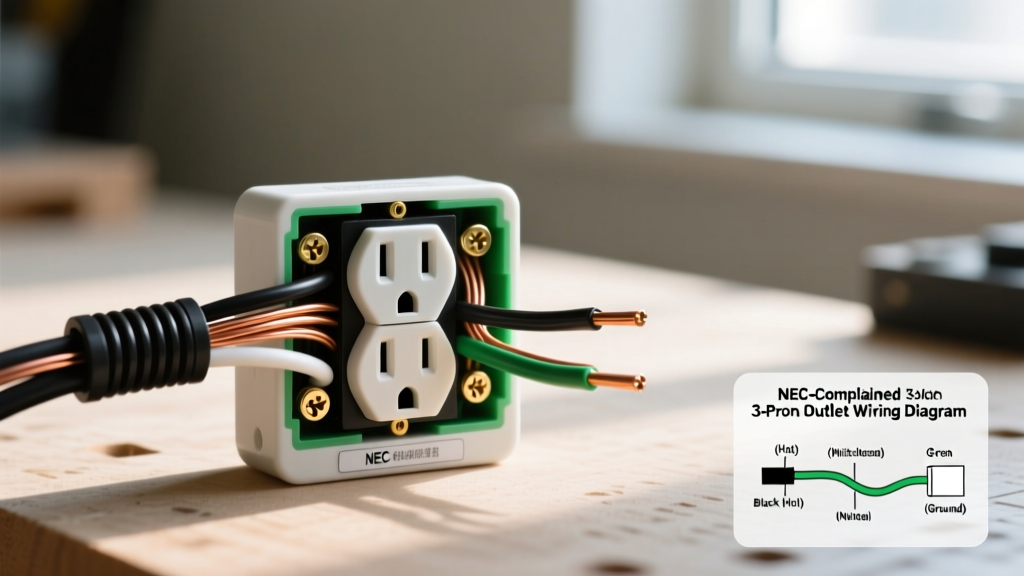
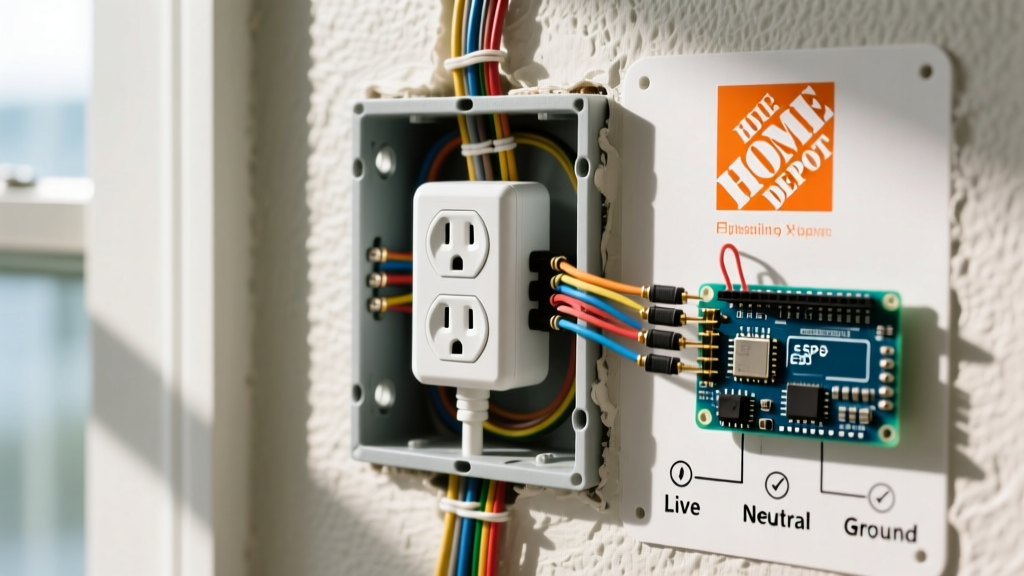
Terminal Mapping and Conductor Identification
- Brass Screws (Hot/Line): The black (or red) ungrounded conductor connects here. This is the 'hot' side of the plug.
- Silver Screws (Neutral): The white grounded conductor connects here, completing the 120V circuit.
- Green Screw (Ground): The bare copper or green equipment grounding conductor (EGC) connects here for fault current pathing.
Crucial Code Note: On a standard duplex receptacle, the brass side features a break-off metal fin (tab) between the top and bottom screws. For an always hot outlet, leave this fin intact. Breaking it is only required for split-wired (half-switched) configurations.
Step-by-Step Wiring Procedure (2026 NEC Compliance)
Modern electrical codes are increasingly strict regarding termination torque and connection methods to prevent arc faults and thermal runaway. Follow these exact specifications when wiring your hot electrical outlet plug.
- Verify De-energized State: Use a True RMS multimeter (e.g., Fluke 117) or a non-contact voltage tester to confirm 0V at the receptacle and the panel.
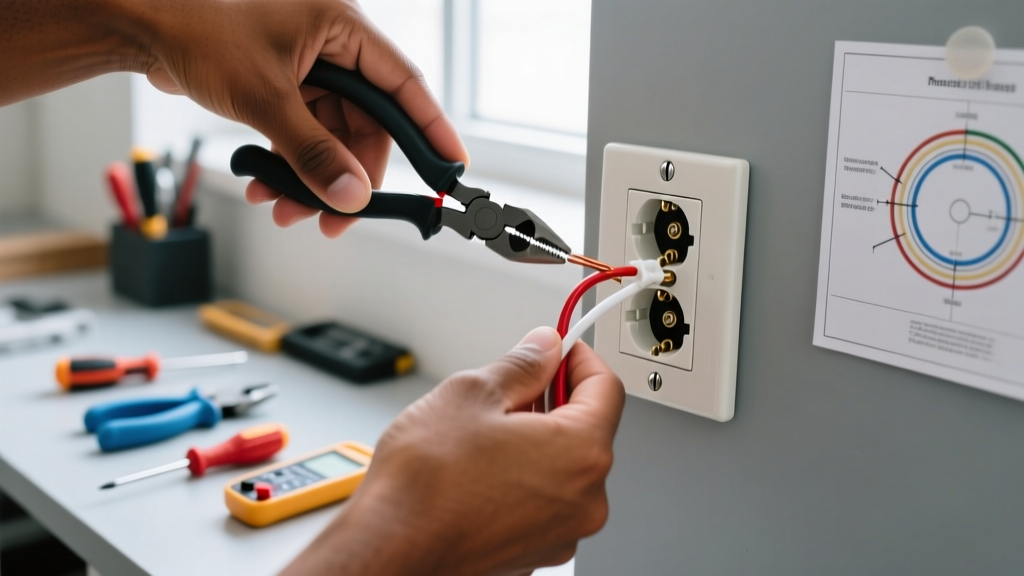
- Strip to Exact Tolerances: Use a precision wire stripper (like the Klein Tools 11055). Strip exactly 5/8-inch (16mm) of insulation from 14 AWG or 12 AWG solid copper wire. Exposing too much bare wire creates a shock hazard; too little causes the screw to bite into the insulation, leading to a high-resistance 'hot' connection.
- Form the J-Hook: Bend the stripped wire into a clockwise hook using needle-nose pliers. The hook must wrap at least 270 degrees around the screw shaft.
- Terminate and Torque: Seat the wire under the brass/silver screws. The 2026 NEC strictly enforces manufacturer torque specifications. Use a calibrated torque screwdriver (e.g., Klein 32500). For standard 15A receptacles, torque to 14 in-lbs for 14 AWG and 16 in-lbs for 12 AWG, as specified by UL 498.
- Pigtail vs. Pass-Through: If this outlet is in the middle of a run, use wire nuts (or WAGO 221 lever connectors) to pigtail the hot, neutral, and ground wires. Do not use the receptacle's second set of screws to pass current to downstream devices, as a failure at this receptacle will kill power to the rest of the circuit.
Configuration Matrix: Always Hot vs. Switched vs. Split
Understanding how your hot electrical outlet plug compares to other configurations prevents catastrophic miswiring. Reference the table below before energizing the circuit.
| Configuration Type | Hot Side Fin (Tab) | Switch Loop Required? | Primary Use Case |
|---|---|---|---|
| Always Hot (Unswitched) | Intact (Not Broken) | No | Standard room power, appliances, vacuums. |
| Switched Outlet | Intact (Not Broken) | Yes (Switch controls both) | Lamps controlled by a wall switch. |
| Split-Wired (Half-Hot) | Broken (Removed) | Yes (Switch controls half) | Top half switched for lamps, bottom half always hot for devices. |
| Multi-Wire Branch (MWBC) | Broken (Removed) | No (Two separate breakers) | Kitchen counters (20A). Requires handle-tied breakers. |
Troubleshooting a Physically 'Hot' (Overheating) Outlet Plug
If your search for a 'hot electrical outlet plug' stems from a physical safety concern—a faceplate or plug that is warm or hot to the touch—immediate intervention is required. Standard PVC insulation and receptacle thermoplastics are rated for 90°C (194°F), but the faceplate should never exceed 60°C (140°F) in normal operation. According to the U.S. Consumer Product Safety Commission (CPSC), overheating receptacles are a leading precursor to residential electrical fires.
Common Failure Modes and Edge Cases
- Backstab (Push-In) Connection Failure: Older or builder-grade receptacles feature push-in terminals on the back. These rely on a small spring-metal wedge that bites into the wire. Over time, thermal cycling causes the spring to relax, increasing resistance. High resistance generates immense heat (I²R losses). Fix: Immediately cut off backstabs and re-terminate using the side screw terminals or pigtails.
- Aluminum Wiring Oxidation: If your home was built between 1965 and 1973, it may have aluminum branch wiring. Aluminum creeps and oxidizes, leading to loose, hot connections at the brass screws. Fix: You must use CO/ALR rated receptacles or Alumiconn connectors. Standard copper-rated receptacles violate OSHA and NEC safety standards when used with aluminum wire.
- Continuous Load Overdraw: A 15A receptacle on a 15A breaker should only handle 12A of continuous load (operating for 3+ hours). Plugging in a 1500W space heater (12.5A) alongside a gaming PC can push the thermal limits of the plug's internal brass wipers.
- Worn Internal Wipers: If a plug feels loose when inserted into the receptacle, the internal brass wipers have lost their tension. This creates micro-arcing and severe localized heating. Replace the receptacle immediately with a commercial-grade model (e.g., Hubbell 5262).
Recommended Tools and Materials for 2026
To ensure your hot electrical outlet plug wiring meets modern safety benchmarks, utilize the following professional-grade equipment:
- Receptacle: Leviton T5320-W (15A, 125V, Tamper-Resistant). Tamper-resistant (TR) shutters are mandatory in all dwelling units to prevent childhood shock injuries. (Approx. $3.50 per unit).
- Torque Driver: Klein Tools 32500 Multi-Bit Stubby Ratcheting Screwdriver with Torque attachment, or a dedicated Wiha torque screwdriver calibrated to 14-16 in-lbs. (Approx. $130).
- Voltage Tester: Fluke 117 True RMS Multimeter with VoltAlert non-contact voltage detection for safe verification before touching terminals. (Approx. $220).
- Wire Connectors: WAGO 221 Lever-Nuts (Assortment). Superior to twisted wire nuts for pigtailing, offering consistent clamping force and visual confirmation of wire seating. (Approx. $25 for a 50-pack).
Summary and Code Adherence
Wiring an always hot electrical outlet plug requires precision, not just basic connectivity. By maintaining the hot-side fin, utilizing side-screw terminations torqued to exact manufacturer specifications, and avoiding backstab connectors, you ensure a low-resistance, thermally stable circuit. Furthermore, understanding the thermal warning signs of a physically hot plug allows you to mitigate fire risks before they escalate. Always consult the latest NFPA 70 National Electrical Code and pull the necessary local permits before modifying branch circuits in your home.