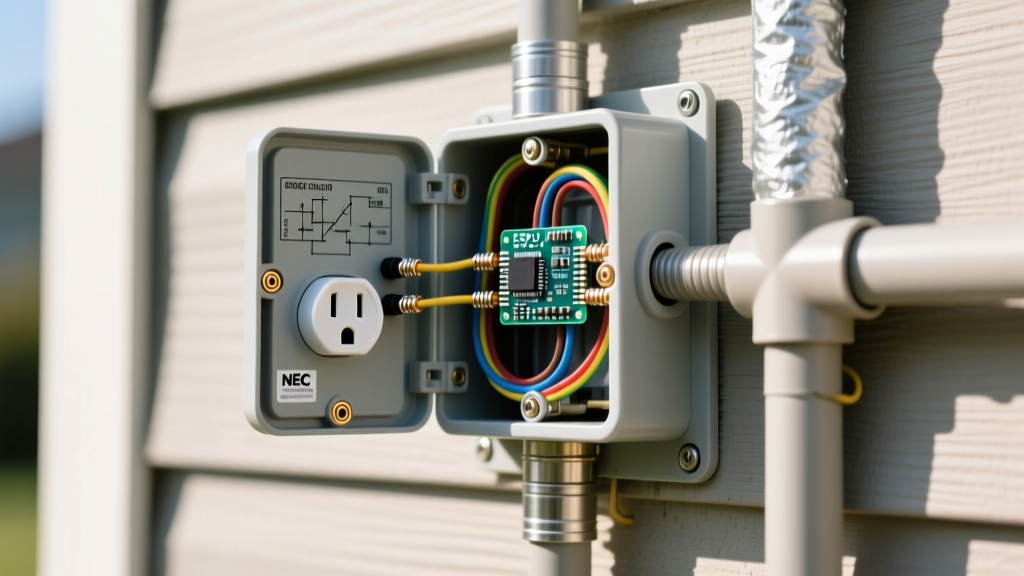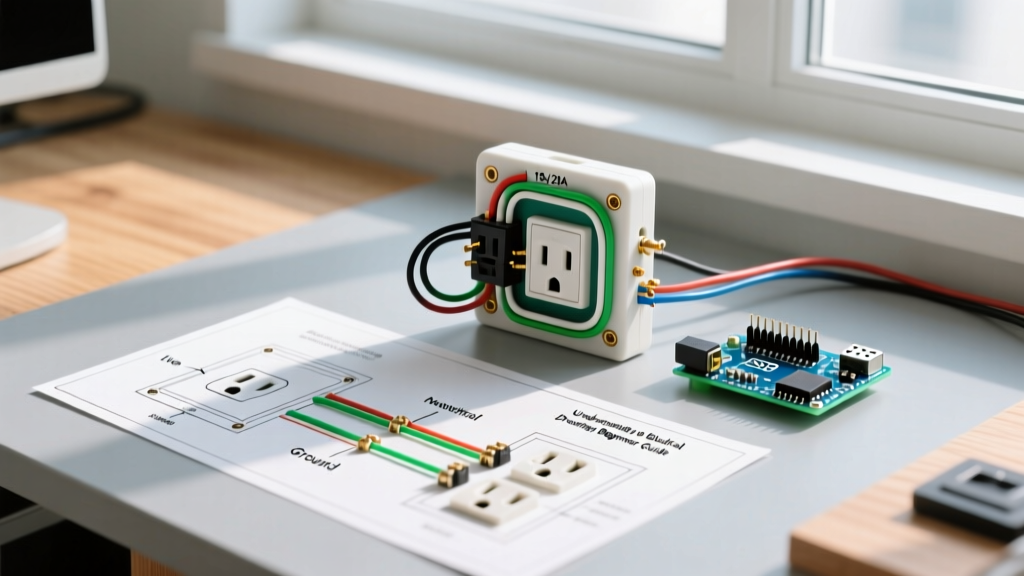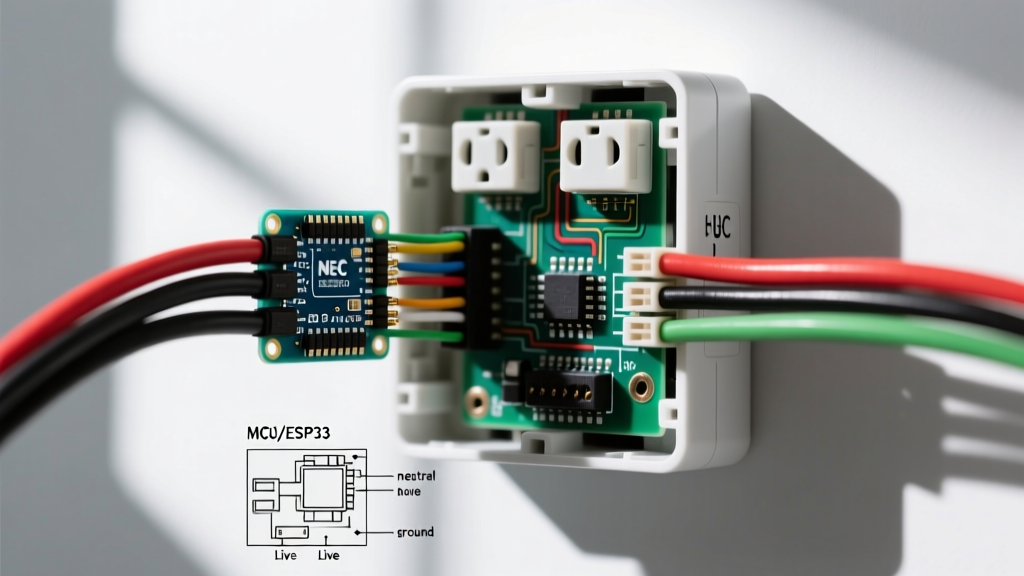

Hearing a buzzing, sizzling, or crackling sound from a standard 120V duplex receptacle is never normal. Unlike the faint hum of a large transformer, an electrical outlet making noise indicates active electrical resistance, micro-arcing, or severe thermal expansion within the wall cavity. According to the U.S. Consumer Product Safety Commission (CPSC), electrical distribution and lighting equipment accounts for tens of thousands of residential fires annually, with loose or degraded receptacle connections being a primary culprit.
As a DIYer or homeowner, ignoring these acoustic warning signs can lead to melted polycarbonate faceplates, scorched drywall, or a full-blown structural fire. Below, we break down the five most common wiring scenarios that cause noisy outlets, the specific failure mechanics behind them, and the exact NEC-compliant steps required to diagnose and fix the hazard.
Acoustic Diagnostic Matrix: Identifying the Sound
Before opening the wall box, listen closely to the character of the noise. The specific frequency and pitch often point directly to the underlying failure mode.
| Sound Profile | Frequency / Pitch | Probable Failure Mode | Urgency Level |
|---|---|---|---|
| Low-Frequency Buzzing | 60Hz Mains Hum | Backstabbed push-in connections or aluminum oxidation | High (Fix within 24 hours) |
| Sharp Crackling / Popping | Erratic, High-Pitch | Micro-arcing from loose terminal screws or broken wire strands | Critical (Shut off breaker immediately) |
| Sizzling / 'Frying Bacon' | Continuous White Noise | Severe thermal overload melting internal brass wipers | Critical (Shut off breaker immediately) |
| High-Pitched Whine / Squeal | Constant Electronic Tone | Failing capacitors or solenoid inside a GFCI receptacle | Moderate (Replace GFCI device) |
Scenario 1: Backstabbed Push-In Connections (The Silent Killer)
The most frequent cause of an electrical outlet making noise in modern homes is the use of push-in backstab terminals. Builder-grade receptacles (often costing less than $1.50 at big-box stores) feature spring-loaded brass wipers designed to grip 14 AWG solid copper wire. While UL-listed, these connections are highly susceptible to thermal cycling.
When you plug in a high-draw appliance—like a 1500W space heater pulling 12.5 amps—the receptacle heats up. The internal spring expands and contracts. Over a few years, the spring tension degrades, creating a high-resistance joint. This resistance causes a voltage drop across the connection, resulting in a distinct 60Hz buzzing sound and localized heat generation exceeding 140°F (60°C).
The Expert Fix
Never reuse a backstabbed receptacle. Cut the wires back, strip them to 5/8 inch, and terminate them under the brass (hot) and silver (neutral) side-wire screws. For high-load areas, upgrade to a commercial-grade specification receptacle, such as the Leviton 5362-W or Hubbell 5262 (approx. $4.50 - $6.00). These feature massive internal brass contact wipers that maintain grip tension for decades.
Scenario 2: Untorqued Terminal Screws and NEC 110.14(D)
If you recently replaced an outlet and now hear crackling, the terminal screws are likely undertorqued. Since the 2017 National Electrical Code (NEC), and heavily reinforced in the 2023 and 2026 code cycles, IAEI guidelines and NEC 110.14(D) mandate the use of listed torque tools for all electrical terminations. Hand-tightening with a standard screwdriver is no longer code-compliant or safe.
A loose hot wire under the terminal screw creates a microscopic air gap. As alternating current attempts to bridge this gap, it ionizes the air, creating a plasma arc. This micro-arcing produces the classic 'frying bacon' sizzling sound and generates extreme localized heat, often melting the wire insulation back into the junction box.
The Expert Fix
Use a calibrated torque screwdriver. Most standard 15A and 20A duplex receptacles require a torque setting between 12 and 14 inch-pounds (always verify the manufacturer's stamp on the back of the yoke). Ensure the wire is looped clockwise around the screw so that tightening the screw pulls the loop closed rather than pushing it out.
Scenario 3: Aluminum Wiring Oxidation (Pre-1972 Homes)
If your home was built between 1965 and 1972, your branch circuits may be wired with solid aluminum. Aluminum has a higher coefficient of thermal expansion than copper and naturally forms aluminum oxide—a highly resistive, ceramic-like substance—when exposed to air. When an electrical outlet making noise is found in an older home, aluminum oxidation is the prime suspect.
The resistive oxide layer causes severe voltage drop and heat buildup at the terminal screws, leading to a low, ominous buzzing sound. Standard copper-rated receptacles will eventually fail catastrophically when connected directly to aluminum wire due to galvanic corrosion and thermal creep.
The Expert Fix
According to CPSC Aluminum Wiring guidelines, you must either replace the receptacle with a device specifically marked CO/ALR (Copper-Aluminum Revised), or use a pigtailing method. The most reliable modern pigtailing solution is the AlumiConn lug connector, which uses independent ports and antioxidant paste to permanently bridge the aluminum branch wire to a copper pigtail, safely feeding a standard modern receptacle.
Scenario 4: Overloaded Continuous Loads and Thermal Creep
Sometimes the noise isn't arcing, but the sound of thermal expansion. The polycarbonate plastic of the receptacle faceplate and the internal nylon yoke will physically expand and creak or sizzle when subjected to temperatures above 140°F. This happens when homeowners daisy-chain power strips or pull continuous loads that exceed 80% of the circuit's rating.
For example, running a high-end gaming PC, multiple monitors, and a laser printer on a single 15A duplex receptacle can pull 14 amps continuously. The NEC defines a continuous load as one lasting 3 hours or more. At this draw, the internal brass wipers of a standard residential receptacle will overheat, lose their temper, and permanently deform, resulting in a loose, noisy connection even after the load is removed.
The Expert Fix
Map your continuous loads. If a single receptacle regularly supports high-draw electronics, install a 20A commercial-grade receptacle on a dedicated 20A circuit using 12 AWG copper wire. Use a thermal camera (like the FLIR ONE Pro) to scan the faceplate; a Delta-T (temperature differential) of more than 15°F above ambient room temperature indicates an overloaded or failing termination.
Scenario 5: Failing GFCI Internal Electronics
If the electrical outlet making noise is a Ground Fault Circuit Interrupter (GFCI) and the sound is a high-pitched electronic whine or squeal, you are likely hearing failing internal components rather than a wiring fault. GFCIs contain complex logic boards, capacitors, and a tripping solenoid.
The typical lifespan of a GFCI is 10 to 15 years. In damp environments like garages, bathrooms, or exterior patios, moisture ingress degrades the internal conformal coating. A failing Silicon Controlled Rectifier (SCR) or a leaking electrolytic capacitor will emit a high-frequency whine as it struggles to regulate the internal 5V DC logic supply. While not an immediate arc-fire hazard like a loose hot wire, a failing GFCI will eventually blind itself to actual ground faults, leaving you unprotected from lethal shock.
The Expert Fix
Press the 'TEST' button. If the receptacle trips and resets cleanly, the mechanical solenoid is intact, but the electronic degradation is still progressing. Replace any GFCI that is emitting electronic noise or is older than 10 years with a modern self-testing model, such as the Leviton SmartlockPro series, which automatically runs internal diagnostics every 3 seconds to ensure ground-fault protection is active.
Step-by-Step Safe Troubleshooting Protocol
Never open a noisy junction box without following a strict safety protocol. Follow these steps to isolate the hazard:
- Verify with a Non-Contact Voltage Tester (NCVT): Use a dual-range tester like the Klein Tools NCVT-3. Scan the faceplate and the gap between the yoke and the drywall to confirm the presence of 120V AC before touching any screws.
- Kill the Breaker and Lockout: Turn off the corresponding breaker at the main panel. Use a breaker lockout device or place heavy tape over the switch to prevent another household member from accidentally re-energizing the circuit while your hands are in the box.
- Test for Dead: Use a digital multimeter (DMM) set to AC Voltage. Insert the probes into the hot and neutral slots, then hot and ground. The reading must be exactly 0.0V.
- Extract and Inspect: Unscrew the faceplate and extract the receptacle. Look for brown scorch marks, melted wire insulation, or a 'fishy' odor (the distinct smell of melting Bakelite or PVC).
- Check Wire Gauge and Torque: Verify the wire gauge matches the breaker (14 AWG for 15A, 12 AWG for 20A). Re-terminate all wires using the screw terminals and a torque screwdriver set to the manufacturer's specification.
CRITICAL SAFETY WARNING: If you open the junction box and find melted wire nuts, scorched drywall paper, or wires where the copper has turned black and brittle from annealing, stop immediately. The damage has extended beyond the receptacle into the branch wiring. You must cut back the damaged wire to clean, shiny copper or call a licensed electrician to pull new wire through the conduit or wall cavity.
When to Call a Licensed Electrician
While replacing a standard duplex receptacle is a foundational DIY skill, certain scenarios require professional intervention. If your home features aluminum wiring without existing pigtails, if the junction box is packed with more than four current-carrying conductors (violating box fill capacity), or if the buzzing persists after the receptacle has been replaced and properly torqued, the fault may lie upstream at a loose neutral bus bar in the main service panel. Panel-level work carries severe arc-flash risks and must be handled by a licensed professional equipped with appropriate PPE and arc-flash boundary training.