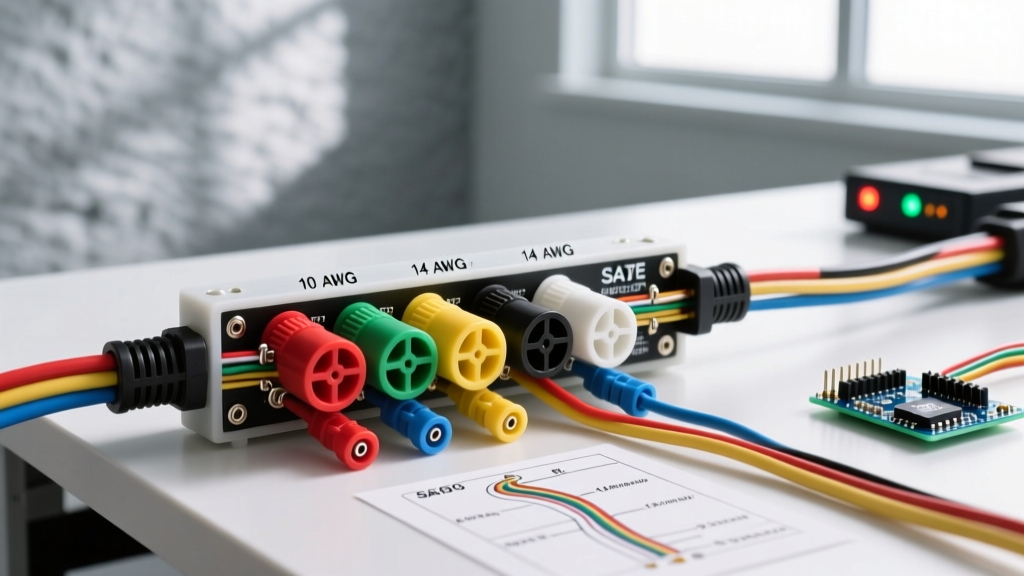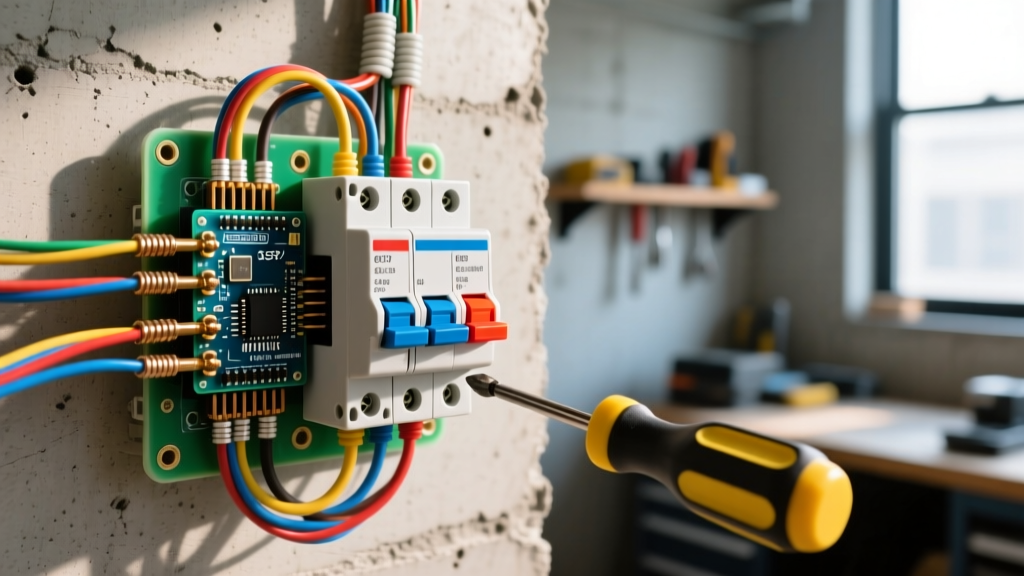

Why Upgrade to a GFCI Breaker Instead of a GFCI Receptacle?
When modernizing a home's electrical system to meet the latest safety standards, homeowners and electricians frequently debate between installing a GFCI receptacle at the first outlet or upgrading the entire circuit at the panel with a GFCI breaker. While GFCI receptacles are cheaper upfront (typically $15 to $25), a wiring diagram for GFCI breaker installations reveals a more comprehensive protection strategy for complex circuits.
Upgrading to a Ground Fault Circuit Interrupter (GFCI) breaker provides whole-circuit protection. This is particularly critical for Multi-Wire Branch Circuits (MWBCs), outdoor lighting runs, and circuits with concealed junction boxes where a receptacle-level GFCI cannot physically be installed or easily reset. Furthermore, with the widespread adoption of the 2023 and upcoming 2026 National Electrical Code (NEC) updates, the mandate for GFCI protection has expanded significantly into kitchens, bathrooms, laundry areas, and all 125-volt through 250-volt receptacles in outdoor areas. Understanding how to properly interpret and execute the breaker's wiring schematic is the difference between a safe, code-compliant upgrade and a panel that constantly nuisance-trips.
Decoding the Wiring Diagram for GFCI Breaker Installations
Every UL-listed GFCI breaker features a printed wiring diagram on its label. Unlike standard thermal-magnetic breakers that only require a hot wire connection, a GFCI breaker actively monitors the current differential between the hot and neutral conductors. If the imbalance exceeds 4 to 6 milliamps, the internal trip solenoid engages.
The Four Critical Connection Points
To successfully wire the breaker, you must route four distinct conductors. Misinterpreting the diagram is the leading cause of immediate tripping upon energizing the panel.
- The Hot Conductor (Black/Red): Connects to the brass or dark-colored screw terminal on the breaker itself. This feeds power to the downstream circuit.
- The Circuit Neutral (White): This is where most DIYers fail. The circuit's white neutral wire MUST connect to the silver terminal on the breaker, not the panel's neutral bus bar. The breaker needs to monitor the return current; if the neutral bypasses the breaker, it will read an imbalance and trip instantly.
- The Pigtail (Curly White Wire): The pre-attached white pigtail on the breaker must connect to the panel's main neutral bus bar. This provides the 120V reference power to the breaker's internal logic board and test circuitry.
- The Equipment Ground (Bare/Green): Connects directly to the panel's ground bus bar. The GFCI breaker does not monitor the ground wire; it only uses it for equipment safety.
Expert Insight: Never bond the neutral and ground bus bars in a subpanel. If you install a GFCI breaker in a subpanel where neutrals and grounds are improperly bonded, normal return current will split between the neutral and ground paths. The GFCI breaker will detect this split as a ground fault and refuse to reset.
Pre-Installation Diagnostics: Preventing Downstream Faults
Before you even touch the panel's main lugs, you must verify the integrity of the downstream wiring. A GFCI breaker is highly sensitive and will not hold a reset if there is a neutral-to-ground fault anywhere on the branch circuit.
The Multimeter Continuity Test
Turn off the main breaker and remove the existing standard breaker. Disconnect the hot and neutral wires from the circuit. Using a digital multimeter set to the continuity or low-ohms setting:
- Place one probe on the disconnected circuit neutral wire.
- Place the other probe on the panel's ground bus bar (or the circuit's bare ground wire).
- Result: The meter should read 'OL' (Open Loop) or infinite resistance. If you read continuity (near 0 ohms), you have a neutral-to-ground fault downstream. This must be found and repaired at a junction box, appliance, or receptacle before the new GFCI breaker will function.
Step-by-Step Panel Upgrade: Replacing a Standard Breaker
Safety is paramount. Working inside a panel exposes you to lethal voltages, even when the main breaker is off, as the utility feed lugs remain energized. Wear arc-flash rated PPE, use insulated tools, and stand on a dry, non-conductive surface.
- De-energize the Panel: Turn off the main service disconnect. Verify the bus bars are dead using a non-contact voltage tester, followed by a direct measurement with a multimeter between the bus bar and the ground bar (should read 0V).
- Remove the Old Breaker: Unhook the hot wire, unseat the breaker from the bus stab, and remove the neutral from the bus bar.
- Wire the GFCI Breaker: Following the wiring diagram for GFCI breaker logic, land the circuit's hot wire on the breaker's hot terminal. Land the circuit's neutral on the breaker's neutral terminal.
- Apply Precise Torque: NEC 110.14(D) requires the use of a calibrated torque tool for terminals rated 100A or less. Use a torque screwdriver set to the manufacturer's specification (typically 45 in-lbs for Square D and Siemens 120/240V breakers). Under-torquing causes arcing and thermal failure; over-torquing strips the aluminum bus threads.
- Seat and Connect Pigtail: Snap the breaker onto the hot bus stab. Route the white pigtail to an available slot on the neutral bus bar and torque to 45 in-lbs.
- Energize and Test: Turn on the main breaker, then switch the GFCI breaker to ON. Press the built-in 'Test' button. The breaker should physically trip to the center or OFF position. Reset it to confirm proper mechanical operation.
2026 GFCI Breaker Market Comparison & Specifications
Selecting the right breaker depends on your panel's manufacturer. Breakers are generally not interchangeable between brands without specific UL classifications. Below is a comparison of leading models for standard 20A, 120V residential circuits.
| Brand / Model | Amperage / Poles | Avg. Price (2026) | Terminal Torque Spec | Best Application |
|---|---|---|---|---|
| Square D HOM220GFIC | 20A / 1-Pole | $65 - $78 | 45 in-lbs | Square D Homeline panels; standard bathroom/kitchen upgrades. |
| Siemens QF220A | 20A / 1-Pole | $58 - $70 | 45 in-lbs | Siemens load centers; features self-test functionality. |
| Eaton BR220GF | 20A / 1-Pole | $62 - $75 | 45 in-lbs | Eaton BR panels; compact neutral terminal design. |
| Square D QO220GFIC | 20A / 1-Pole | $95 - $115 | 45 in-lbs | Commercial/High-end residential QO panels with VISI-TRIP indicator. |
Troubleshooting Nuisance Tripping After Upgrade
If your newly installed GFCI breaker trips immediately or randomly under load, do not assume the breaker is defective. Modern GFCI breakers undergo rigorous factory testing. The issue is almost always in the branch circuit wiring.
Common Failure Modes and Edge Cases
- Shared Neutrals (MWBC): If two hot wires (e.g., from a 12/3 or 14/3 cable) share a single white neutral wire, a standard 1-pole GFCI breaker will trip instantly because the return current from the second hot leg is bypassing the first breaker's sensor. Solution: You must use a 2-pole GFCI breaker (e.g., Siemens QF220) and connect both hot wires and the shared neutral to the designated terminals on the 2-pole unit.
- Long Wire Runs and Capacitive Leakage: Runs exceeding 250 feet can accumulate enough capacitive leakage current to the ground to approach the 5mA trip threshold, especially in damp environments. Solution: Keep wire runs under 250 feet, or segment the circuit using multiple GFCI receptacles rather than a single breaker.
- Downstream Appliances with EMI Filters: Older refrigerators, freezers, or sump pumps with degraded electromagnetic interference (EMI) filters can leak high-frequency current to ground. Solution: While the NEC requires GFCI protection for kitchen and laundry receptacles, ensure appliances are modern and UL-listed. If an older freezer is on a dedicated circuit, consult local AHJ (Authority Having Jurisdiction) regarding exceptions for dedicated non-accessible receptacles.
NEC Code Compliance and Safety Standards
According to the National Fire Protection Association (NFPA), NEC Article 210.8 outlines the strict requirements for GFCI protection for personnel. The 2023 NEC expanded this to include all 125-volt through 250-volt receptacles supplied by single-phase branch circuits rated 150 volts or less to ground, 50 amperes or less, in areas like basements, crawl spaces, and outdoors. The upcoming 2026 code cycle continues to tighten these requirements, making whole-circuit GFCI breaker upgrades a standard practice for panel modernizations.
Furthermore, the Consumer Product Safety Commission (CPSC) notes that GFCIs prevent over two-thirds of the roughly 300 electrocutions that still occur annually in and around the home. When upgrading, always ensure your work is permitted and inspected by your local electrical authority, as panel modifications are strictly regulated to prevent arc faults and thermal overloads.
For comprehensive safety guidelines regarding working near energized electrical equipment and lock-out/tag-out procedures, refer to the Occupational Safety and Health Administration (OSHA) electrical safety standards. Mastering the wiring diagram is only the first step; executing the installation with precision, proper torque, and rigorous pre-testing ensures a safe, reliable, and code-compliant electrical system for decades to come.