
Critical Safety & NEC Code Requirements
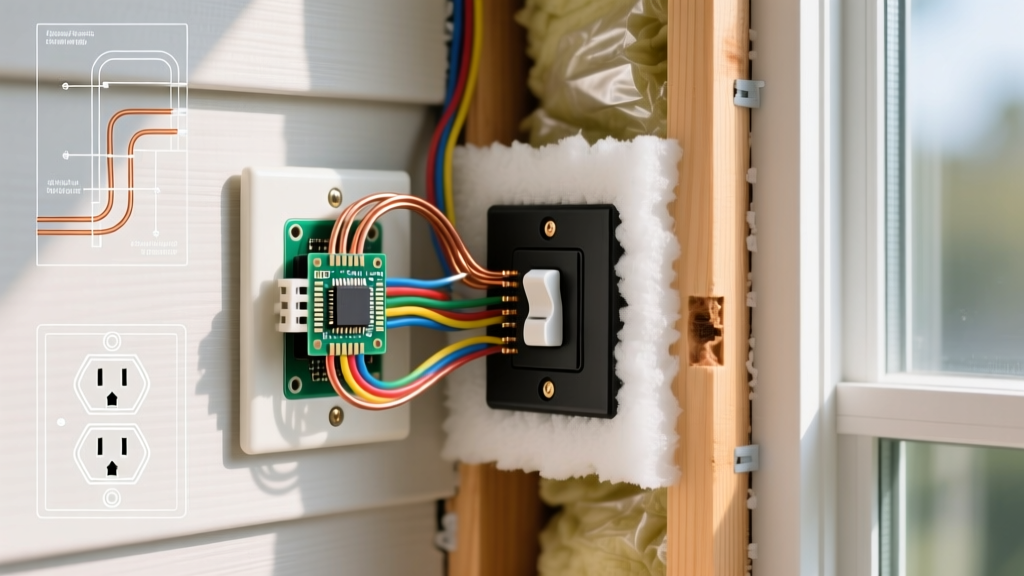
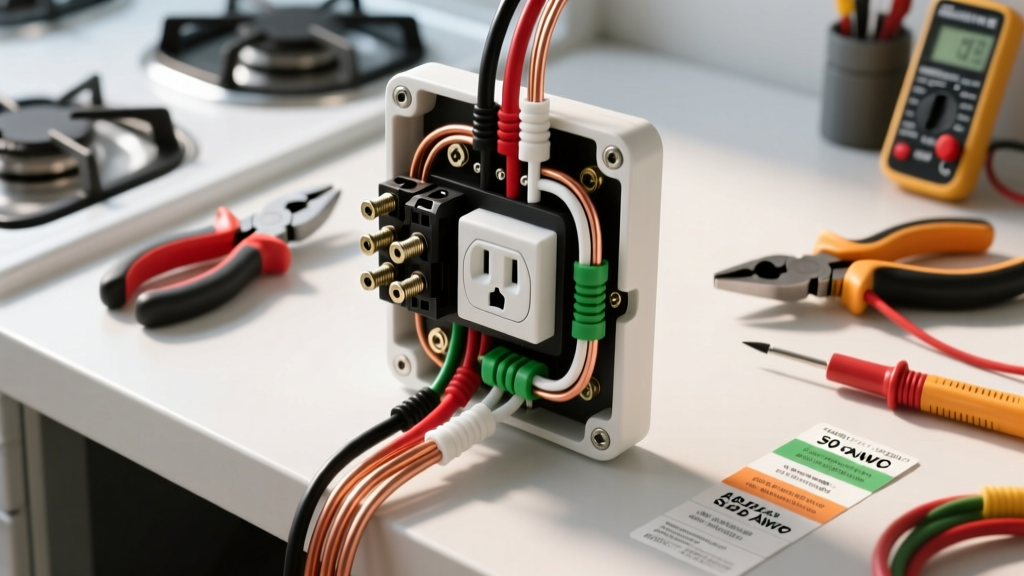
Installing an outdoor receptacle is one of the most practical DIY electrical upgrades you can make, but it carries strict safety mandates. When learning how to put an electrical outlet outside, you must adhere to the National Electrical Code (NEC). The 2023 NEC (which carries through to 2026 local adoptions) mandates two non-negotiable rules for exterior outlets:
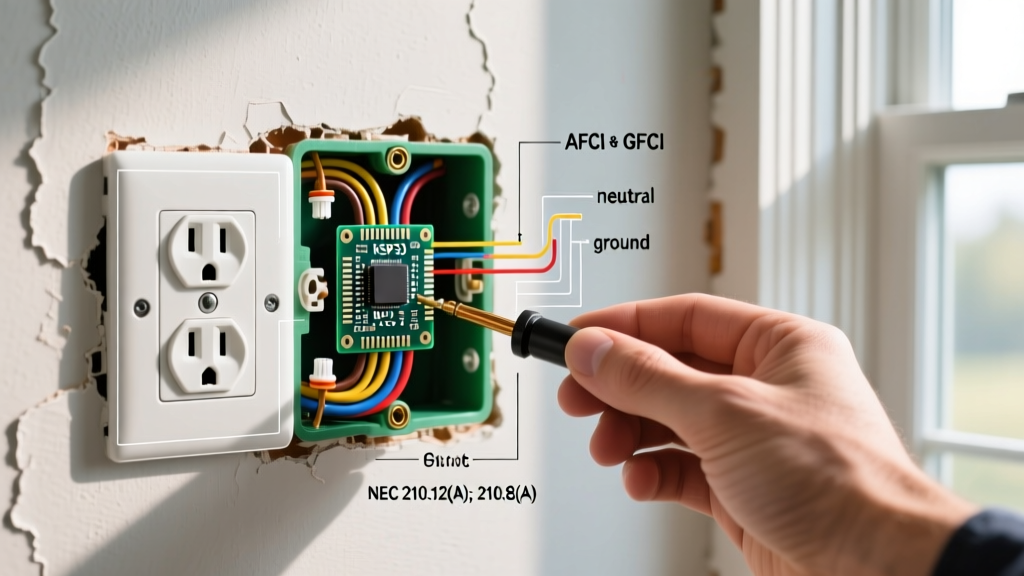
NEC Article 210.8(A)(3): All 125-volt, 15-amp and 20-amp outdoor receptacles must have Ground Fault Circuit Interrupter (GFCI) protection.
NEC Article 406.9(A): Outdoor receptacles must be housed in weatherproof enclosures, and an 'in-use' cover is required if the outlet is exposed to the elements.
Ignoring these codes doesn't just risk a failed inspection; it creates a severe electrocution hazard. Water and electricity are a lethal combination. This guide walks you through a surface-mount conduit installation extending from an interior wall, the safest and most accessible method for beginners.
Tools & Materials Matrix
Do not substitute indoor-rated components for outdoor use. Standard tamper-resistant (TR) outlets will corrode outside. You must use Weather-Resistant (WR) rated devices.
| Component | Recommended Model | Purpose | Est. Cost |
|---|---|---|---|
| WR GFCI Receptacle | Leviton 20A WR GFCI (GFNT2-W) | Provides shock protection; UV-stabilized face. | $24.00 |
| In-Use Cover & Box | Taymac 1-Gang Nonmetallic (TC5410B) | Weatherproof housing; allows cords while closed. | $14.50 |
| Conduit | 3/4-inch PVC Schedule 40 | Protects THHN wires from UV and physical damage. | $3.00/ft |
| Wire | 12 AWG THHN (Black, White, Green) | Conductors rated for wet locations in conduit. | $0.40/ft |
| Sealant | GE Advanced Silicone 2 (Clear) | Waterproofs the box-to-wall mating surface. | $8.00 |
| Voltage Tester | Klein Tools NCVT-3 | Verifies zero voltage before touching wires. | $22.00 |
Step 1: Circuit Selection & Power Verification
Locate an interior 20-amp circuit near your desired exterior spot. You cannot daisy-chain an outdoor outlet off a 15-amp lighting circuit or a kitchen/bathroom circuit (NEC prohibits mixing outdoor loads with dedicated bathroom/kitchen small-appliance circuits).
- Turn off the target breaker at the main panel.
- Plug a lamp into the interior outlet to confirm power is dead.
- Remove the interior receptacle cover and use your Klein NCVT-3 to test both the brass (hot) and silver (neutral) screws. The tester must remain completely dark.
Step 2: Routing Conduit & Pulling 12 AWG THHN
Never run standard NM-B (Romex) cable directly outside or through exterior walls into wet-location boxes; the paper wrapping inside Romex wicks moisture, leading to catastrophic insulation failure.
- Drill the Penetration: Use a 3/4-inch masonry or spade bit to drill through the exterior wall directly behind the interior outlet box. Angle the drill slightly downward (about 5 degrees) toward the outside to prevent rain from tracking inward.
- Mount the PVC: Attach a PVC female adapter to the interior box using a conduit connector. Run 3/4-inch PVC down the exterior wall to your desired outlet height (minimum 18 inches above grade, but 48 inches is standard for convenience).
- Pull the Wire: Feed three individual 12 AWG THHN wires (Black for Hot, White for Neutral, Green for Ground) through the conduit from the exterior box location up into the interior junction box. Leave 8 inches of slack on both ends.
Step 3: Mounting the Weatherproof Box
Proper sealing is where most DIYers fail. Water ingress will trip your GFCI within the first heavy rainstorm.
- Thread the THHN wires through the back hub of the Taymac TC5410B weatherproof box.
- Apply a thick, continuous bead of GE Advanced Silicone 2 to the top and both side flanges of the box. Never caulk the bottom flange. Leaving the bottom unsealed creates a 'weep hole' that allows any condensation or trapped moisture to drain out via gravity.
- Press the box firmly against the exterior siding and secure it using 2-inch exterior-grade wood screws or masonry anchors, depending on your wall material.
Step 4: Wiring the Leviton WR GFCI (Line vs. Load)
This is the most critical technical step. GFCI receptacles have two sets of terminals: LINE (power coming in) and LOAD (power going out to downstream devices). If you wire them backward, the outlet will have power, but the GFCI shock protection will be completely disabled.
Interior Box Connections (Pigtailing)
Because you are tapping into an existing interior outlet, you must 'pigtail' the wires so both the interior and exterior outlets receive power.
- Strip 3/4 inch of insulation from all wires.
- Connect the new Black THHN wire to the existing Black wires using a yellow wire nut and a 6-inch black pigtail. Connect the pigtail to the interior receptacle's brass screw.
- Repeat for White (neutral/silver screw) and Green/Bare (ground/green screw).
Exterior Box Connections
- Identify the LINE terminals on the Leviton GFNT2-W (usually marked with black tape or 'LINE' text on the back).
- Connect the exterior Black THHN wire to the Brass LINE screw. Torque to 12 lb-in.
- Connect the exterior White THHN wire to the Silver LINE screw.
- Connect the exterior Green THHN wire to the Green Ground screw.
- Wrap the terminal screws with 33+ rated electrical tape to prevent accidental grounding against the metal box or conduit fittings.
- Push the wires neatly into the back of the Taymac box, ensuring no wires are pinched behind the GFCI strap. Mount the GFCI and attach the in-use bubble cover.
Step 5: Final Testing Protocol
Restore power at the main breaker panel. The GFCI's green LED indicator should illuminate, signaling it is wired correctly and actively monitoring for ground faults.
Insert a Gardner Bender GRT-501 GFCI tester into the new outdoor outlet. Press the black test button on the tester. The GFCI should immediately trip with an audible 'click', and the green LED should turn off. Press the 'RESET' button on the Leviton receptacle to restore power. If the tester fails to trip the GFCI, shut off the breaker immediately and verify your Line/Load wiring.
Troubleshooting Common Installation Failures
| Symptom | Root Cause | Expert Fix |
|---|---|---|
| GFCI trips instantly upon reset. | Neutral-to-Ground fault; white wire is touching bare copper or conduit. | Inspect the box for pinched wires. Ensure neutral and ground are strictly separated past the main panel. |
| Outlet has power, but tester won't trip it. | Line and Load terminals are reversed. | Swap the Black/White wires from the LOAD terminals to the LINE terminals. |
| GFCI trips randomly during rain. | Moisture ingress due to missing caulk or improper cover gasket seating. | Check the top seal of the box. Ensure the foam gasket on the bubble cover is fully seated and not torn. |
Authoritative Safety References
Electrical work requires strict adherence to safety standards. For further reading on residential electrical safety and ground fault protection, consult the following resources:
- National Fire Protection Association (NFPA): Electrical Safety Guidelines
- U.S. Consumer Product Safety Commission (CPSC): Electrical Safety Center
By following this exact methodology, utilizing WR-rated components, and respecting NEC wet-location mandates, your exterior outlet will provide safe, reliable power for years to come.