
Understanding the Self Contained Electrical Outlet
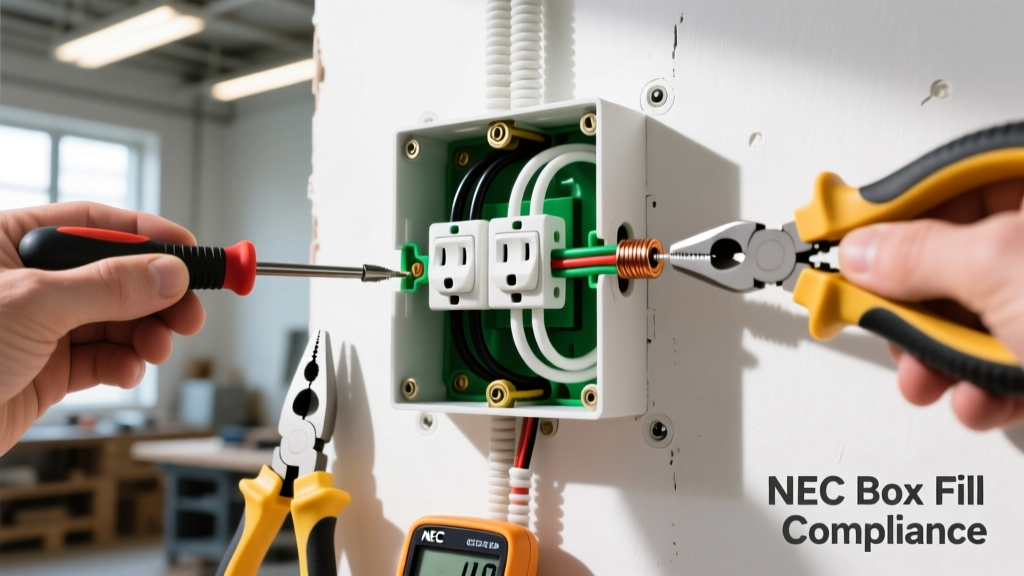
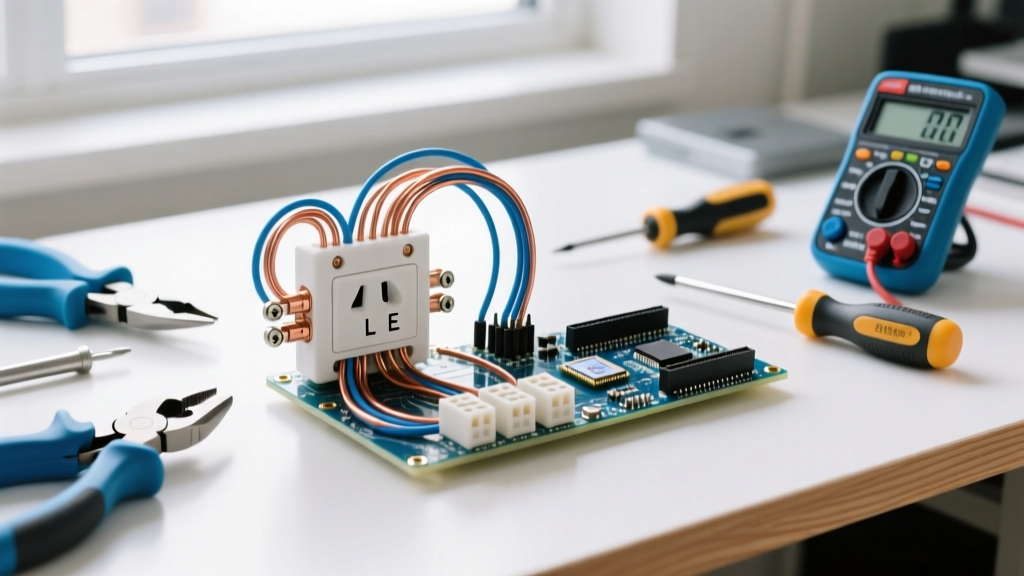
When working on electrical systems in manufactured housing, RVs, or modular builds, you will frequently encounter a unique device: the self contained electrical outlet. Unlike standard receptacles that mount into a nailed-on or old-work electrical box, self-contained (SC) devices are engineered to clamp directly onto the wall paneling. This design eliminates the need for a traditional mud ring or junction box, saving space and reducing material costs in factory-built homes.
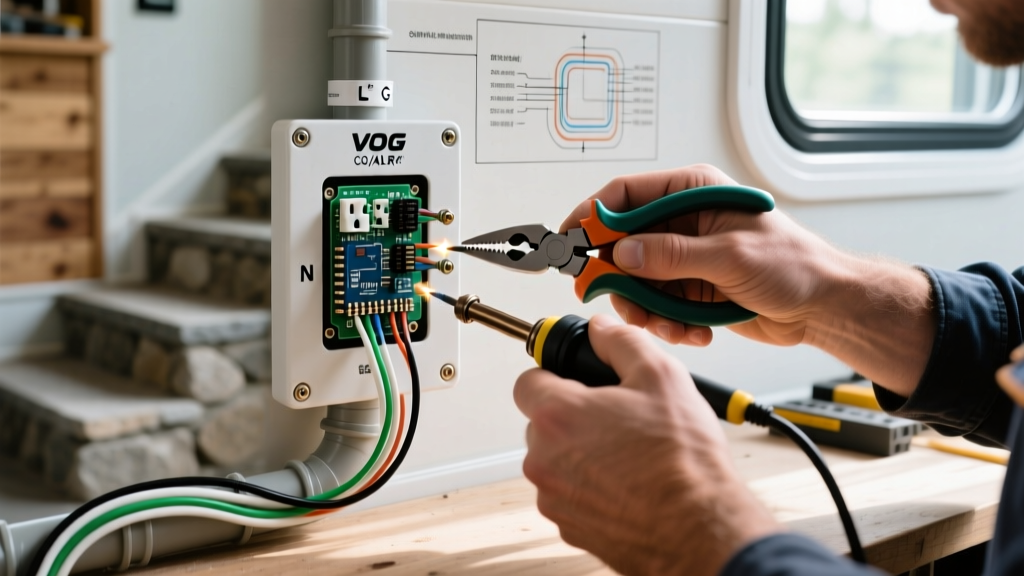
According to the HUD Manufactured Housing Program, electrical systems in mobile homes must adhere to strict federal construction and safety standards. Because these homes often utilize thin VOG (Vinyl Over Gypsum) or FRP (Fiberglass Reinforced Plastic) wall panels ranging from 1/2-inch to 3/4-inch thick, standard electrical boxes are often impractical. The SC outlet bridges this gap by integrating the mounting bracket, wire clamps, and receptacle face into a single, compact unit.
⚠️ CRITICAL SAFETY WARNING: Aluminum WiringMany manufactured homes built prior to the late 1970s, and some budget-conscious modern builds, utilize solid aluminum branch circuit wiring. As highlighted by the Electrical Safety Foundation International (ESFI), aluminum wiring requires specific CO/ALR (Copper/Aluminum Revised) rated devices and antioxidant paste to prevent thermal expansion failures and fire hazards. Never install a standard copper-only SC outlet on an aluminum circuit.
Standard Box-Mounted vs. Self Contained Outlets
To understand why you cannot simply swap an SC outlet for a standard duplex receptacle, review the mechanical and structural differences below.
| Feature | Standard Receptacle (e.g., Leviton 5262) | Self Contained Outlet (e.g., Leviton 4060SC) |
|---|---|---|
| Mounting Method | Screws into a metal/plastic electrical box | Clamps directly to 1/2" - 3/4" wall paneling |
| Wire Connection | Side terminal screws or back-wire clamps | Integrated internal serrated wire clamps |
| Average Cost (2026) | $2.50 - $4.00 | $9.50 - $14.00 |
| Code Compliance | Required for stick-built homes (NEC Article 314) | Permitted in HUD-code manufactured homes |
Common Wiring Scenarios in Manufactured Homes
Scenario 1: Replacing a Damaged SC Outlet on VOG Paneling
The most frequent scenario is replacing a cracked or dead SC outlet. VOG paneling is brittle, and overtightened faceplates often crack the drywall or snap the plastic mounting ears of the outlet. Here is the exact procedure for replacing a standard 15A/125V SC duplex receptacle (like the Eaton CR15SC or Leviton 4060SC).
- De-energize and Verify: Turn off the 15A or 20A breaker. Use a non-contact voltage tester (NCVT) and a digital multimeter to confirm zero voltage between the hot and neutral slots, and hot to ground.
- Remove the Faceplate and Device: Remove the single center 6-32 screw holding the faceplate. Next, remove the two mounting screws securing the outlet to the wall bracket. Gently pull the outlet outward.
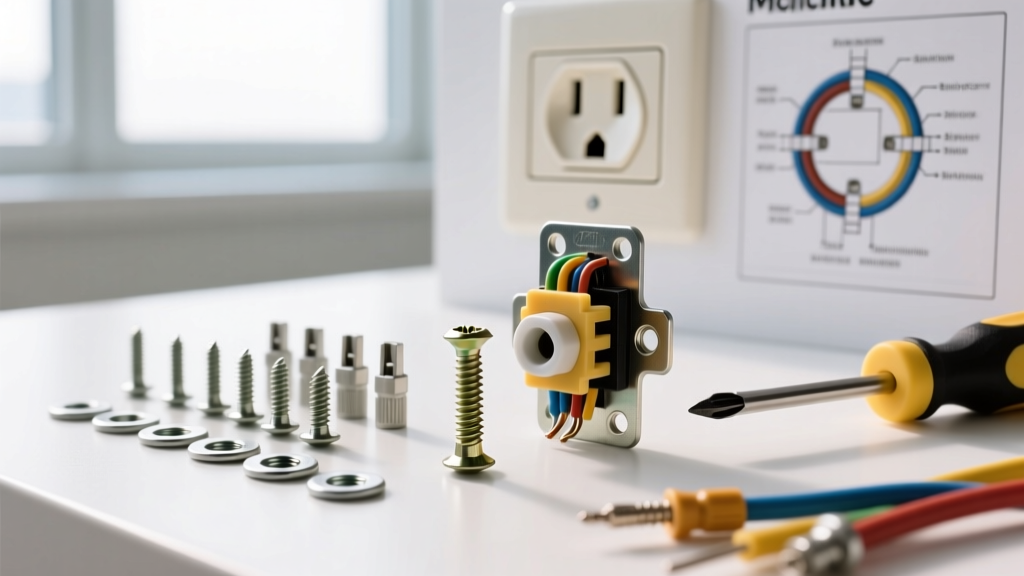
- Release the Wire Clamps: SC outlets do not use standard terminal screws. Instead, they feature two slotted clamp release screws on the side or back of the housing. Loosen these screws counter-clockwise until the internal serrated plates release the wires. Do not force the wires out; if the clamp is still tight, you will strip the wire insulation.
- Prep the Wires: Inspect the wire ends. If the wire is bent or deeply grooved by the old clamp, snip it back. Strip exactly 3/4-inch (19mm) of insulation. This precise measurement is critical: too short, and the clamp bites the insulation (causing an open circuit); too long, and exposed copper creates a shock hazard.
- Insert and Clamp: Push the stripped wires fully into the new SC outlet's terminals (Black/Brass for Hot, White/Silver for Neutral, Bare/Green for Ground). Tighten the clamp screws clockwise until snug. The manufacturer torque specification is typically 12 to 14 in-lbs.
- Remount Carefully: Push the outlet back into the wall cavity. Align the mounting ears with the bracket. Tighten the mounting screws just until the faceplate sits flush against the VOG panel. Stop immediately if you feel resistance—overtightening will crack the 1/2-inch gypsum core.
Scenario 2: Upgrading to a Self-Contained GFCI
Modern electrical codes and safety best practices heavily recommend GFCI protection in kitchens, bathrooms, and exterior walls. Upgrading a standard SC outlet to a Self-Contained GFCI (such as the Leviton 1599-SCW, which retails for roughly $42.00 in 2026) requires attention to line/load orientation.
- Identify Line vs. Load: SC GFCIs have distinct terminals. The "LINE" terminals connect to the power coming from the breaker panel. The "LOAD" terminals connect to downstream outlets you wish to protect.
- Depth Constraints: SC GFCIs are significantly deeper than standard SC duplex outlets (often protruding 2.5 inches into the wall cavity). Before installation, use a borescope or a bent wire hanger to ensure there are no water pipes, HVAC ducts, or dense insulation batts directly behind the cutout that will prevent the device from seating flush.
- Test the Circuit: Once wired and clamped, press the "TEST" button on the GFCI. The internal relay should click, and power should cut. Press "RESET" to restore power.
Critical Installation Specs & Torque Requirements
The internal mechanics of a self contained electrical outlet rely on a high-pressure serrated metal plate that bites into the conductor. This design provides excellent pull-out resistance but demands strict adherence to preparation specs.
NEC Compliance Note: While the National Electrical Code (NEC) generally requires all splices and terminals to be housed within an approved junction box (Article 314), Article 550 provides specific exceptions for manufactured homes, allowing listed self-contained devices to be used without a traditional box, provided they are securely fastened to the wall paneling.
- Wire Stripping Length: Exactly 3/4" (19mm). Use a calibrated wire stripper, not a utility knife, to avoid nicking the conductor, which creates a weak point that can snap under thermal expansion.
- Clamp Screw Torque: 12-14 in-lbs. Use an insulated torque screwdriver. Under-tightening causes arcing and melting; over-tightening can strip the internal plastic threads of the SC housing.
- Panel Thickness Tolerance: 0.50" to 0.75". If your mobile home has been renovated with an additional layer of 1/4" wood paneling over the original VOG, the standard SC mounting screws may be too short. You will need to source 1.5-inch 6-32 machine screws to bridge the gap.
Troubleshooting Common SC Outlet Failures
When diagnosing electrical faults in a mobile home, SC outlets are often the culprit due to their unique mechanical design. Look for these specific failure modes:
- Intermittent Power / Flickering: Usually caused by a loose wire clamp. Over years of thermal cycling (heating and cooling from current draw), the clamp screw can back out slightly. Remove the faceplate and re-torque the clamp screws to 14 in-lbs.
- Melted Faceplate or Discoloration: A sign of high resistance. This occurs when the wire was not stripped far enough, and the clamp is biting into the plastic insulation rather than the copper/aluminum conductor. The resistance generates immense heat. Replace the outlet immediately and strip the wires correctly.
- Snapped Mounting Ears: If the outlet wiggles when you plug in a cord, the plastic mounting ears have likely snapped due to overtightening on thin VOG panels. You must replace the entire SC unit; you cannot safely use a "box extender" or shim on an SC device.
- Tripping Breaker upon Insertion: If the breaker trips the moment you push the SC outlet into the wall cavity, the bare ground wire is likely too long and is shorting against the internal hot clamp or the metal mounting bracket. Ensure the ground wire is trimmed to the exact same 3/4" length as the insulated conductors.
Frequently Asked Questions
Can I install a self contained electrical outlet in a standard stick-built home?
No. Under NEC Article 314, all permanent stick-built residential wiring requires splices and terminals to be enclosed in a listed electrical box. SC outlets are specifically listed and tested for use in manufactured homes and RVs where space and panel constraints dictate their use. Using them in standard drywall (1/2" thick) in a stick-built home is a code violation and will fail inspection.
What if my wall panel is thicker than 3/4-inch?
Standard SC outlets will not clamp securely to panels thicker than 0.75 inches. If your mobile home has been retrofitted with thick wainscoting or additional insulation board, you must cut a larger hole and retrofit a standard "old work" (remodel) electrical box that clamps to the drywall, then install a standard receptacle. Do not attempt to force an SC outlet onto an over-thick panel, as the internal clamps will not align with the wall cavity.
Are self-contained GFCI outlets available for 20A circuits?
Yes, but they are much rarer and more expensive. Most manufactured homes utilize 15A branch circuits for general lighting and receptacles. However, kitchen appliance circuits may be 20A. You must source a 20A-rated SC GFCI (such as specific Pass & Seymour or Eaton commercial lines). Ensure the device face has the 20A T-slot configuration if you are plugging in 20A appliances, though standard 15A plugs will still fit into a 20A receptacle.