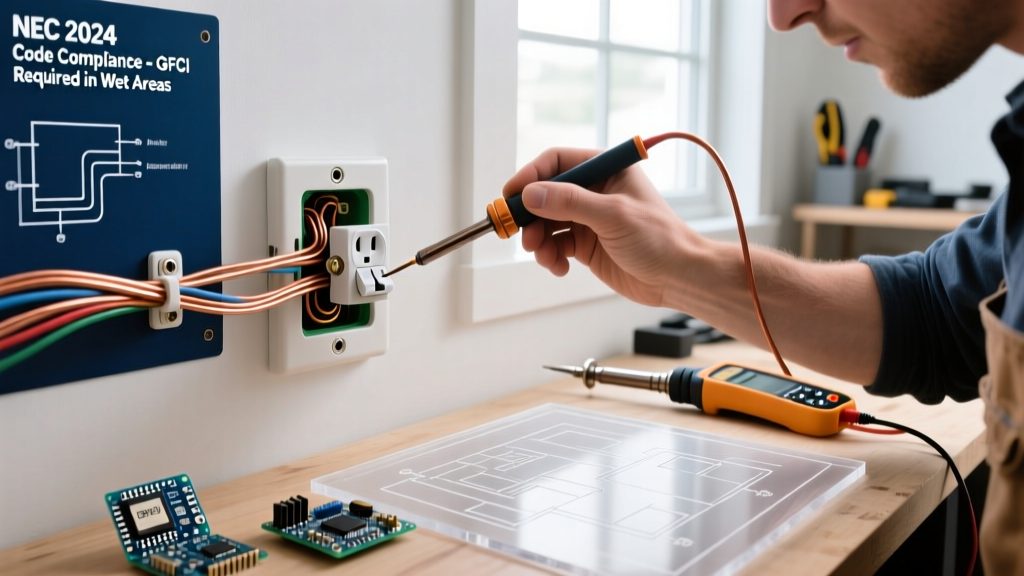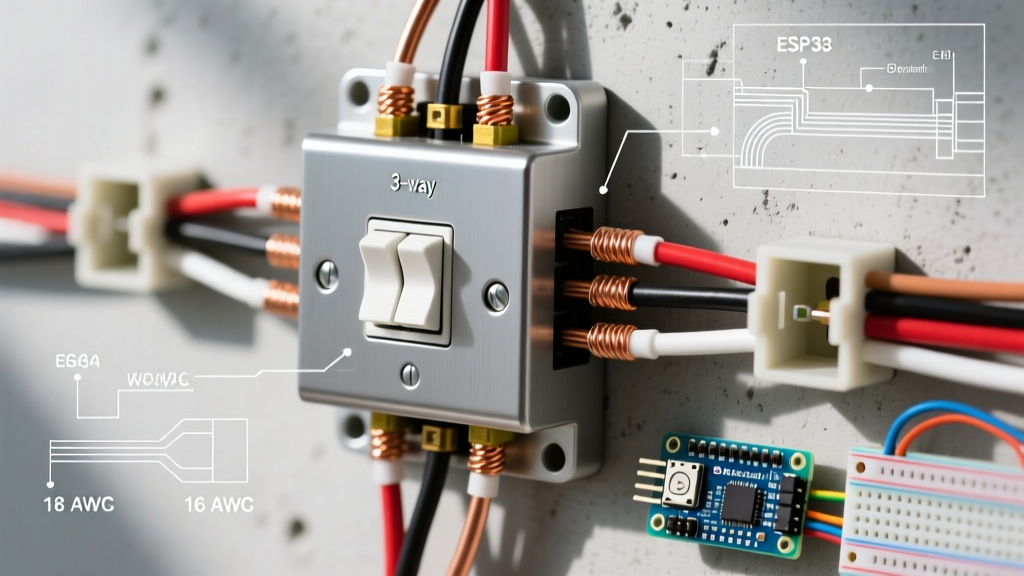

The Anatomy of a 3-Way Circuit: What You Actually Need
Executing an electrical 3 way switch wiring diagram flawlessly requires more than just a basic understanding of circuitry; it demands the right physical materials and precision tools. Unlike a standard single-pole setup, a 3-way circuit introduces 'traveler' wires that allow two separate switches to control a single light fixture. If your materials are subpar or your wire gauge is mismatched to the breaker, you risk voltage drop, arcing, or a complete failure to pass local electrical inspections.
In this 2026 material and tool guide, we break down the exact components, wire specifications, and professional-grade tools required to wire a 3-way switch system safely and efficiently. Whether you are running a new 14/3 NM-B cable through finished drywall or upgrading to smart dimmers, having the right inventory on your workbench is the first step to a successful installation.
Core Materials: Wire, Switches, and Connectors
The foundation of any reliable electrical 3 way switch wiring diagram is the cabling and the switching hardware. You cannot use standard 2-conductor wire (like 14/2) for the traveler runs between switches; you must use 3-conductor wire with a ground. Below is the definitive bill of materials for a standard 15-amp residential lighting circuit.
| Material Category | Specification | Recommended Brand / Model (2026) | Est. Cost |
|---|---|---|---|
| Traveler Wire | 14/3 NM-B (15A) or 12/3 NM-B (20A) | Southwire Romex SIMpull 14/3 | $145 / 250ft coil |
| 3-Way Switches | 15A, 120V, Commercial Grade | Leviton Decora 5603-2W (White) | $4.50 / each |
| Wire Connectors | Wing-style, 22-12 AWG range | IDEAL Twister 341 (Tan) or 342 (Yellow) | $12 / 50-pack |
| Electrical Boxes | Single-gang, 22.5 cu in minimum | Carlon B618R-UPC (New Work) or B103B (Old Work) | $1.25 / each |
| Ground Pigtails | 14 AWG bare copper, 6-inch lengths | Pre-cut copper grounding pigtails | $8 / 50-pack |
Understanding Wire Gauge and the NEC
According to the National Fire Protection Association (NFPA 70), also known as the National Electrical Code (NEC), your wire gauge must strictly match the overcurrent protection device (breaker). If your lighting circuit is on a 15-amp breaker, 14 AWG wire is mandatory. If it is on a 20-amp breaker, you must step up to 12 AWG wire. Mixing 14 AWG wire on a 20-amp breaker is a severe fire hazard and an automatic code violation.
Essential Tools for Stripping, Testing, and Fishing
A clean installation relies heavily on how you prepare the wire. Ragged cuts, nicked copper, or improperly stripped insulation can lead to loose terminal connections, which generate heat over time. Equip your tool pouch with these specific items:
- Wire Strippers (Klein Tools 11063W Katapult): Priced around $35, this tool strips 14 and 12 AWG wire with a single squeeze without scoring the copper conductor. Scoring the copper creates a weak point that can snap when folded into the back of the electrical box.
- Non-Contact Voltage Tester (Fluke 1AC-II or Klein NCVT-2): Never trust a breaker label. Always verify the circuit is dead at the switch box. The Fluke 1AC-II ($38) offers continuous self-testing and a bright red LED indicator, ensuring you are working on a de-energized circuit.
- Multi-Bit Screwdriver (Klein 32500): A 3-way switch requires tightening both Phillips and slotted terminal screws, as well as box-mounting screws. This $18 tool prevents stripping the brass terminal screws, which are notoriously soft on residential-grade switches.
- Fish Tape (Klein 56415): If you are retrofitting an electrical 3 way switch wiring diagram into an existing home, pulling 14/3 wire through insulated walls requires a flexible steel fish tape ($45). The 1/8-inch diameter easily navigates tight wall cavities.
Decoding the Electrical 3 Way Switch Wiring Diagram
When you look at a standard 3-way switch, you will see three terminal screws (excluding the green ground screw). Understanding their physical layout is critical for matching your materials to the diagram.
Line, Load, and Travelers: The Color Code Reality
The most critical component of the 3-way switch is the Common Terminal. This screw is almost always colored black or dark bronze. It connects to either the incoming 'Line' (hot) wire from the breaker panel or the outgoing 'Load' wire heading to the light fixture. The two lighter-colored brass screws are the Traveler Terminals. These connect to the red and black conductors of your 14/3 NM-B traveler cable.
Expert Code Tip: If your wiring diagram requires using a white wire as a traveler or a switched hot (common in older homes or specific cable routing scenarios), NEC Article 200.7(C) mandates that you must permanently re-identify the white wire with black or red electrical tape, or heat-shrink tubing, at both termination points. Leaving a white wire unmarked as a hot conductor is a major safety risk for future electricians.
Standard vs. Smart 3-Way Switches: Material Implications
In 2026, many DIYers are moving away from mechanical switches to smart lighting. If your project involves a smart 3-way system, your material list changes significantly. Standard mechanical 3-way switches (like the Leviton 5603) do not require a neutral wire. However, smart switches (like the Lutron Caseta PD-5S-DV or Enbrighten Z-Wave Plus 55433) almost always require a neutral wire connection to power their internal Wi-Fi or Zigbee radios.
If you are opening your electrical box and only see a 14/2 cable (black, white, bare) without a dedicated neutral bundle, you cannot install a standard smart 3-way switch. You will either need to pull new 14/3 cable that includes a neutral, or opt for a specialized 'no-neutral' smart switch like the Lutron Caseta system, which utilizes a proprietary Pico remote for the second switch location rather than hardwired travelers.
Common Material Mistakes and Failure Modes
Even with the right electrical 3 way switch wiring diagram, using the wrong materials or prepping them poorly leads to specific failure modes. Here is what to avoid:
- The 'Fold-Over' Strip Mistake: When stripping the outer sheath of 14/3 Romex, do not score the paper wrapping or the inner wire insulation. Strip exactly 3/4 of an inch of sheath, and strip exactly 5/8 of an inch of insulation from the individual conductors. Too much bare copper exposed outside the terminal screw creates a short-circuit risk if the wires touch the metal box.
- Using Push-In Backstab Connectors: Many cheap 3-way switches feature push-in 'backstab' holes on the rear. Never use these for 3-way traveler wires. The internal spring clips weaken over time, leading to arcing and flickering lights. Always use the side terminal screws and wrap the wire clockwise so the screw pulls the loop tight.
- Undersized Wire Nuts: When pigtailing the ground wires or joining neutrals in the back of the box, using a wire nut that is too small (like a red Ideal wingnut) will result in a loose connection. For three 14 AWG wires, use a yellow IDEAL Twister 342. The connection should hold firm when you tug on each individual wire.
Safety and Code Compliance
Electrical work is inherently dangerous. The U.S. Consumer Product Safety Commission (CPSC) reports that electrical arcing and faulty wiring are leading causes of residential fires. Always turn off the main breaker, lock out the panel if possible, and test the wires with a verified voltage meter before touching any terminals.
Furthermore, the Occupational Safety and Health Administration (OSHA) emphasizes the importance of using properly insulated tools when working near live panels, though for residential switch swaps, de-energizing the circuit is the only acceptable safety protocol. Ensure your electrical boxes meet the 2026 NEC box-fill calculations; a standard 3-way switch box with 14/3 and 14/2 cables entering it requires a minimum of 20 cubic inches of volume to prevent wire crushing and overheating.
By sourcing commercial-grade switches, utilizing the correct 14/3 NM-B cabling, and strictly adhering to terminal screw torques, your 3-way switch installation will be safe, code-compliant, and built to last for decades.