
Understanding the Netherlands Electrical Outlet Standard
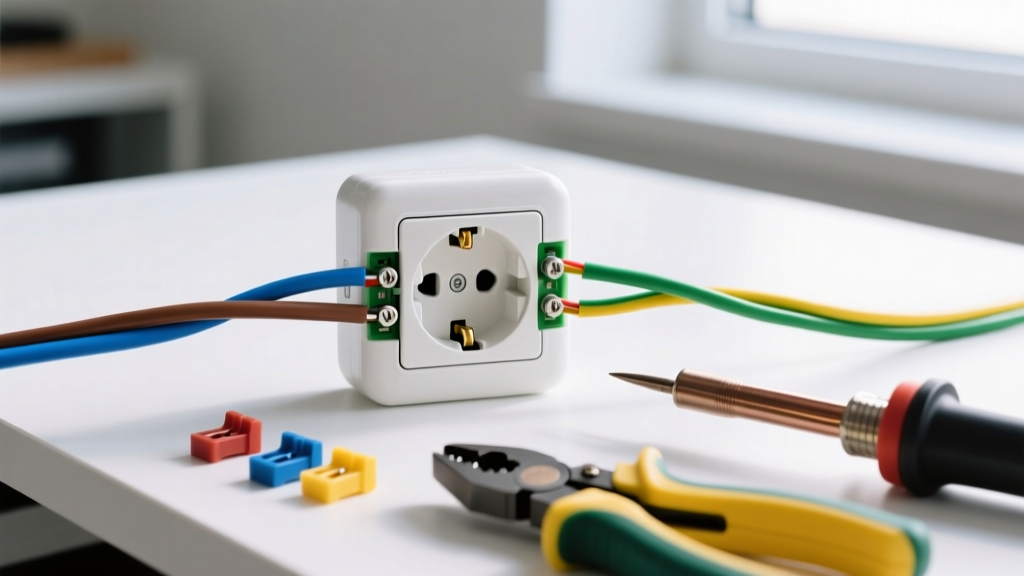
If you are upgrading a home in Amsterdam, Rotterdam, or anywhere else in the country, understanding how to wire a Netherlands electrical outlet is a foundational DIY skill. The Netherlands utilizes the Type F (Schuko) socket standard, officially designated as CEE 7/3. This system operates on a 230V supply voltage and a 50Hz frequency, delivering robust power for modern appliances.
Unlike the UK's Type G or North America's Type A/B outlets, the Type F Schuko is unpolarized. This means you can plug a device in upside down. While the physical plug is reversible, the internal wiring of the wall socket must still adhere strictly to the Dutch national standard NEN 1010 for low-voltage installations to ensure safety, proper earthing, and compatibility with your home's protective devices.
⚠️ CRITICAL SAFETY WARNING: Working with 230V AC is potentially lethal. In the Netherlands, all socket circuits must be protected by a 30mA RCD (Aardlekschakelaar). Never bypass this safety device. Always isolate the circuit at the main breaker panel (groepenkast) and verify zero voltage with a two-pole voltage tester before touching any wires.
Tools and Materials Required
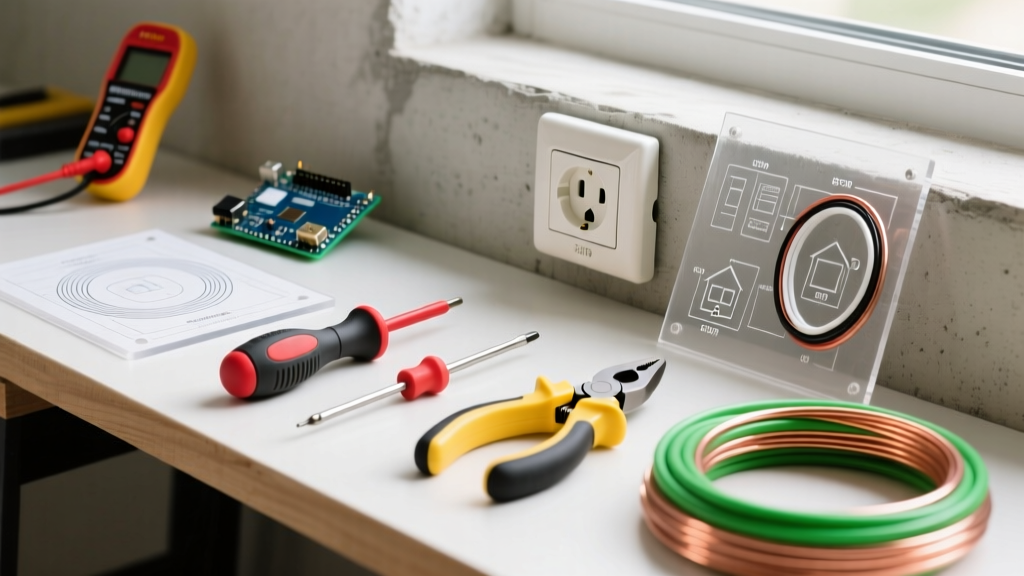
To achieve a professional, code-compliant installation, you need the right tools. Avoid cheap, uninsulated tools when working inside Dutch flush-mount boxes (inbouwdozen).
- Socket: Type F Schuko socket with child safety shutters (kinderbeveiliging). Brands like Gira (System 55) or Jung cost between €8 and €14 in 2026.
- Wire: 2.5mm² solid core copper installation wire (VD-draad). This is the mandatory gauge for 16A socket circuits in the Netherlands.
- Wire Strippers: Knipex 12 62 180 or similar precision strippers to avoid nicking the 2.5mm² solid core, which creates a weak point prone to snapping.
- Tester: Two-pole voltage tester (e.g., Beha-Amprobe Duspol) or a CAT III multimeter. Single-pole neon screwdrivers are unreliable and banned for professional verification.
- Screwdrivers: VDE-insulated Phillips #1 and flathead screwdrivers (e.g., Wera VDE series).
Dutch Wiring Color Codes (NEN 1010)
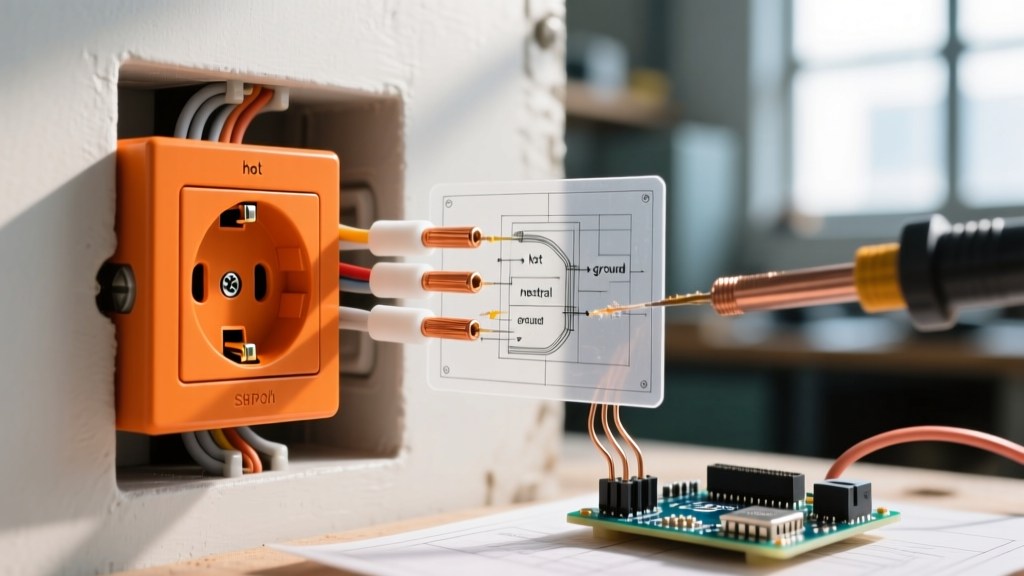
Correctly identifying wires is the most critical step. The Netherlands transitioned to the harmonized European color codes in the early 2000s, but older homes (especially pre-1970s canal houses) may still feature legacy wiring. Always test wires regardless of their insulation color.
| Function | Terminal | Modern Color (Post-2000) | Legacy Color (Pre-1970s) |
|---|---|---|---|
| Phase (Live) | L | Brown (Bruin) | Red (Rood) or Black |
| Neutral | N | Blue (Blauw) | Black (Zwart) or Grey |
| Protective Earth | PE / ⏚ | Yellow/Green (Geel/Groen) | Green (Groen) |
Step-by-Step Installation Guide
Step 1: Isolate and Verify Power
Locate your groepenkast (meter cupboard). Switch off the specific 16A circuit breaker (installatieautomaat) for the room you are working in. For maximum safety, switch off the main RCD. Insert your two-pole tester into the existing socket or touch the exposed wires. The tester must read 0V. According to VeiligheidNL, verifying the absence of voltage is the single most important step to prevent fatal shocks.
Step 2: Prepare the Wires
Using your precision wire strippers, remove exactly 12mm to 14mm of insulation from the ends of the brown, blue, and yellow/green wires. Do not score the copper conductor; a nicked 2.5mm² wire will suffer from increased resistance and can snap when pushed into the backbox.
Step 3: Connect the Earth (Aarde) First
The defining feature of the Netherlands electrical outlet is the two metal earthing clips on the top and bottom of the recessed circle. Connect the yellow/green earth wire to the central earth terminal (marked with the ⏚ symbol). Expert Tip: Leave the earth wire slightly longer (about 5mm) than the phase and neutral wires. If the cable is ever violently yanked from the wall, the live wires will disconnect first, ensuring the appliance chassis remains grounded until the very last millisecond.
Step 4: Connect Phase and Neutral
Because the Schuko system is unpolarized, there is no strict legal mandate in NEN 1010 dictating whether Phase (L) must be on the left or right when looking at the front of the socket. However, professional Dutch electricians generally follow a consistent convention: Phase (Brown) on the right terminal and Neutral (Blue) on the left terminal when facing the socket. Insert the wires into the screw terminals or push-in clamps and tighten firmly. Give each wire a gentle tug to ensure a solid mechanical connection.
Step 5: Mount the Socket in the Backbox
Carefully fold the wires into the standard 50mm deep Dutch flush-mount box (inbouwdoos). Do not force them, as pinched insulation causes earth leakage faults. Secure the socket using the M4 machine screws directly into the threaded holes of the plastic backbox. Avoid using the expanding metal claws (klauwen) if possible, as they tend to loosen over time and can crack older plastic boxes.
2026 Smart Home Integration: Adding Energy Monitoring
If you are opening up a Netherlands electrical outlet in 2026, it is highly recommended to install a smart relay behind the socket for energy monitoring and remote control. The Shelly Plus 1PM (approx. €18) is small enough to fit behind a standard Schuko socket in a 50mm deep box, provided you have the required 230V input, switched output, and neutral.
- Wiring the Shelly: Connect the incoming Phase to the Shelly 'L' and 'SW' input, and the outgoing Phase to the socket's 'L' terminal. The Neutral bypasses the Shelly and connects directly to the socket's 'N' terminal.
- Benefit: This allows you to monitor the exact wattage of appliances like washing machines or EV chargers via the Shelly app, integrating seamlessly with Home Assistant.
Troubleshooting Common Installation Failures
The RCD (Aardlekschakelaar) Trips Instantly
If power is restored and the RCD immediately trips, you have an earth leakage fault. The most common cause during DIY installation is a stray strand of copper from the earth wire touching the neutral terminal, or the earth wire being pinched against a metal backbox screw. Turn the power off, remove the socket, and inspect for pinched insulation or loose strands.
Socket Feels Warm to the Touch
A warm faceplate under a standard load (e.g., a 1500W vacuum cleaner drawing ~6.5A) indicates a high-resistance connection. This happens when the wire insulation was stripped too short, causing the screw terminal to clamp down on the plastic insulation rather than the bare copper. Alternatively, the wire may be nicked. Replace the wire ends immediately to prevent an electrical fire.
Child Safety Shutters Feel Stuck
Modern Type F outlets sold in the Netherlands feature integrated child safety shutters. If a plug won't insert, do not force it or use a screwdriver to pry the shutters open. This usually happens if the socket was overtightened against an uneven wall, warping the plastic housing. Loosen the M4 mounting screws slightly to relieve the tension on the faceplate.