
Understanding the 'Universal' Electrical Outlet
When homeowners search for a 'universal electrical outlet,' they are usually looking for a receptacle that can accept multiple international plug types (such as US, UK, European, and Australian prongs) without a bulky travel adapter. However, installing the wrong device can create a severe fire hazard and violate electrical codes.
CRITICAL NEC CODE WARNING: Many online marketplaces sell cheap, unlisted 'universal' international wall sockets. Under NEC Article 406.3(A), all receptacles must be listed by a recognized testing laboratory (like UL or ETL). Unlisted universal sockets lack proper internal clamping tension for US NEMA blades, leading to arcing, high-resistance heating, and potential electrical fires. Furthermore, OSHA and NEC standards strictly prohibit unlisted equipment on permanent branch circuits.This beginner tutorial focuses exclusively on the safe, code-compliant installation of a UL-listed universal receptacle, specifically the Leviton 3803-W Universal Outlet (15 Amp, 125 Volt). This device accepts standard US/Canadian plugs as well as specific international profiles while maintaining UL listing and proper internal clamping force.
Tools and Materials Required
Do not rely on generic, uncalibrated tools for electrical work. Precision matters when terminating connections. Budget approximately $45 for this project if you already have basic hand tools.
- Receptacle: Leviton 3803-W Universal Outlet (Approx. $14)
- Wire Strippers: Klein Tools 11055 (Calibrated for 14 and 12 AWG solid wire)
- Voltage Tester: Milwaukee 2202-20 Dual Range Voltage Detector
- Screwdrivers: Wiha 61100 VDE Insulated Phillips and Slotted drivers
- Torque Screwdriver: Wiha 61000 series (Calibrated to 14 in-lbs)
- Wall Plate: Leviton Decora or standard duplex plate (matching the 3803 face)
Pre-Installation: Verifying Your Circuit Topology
Before touching a single wire, you must understand your circuit's topology. Is this outlet at the end of the run, or is it in the middle of a daisy chain?
Identifying Line vs. Load
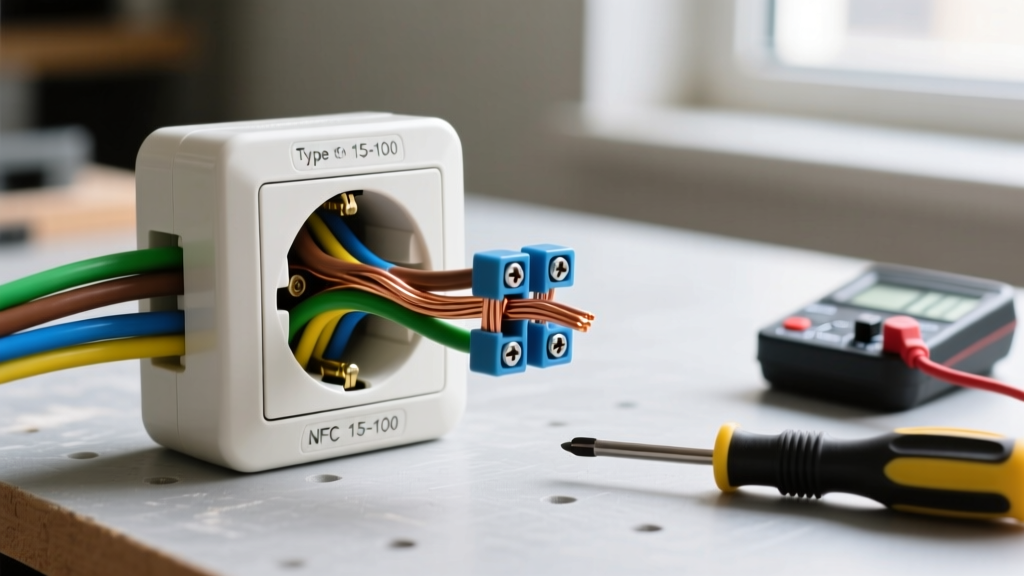
If you open the existing junction box and see two Romex cables (two black, two white, two ground wires), your outlet is in the middle of a circuit. It feeds power downstream to other outlets. The Leviton 3803 features four terminal screws (two brass, two silver). You will need to use 'pigtailing' (connecting the two incoming wires to a short third wire using a wire nut) or utilize the device's back-wire clamps to manage both the line and load conductors safely.
Step-by-Step Wiring Tutorial
Follow these exact steps to ensure a secure, code-compliant installation.
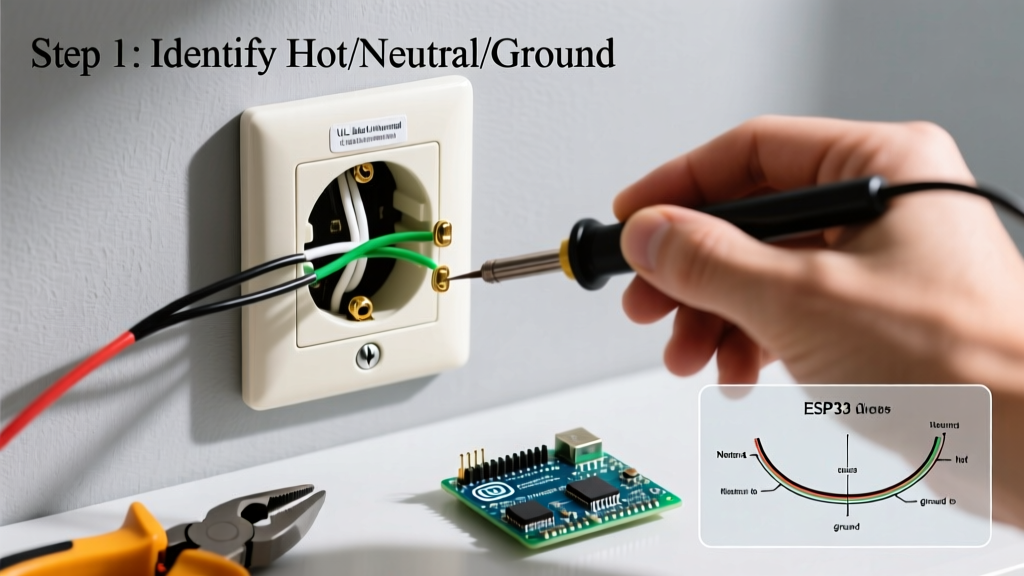
Step 1: De-energize and Verify
- Locate your main electrical panel and turn off the 15A or 20A breaker controlling the room.
- Insert the Milwaukee 2202-20 tester into the top and bottom slots of the existing outlet. The LED must remain completely dark.
- Remove the faceplate and unscrew the existing receptacle from the junction box. Pull it out gently and test the bare wires on the side terminals to confirm zero voltage.
Step 2: Strip and Prep the Conductors
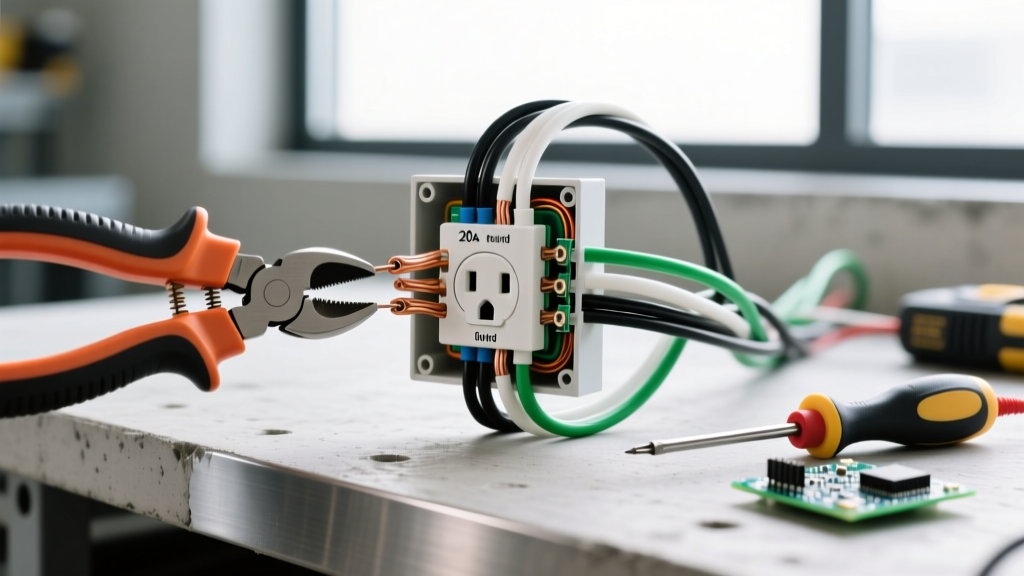
Proper wire preparation is where most beginners fail. Stripping too much insulation leaves exposed copper (a shock hazard), while stripping too little results in insulation getting caught under the terminal screw (a high-resistance fire hazard).
- Use the 14 AWG or 12 AWG hole on your Klein Tools 11055 strippers.
- Strip exactly 3/4 inch (19mm) of insulation from the black (hot), white (neutral), and bare (ground) wires.
- Use the gripping jaws of the strippers to pull the insulation straight off. Do not nick the copper conductor; nicks create weak points that can snap when folded into the box.
Step 3: Terminate Using the Back-Wire Clamps
The Leviton 3803 features 'back-wiring' clamp plates, which are vastly superior to the traditional 'J-hook' side-wiring method for beginners. Back-wiring provides a larger surface area of contact and prevents the wire from slipping out.
- Ground (Green Screw): Insert the bare copper wire into the ground hole or wrap it clockwise around the green screw. Tighten firmly.
- Neutral (Silver Screws): Insert the white wire straight into the back-wire hole aligned with the silver screw. Ensure no bare copper is visible outside the clamp.
- Hot (Brass Screws): Insert the black wire into the back-wire hole aligned with the brass screw.
Step 4: Apply Precise Torque
Expert Insight: According to the Consumer Product Safety Commission (CPSC), loose electrical connections are a leading cause of residential fires. As wires heat up and cool down, they expand and contract. A hand-tightened screw will eventually loosen.
Set your torque screwdriver to 14 inch-pounds (Leviton's exact specification for their 15A/20A receptacle terminal screws). Tighten the brass and silver screws until the torque driver clicks. This guarantees optimal clamping force without crushing the copper conductor.
Step 5: Box Dressing and Mounting
Carefully fold the wires into the back of the junction box. Push the ground wires in first, followed by the neutrals, and finally the hot wires. Mount the Leviton 3803 using the provided mounting screws, ensuring the strap sits flush against the drywall or plaster ears. Attach your wall plate.
Comparison: Universal vs. Standard Receptacles
| Feature | UL-Listed Universal (Leviton 3803) | Standard NEMA 5-15R (Leviton T5250) | Unlisted 'Travel' Universal |
|---|---|---|---|
| NEC Compliant? | Yes (UL Listed) | Yes (UL Listed) | No (Code Violation) |
| Plug Acceptance | US, Canada, select Int'l | US & Canada only | US, UK, EU, AU |
| Internal Clamping | High-tension brass contacts | High-tension brass contacts | Weak, multi-purpose leaf springs |
| Average Cost | $12 - $16 | $3 - $5 | $8 - $12 |
Troubleshooting Common Beginner Mistakes
The Outlet is Dead After Installation
If the breaker is on but the outlet has no power, check for an upstream GFCI. In modern homes (per NEC 210.8), bedrooms, living rooms, and kitchens often have GFCI protection at the breaker or the first outlet in the daisy chain. If you reversed the 'Line' and 'Load' wires on an upstream GFCI, all downstream outlets (including your new universal outlet) will be dead.
The Breaker Trips Immediately
This indicates a dead short. Turn the breaker off immediately. Pull the outlet back out and inspect your terminations. The most common beginner error is allowing a stray strand of bare ground wire to touch the brass (hot) terminal, or pushing the wire insulation too far into the clamp, causing the screw to bite into the insulation while the loose copper strand arcs against the metal junction box.
Frequently Asked Questions
Can I install a universal outlet in a kitchen or bathroom?
No. Kitchens and bathrooms require 20-Amp GFCI-protected NEMA 5-20R receptacles (which feature a T-shaped neutral slot) to handle high-draw appliances like microwaves and hair dryers. The Leviton 3803 is a 15-Amp device and does not meet the specific appliance code requirements for kitchen countertops.
Does the universal outlet support 220V European appliances?
No. While the physical slot may accept a European Type C plug, the outlet only provides 120V AC at 60Hz. Plugging a 220V European appliance into this 120V outlet will result in the appliance underperforming or failing to turn on. It is designed for dual-voltage electronics (like laptop chargers rated 100-240V) that simply have the wrong physical plug shape.