
Why Install a 4 Outlet Electrical Box in Your Workshop?
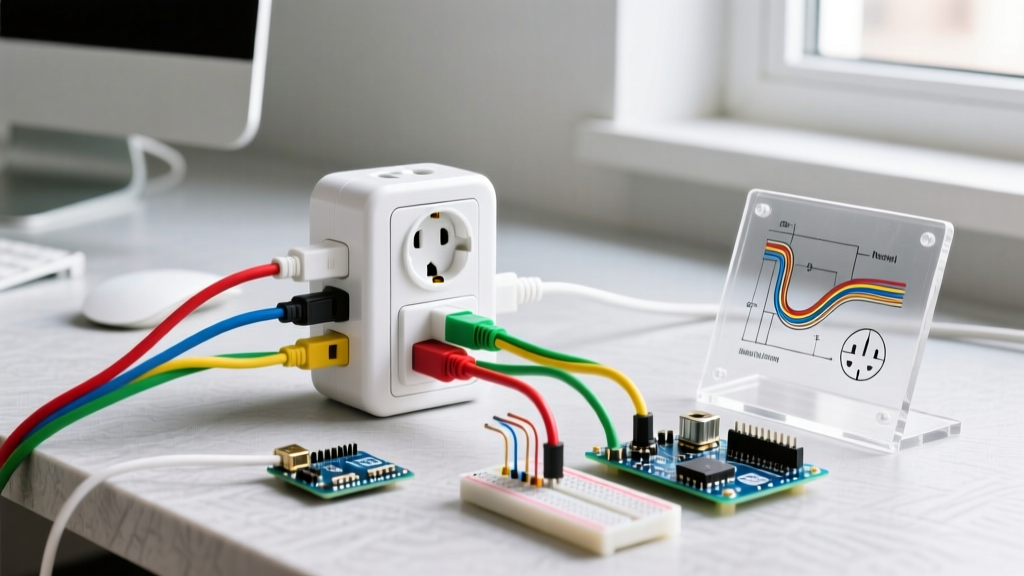
When outfitting a garage workbench or a dedicated craft station, standard duplex receptacles simply do not provide enough capacity. Installing a 4 outlet electrical box (technically known as a 4-gang box housing four duplex receptacles) instantly provides eight individual plug-in points. This setup is ideal for simultaneously running a miter saw, a dust collector, a shop vac, and task lighting without constantly swapping plugs or tripping breakers.
However, wiring four receptacles into a single junction box introduces unique challenges regarding physical space, heat dissipation, and National Electrical Code (NEC) compliance. This beginner-friendly tutorial will walk you through the exact mathematics of box fill calculations, the necessity of pigtailing, and the precise torque specifications required for a safe, code-compliant 20-amp circuit in 2026.
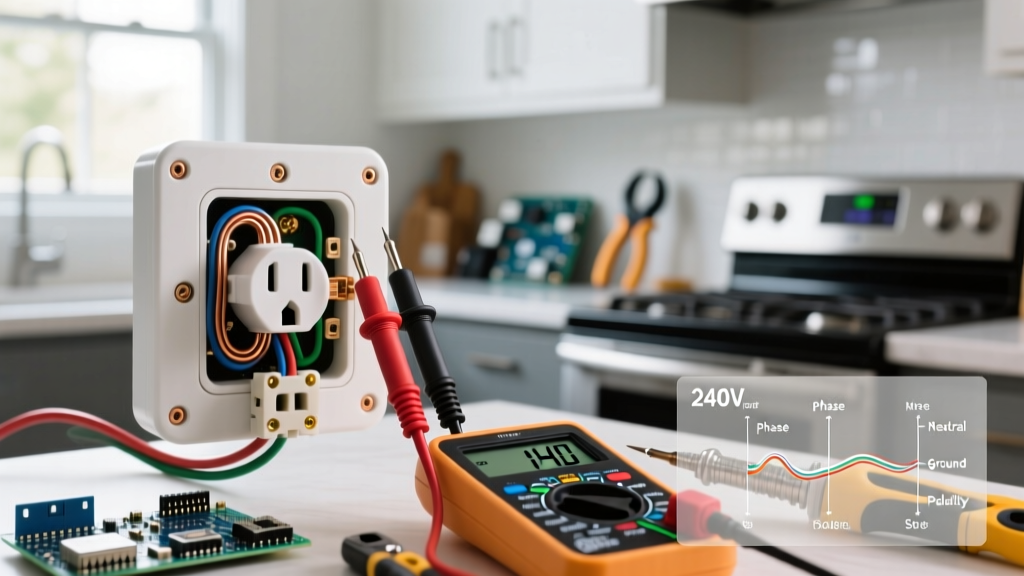
⚠️ CRITICAL SAFETY WARNING: Working with electricity carries the risk of severe shock or fire. Always turn off the main circuit breaker and verify the power is dead using a non-contact voltage tester before touching any wires. If you are unsure about your home's wiring capacity, consult a licensed electrician.
Materials and Tools Required
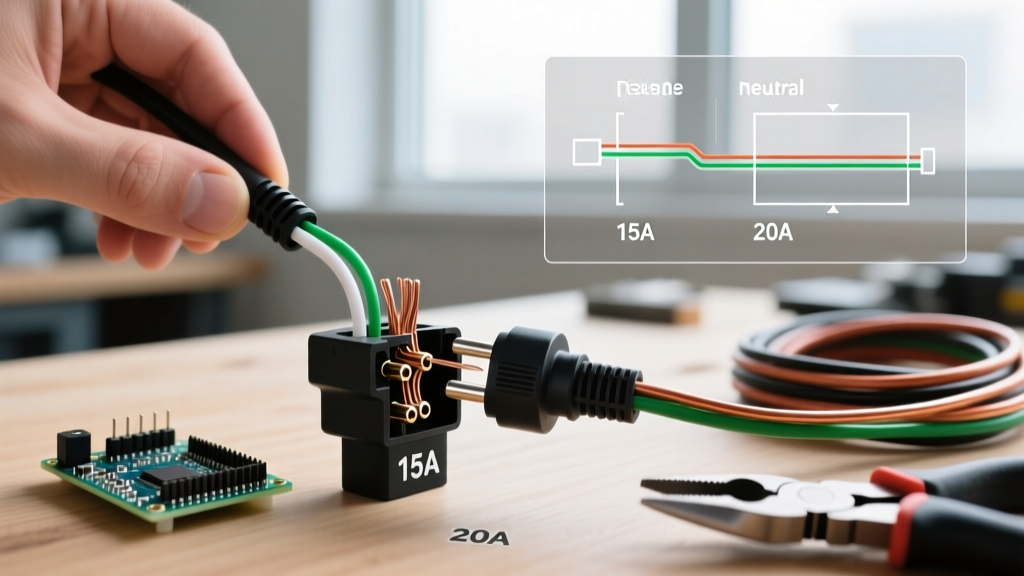
To ensure your installation handles heavy workshop loads, we are designing this circuit for 20 Amps. Do not use 15A components for a high-draw 4-gang setup.
| Item | Specific Model / Spec | Est. Cost (2026) |
|---|---|---|
| 4-Gang Steel Box | Raco 188 (68.25 cu in) or Carlon B444R | $22.00 - $28.00 |
| Wiring | 12/2 NM-B (Romex) with Ground | $0.65 / ft |
| Receptacles (x4) | Leviton T5362-W (20A Tamper-Resistant) | $3.85 each |
| Wire Connectors | Ideal 341 Tan Wire-Nuts (x12) | $4.00 / pack |
| Voltage Tester | Klein NCVT-2 Non-Contact Tester | $24.00 |
| Torque Screwdriver | Klein 69010 (Required by NEC 110.14) | $55.00 |
Phase 1: NEC Box Fill Calculations (The Math)
Before cutting any drywall, you must prove your box is large enough. The National Fire Protection Association (NFPA) mandates strict volume calculations under NEC Article 314.16 to prevent overheating and wire crushing. Crowding four devices into an undersized plastic box is a leading cause of residential electrical fires.
Calculating Volume for 12 AWG Wire
For 12 AWG wire (used on 20A circuits), the NEC assigns a volume allowance of 2.25 cubic inches per wire. Here is the exact breakdown for our 4 outlet electrical box setup:
- 4 Duplex Receptacles: Each device yoke counts as 2 wire volumes. (4 devices × 2 = 8 volumes). 8 × 2.25 = 18.0 cu in.
- Equipment Ground Wires: All grounds combined count as 1 volume. 1 × 2.25 = 2.25 cu in.
- Internal Cable Clamps: Count as 1 volume. 1 × 2.25 = 2.25 cu in.
- Current-Carrying Wires: Assuming one 12/2 cable enters the box (1 Hot, 1 Neutral) plus 4 pigtails to the devices. Let's conservatively estimate 6 hot/neutral wires terminating or passing through. 6 × 2.25 = 13.5 cu in.
- Total Minimum Required Volume: 36.0 cubic inches.
Because the Raco 188 4-gang steel box offers 68.25 cubic inches of space, it easily passes the box fill requirement, leaving ample room for heat dissipation and wire folding.
Phase 2: Rough-In and Mounting the Box
- Locate the Studs: Use a stud finder to locate the framing. A 4-gang box is approximately 7.5 inches wide and will likely require cutting through a drywall section that spans across one or two studs.
- Cut the Opening: Trace the outer lip of your 4-gang box onto the drywall. Use a drywall saw to cut the opening. If you are hitting a stud in the middle of the box, you must use an 'old work' 4-gang box with heavy-duty mounting wings, or notch the stud (which requires structural reinforcement).
- Run the Cable: Feed your 12/2 NM-B cable into the box. Leave at least 8 inches of wire protruding past the front edge of the box. Secure the cable to the stud within 8 inches of the box using a cable staple.
- Mount the Box: For new construction or open studs, screw the box directly to the wood framing. For retrofit drywall installations, tighten the mounting screws on the box's adjustable ears until the clamps pull the box flush and tight against the drywall.
Phase 3: The Pigtailing Method (Mandatory for Multi-Gang)
A common beginner mistake is 'daisy-chaining' the receptacles—running the incoming hot wire to the first outlet, then using the outlet's second set of screws to feed the next outlet. While code-compliant for a simple 2-gang setup, daisy-chaining four 20A receptacles places immense mechanical stress on the terminal screws and doubles the current flow through the first device's yoke.
How to Create Pigtails
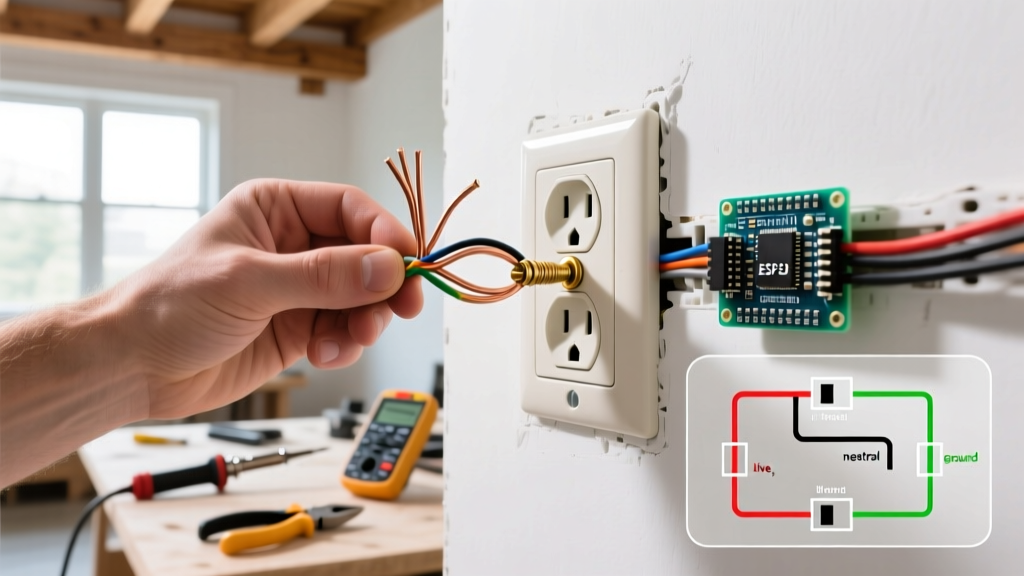
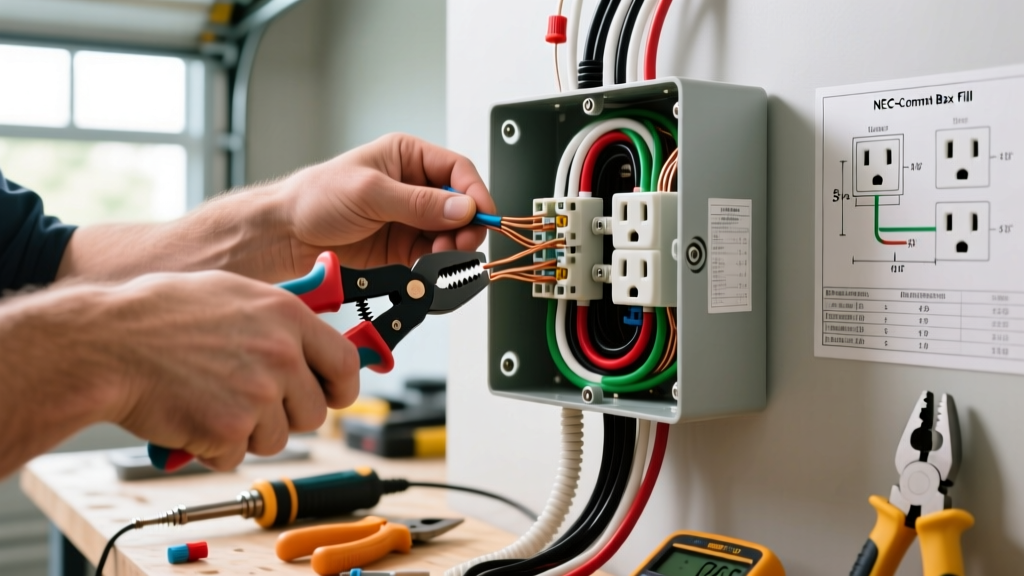
Pigtailing involves connecting the incoming power wire to several short 'jumper' wires (pigtails) using a wire nut, with each jumper feeding an individual receptacle. This ensures that if one receptacle fails, the downstream outlets remain powered, and the electrical load is distributed safely.
- Strip 3/4 inch of insulation from the incoming 12/2 black (hot) and white (neutral) wires.
- Cut eight 6-inch lengths of 12 AWG THHN wire (4 black, 4 white) to serve as your pigtails. Strip 3/4 inch from both ends of each.
- Group the incoming black wire with the 4 black pigtails. Twist them together tightly with lineman's pliers, then screw on an Ideal 341 Tan wire nut. Give each wire a firm tug to ensure a solid mechanical connection.
- Repeat the process for the incoming white neutral wire and the 4 white pigtails.
- Connect all bare copper ground wires (incoming + 4 green/bare pigtails) together. If using a metal box like the Raco 188, you must also include a pigtail that attaches directly to the box's green grounding screw.
Phase 4: Termination and Torque Specifications
According to the U.S. Consumer Product Safety Commission (CPSC), all new residential installations must utilize Tamper-Resistant (TR) receptacles to prevent childhood injuries. The Leviton T5362-W is a commercial-grade TR receptacle highly recommended for workshop environments.
Wiring the Receptacles
- Form a tight 'shepherd's hook' at the end of your 12 AWG pigtails using needle-nose pliers.
- Hook the black wire clockwise around the brass (hot) terminal screw.
- Hook the white wire clockwise around the silver (neutral) terminal screw.
- Hook the bare/green wire clockwise around the green (ground) terminal screw.
The Torque Requirement (NEC 110.14(D))
Modern electrical codes strictly require that terminal connections be tightened to the manufacturer's specified torque. Hand-tightening with a standard screwdriver often leads to loose connections that arc and cause fires over time. Set your torque screwdriver to 14 inch-pounds (the standard spec for 12 AWG wire on Leviton commercial receptacles) and tighten each screw until the driver clicks.
Comparison: Daisy-Chaining vs. Pigtailing in 4-Gang Boxes
| Feature | Daisy-Chaining (Line & Load) | Pigtailing (Recommended) |
|---|---|---|
| Box Space Used | High (multiple cables entering/exiting) | Moderate (single entry, wire nuts) |
| Reliability | Low (one loose screw kills downstream) | High (independent device connections) |
| Current on Device Yoke | Passes full load of downstream tools | Only carries the load of its own plug |
| Installation Time | Faster initially | Takes 10-15 extra minutes |
Phase 5: Final Assembly and Testing
Carefully fold the wires into the back of the 4 outlet electrical box. The best technique is to fold the ground wires in first, pushing them deep into the corners. Next, fold the neutral wires, followed by the hot wires. Avoid sharp bends that could pinch the insulation against the metal edges of the box.
Push the four receptacles into the gang openings, ensuring the plaster ears sit flush against the drywall. Drive the 6-32 mounting screws through the device yokes. Use a small torpedo level to ensure the four outlets are perfectly plumb before tightening them down completely.
Once the cover plate is installed, restore power at the main panel. Use a receptacle tester (like the Klein RT105) in all eight slots to verify correct wiring. The tester should show two yellow lights, indicating correct ground, neutral, and hot orientation.
Frequently Asked Questions
Can I use a 15-Amp breaker for a 4 outlet electrical box?
While physically possible and legally permitted by the NEC to have four 15A or 20A receptacles on a 15A breaker, it is highly discouraged for workshop environments. Running a dust collector and a table saw simultaneously on a 15A (1800-watt) circuit will instantly trip the breaker. Always use 12/2 wire and a 20A breaker (2400 watts) for multi-device workbench setups.
Do I need a GFCI for my garage 4-gang box?
Yes. According to recent NEC updates, all 125-volt through 250-volt receptacles supplied by single-phase branch circuits rated 150 volts or less, 50 amperes or less in garages, require Ground-Fault Circuit Interrupter (GFCI) protection. You can achieve this by either installing a 20A GFCI breaker in your main panel or by wiring the first receptacle in your 4-gang box as a GFCI and pigtailing the downstream three to its 'LOAD' terminals.
Why are my wire nuts melting or getting warm?
Warm wire nuts indicate a high-resistance connection, usually caused by failing to strip enough wire, mixing stranded and solid wire improperly, or using a wire nut that is too small for the combined gauge. For five 12 AWG wires, you must use a Tan Ideal 341 or an equivalent UL-listed connector rated specifically for that combination. As noted by OSHA electrical safety guidelines, poor connections are a primary ignition source in electrical systems.
Conclusion
Wiring a 4 outlet electrical box is a highly rewarding DIY project that drastically improves the functionality of your workspace. By respecting NEC box fill calculations, utilizing the pigtailing method, and adhering to strict torque specifications, you ensure your workbench is powered safely and reliably for years to come. Always prioritize commercial-grade components and never bypass safety protocols when working with 20A circuits.