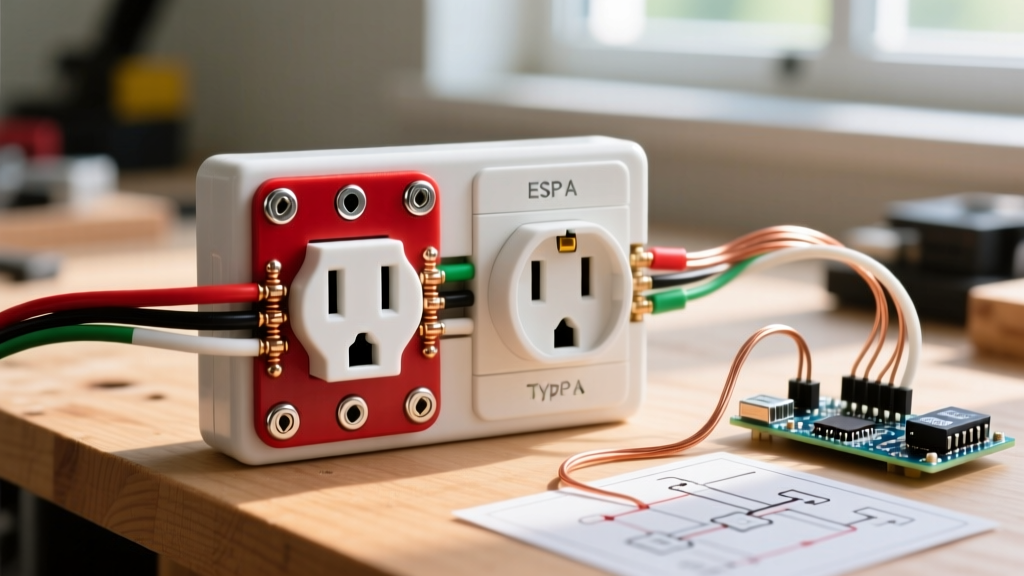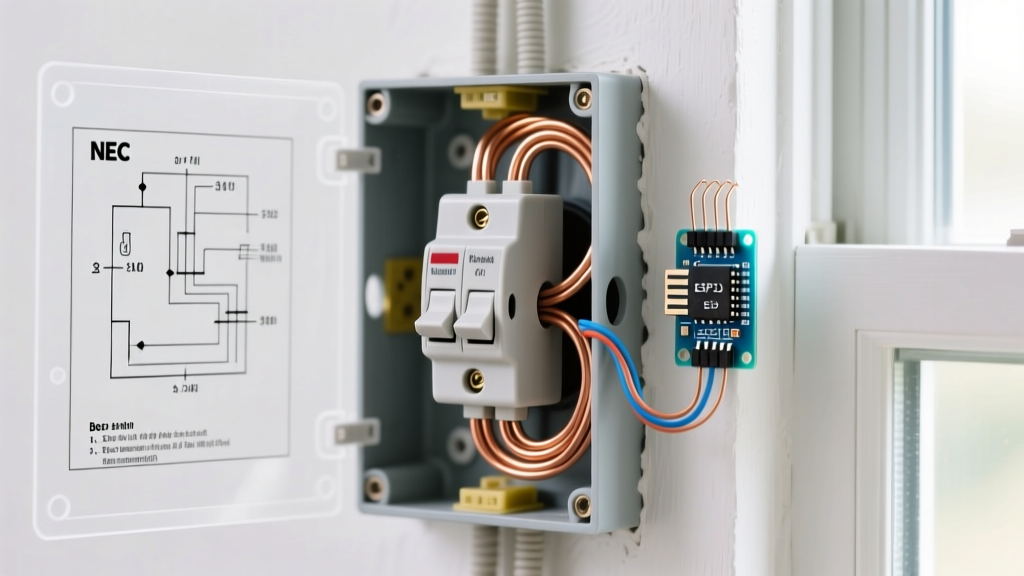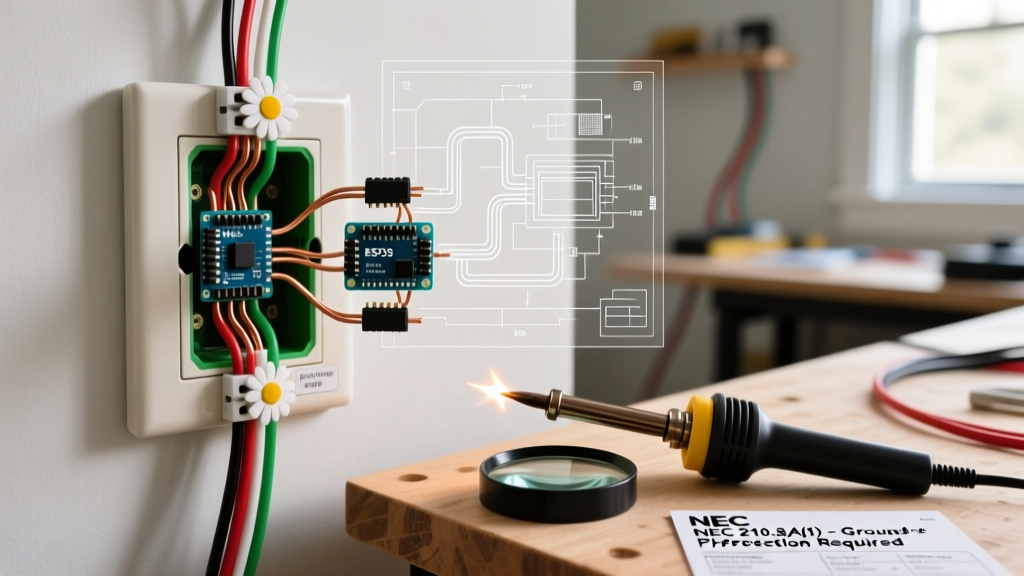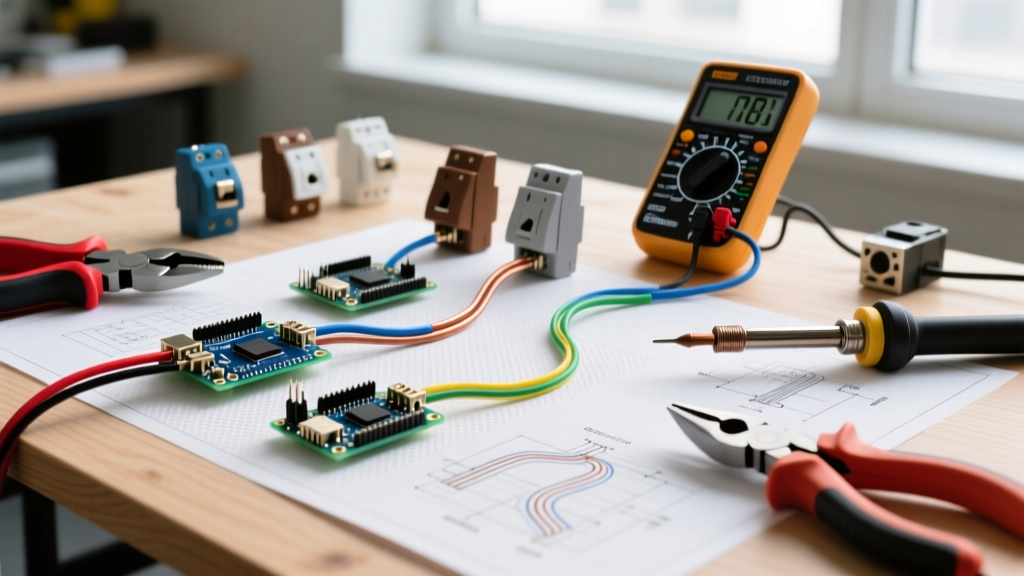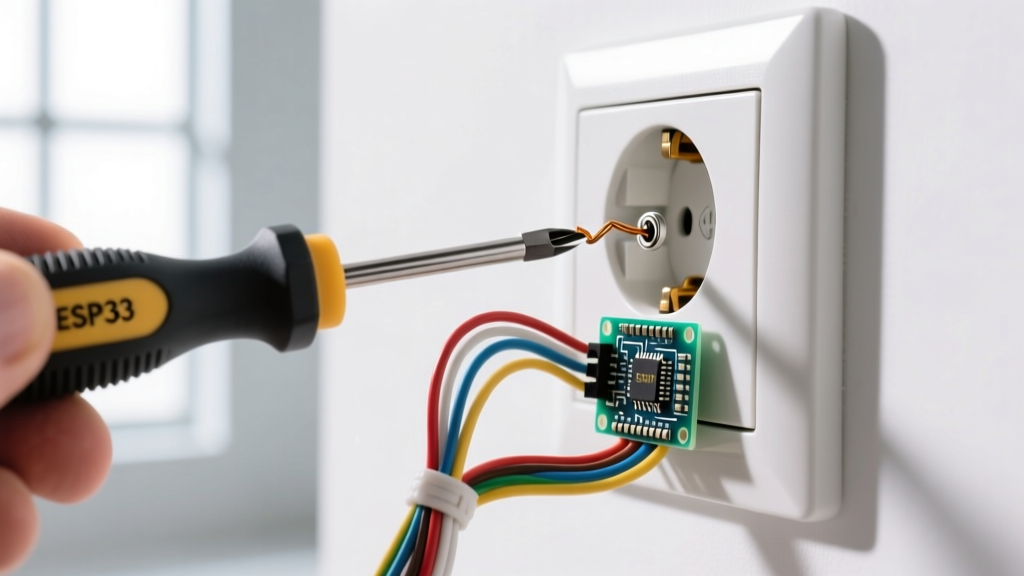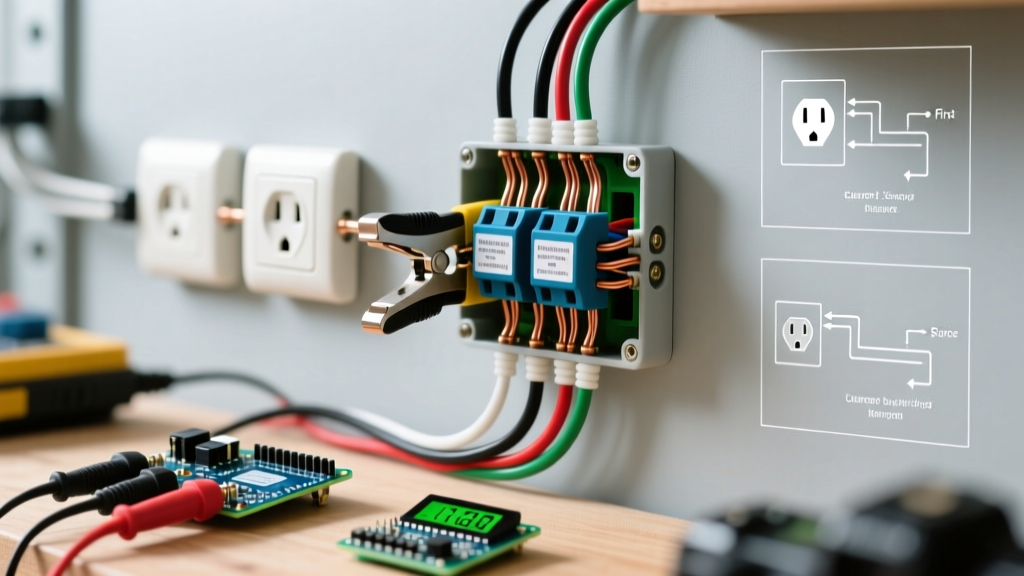

The Great Terminology Trap: "Series" vs. "Daisy-Chained" Parallel
If you are searching for instructions on how to install an electrical outlet in series, you have just stumbled into one of the most common terminology traps in residential electrical work. As a beginner, it is entirely normal to use the word "series" to describe adding a second, third, or fourth outlet to an existing circuit run. However, from a physics and electrical code perspective, residential receptacles are never wired in series.
The Physics Reality Check: In a true series circuit, current flows through one device to reach the next. If you wire 120V outlets in series, the voltage drops across each receptacle (e.g., 60V each), and if you unplug a lamp from the first outlet, the second outlet loses power entirely—just like old-school Christmas lights. What you actually want to do is wire the outlets in parallel, commonly referred to in the trades as daisy-chaining.
In a daisy-chained parallel circuit, the hot, neutral, and ground wires from the main breaker panel enter the first outlet box, connect to the first receptacle, and then a second set of wires carries the full 120V onward to the next outlet. This ensures every device receives the full voltage and operates independently. According to the National Fire Protection Association (NFPA 70), standard branch circuits must maintain parallel voltage delivery to all receptacles.
Tools and Materials for Modern Daisy-Chaining
Before touching a single wire, gather professional-grade tools. Relying on cheap, worn-out tools leads to loose connections, which the U.S. Consumer Product Safety Commission (CPSC) identifies as a leading cause of residential electrical fires.
- Non-Contact Voltage Tester: Klein Tools NCVT-3 (Dual-range, detects 12-1000V AC).
- Wire Strippers: Knipex 12 AWG automatic strippers or Klein Tools 11055 for precise 3/4-inch stripping without nicking the copper.
- Torque Screwdriver: Klein Tools 65200. Modern NEC Article 110.14(D) mandates that terminations be torqued to the manufacturer's specifications to prevent thermal expansion loosening.
- Receptacles: Leviton T5252-W (15A, Tamper-Resistant, Decora) or Leviton T5352-W (20A). Cost: ~$3.50 to $5.00 each in 2026.
- Connectors: WAGO 221 Lever-Nuts (412 or 413 series). These have largely replaced traditional twist-on wire nuts in professional settings due to superior vibration resistance and visual confirmation of wire seating.
Crucial Code Rule: Breaker Sizing and Wire Gauge Matching
When daisy-chaining outlets, you must match your wire gauge to the circuit breaker. Mixing these is a severe fire hazard and an immediate code violation.
| Breaker Size | Required Wire Gauge | Receptacle Rating Allowed | Typical Use Case |
|---|---|---|---|
| 15 Amp | 14 AWG (or 12 AWG) | 15 Amp only | Bedrooms, living rooms, hallways |
| 20 Amp | 12 AWG (Strictly) | 15 Amp or 20 Amp | Kitchens, bathrooms, garages, outdoors |
Note: You can use 12 AWG wire on a 15A breaker, but you can NEVER use 14 AWG wire on a 20A breaker.
Termination Methods: Which Should You Use?
When passing power from one outlet to the next, how you connect the wires to the receptacle matters immensely.
| Method | Description | Expert Verdict |
|---|---|---|
| Pigtailing | Using a short jumper wire and a WAGO connector to join the line, load, and receptacle tail together. | Gold Standard. Ensures the downstream outlets do not lose power if the current receptacle is removed or fails. |
| Side-Wiring (Screws) | Wrapping stripped wire clockwise around the brass/silver terminal screws. | Acceptable. Good for the end-of-run outlet where no load wires are present. Torque to 0.75 Nm. |
| Backstabbing (Push-in) | Pushing stripped wire into the small holes on the back of the yoke. | Avoid Completely. Relies on a tiny internal spring clip that loosens over time due to thermal cycling, leading to arcing. |
Step-by-Step: How to Daisy-Chain an Outlet Safely
Follow this precise workflow to add an outlet to an existing run or wire a new sequence of receptacles. For broader home electrical safety principles, always consult the U.S. Department of Energy's home electrical guidelines.
Step 1: Kill the Power and Verify
Turn off the corresponding breaker at the main panel. Use your Klein NCVT-3 to test the top and bottom receptacles of the existing outlet. Plug in a lamp to visually confirm zero power. Never trust a breaker label blindly.
Step 2: Prepare the Box and Cables
You will have two Romex cables entering the box: the Line (power from the panel) and the Load (power continuing to the next outlet). Carefully strip the outer sheathing, leaving at least 1/4 inch of sheath inside the box. Strip exactly 3/4 inch of insulation from the individual black, white, and bare copper wires.
Step 3: Pigtail the Ground Wires
Do not rely on the outlet's mounting strap for grounding. Take the bare copper wire from the Line cable, the bare copper from the Load cable, and a 6-inch bare copper pigtail. Connect all three using a WAGO 221 lever-nut. Attach the other end of the pigtail to the green ground screw on the receptacle.
Step 4: Pigtail the Neutral (White) Wires
Repeat the process with the white neutral wires. Connect the Line neutral, Load neutral, and a 6-inch white pigtail in a WAGO connector. Terminate the pigtail to one of the silver screws on the receptacle. Warning: Never mix neutrals from different circuits (Multi-Wire Branch Circuits) without a handle-tied breaker.
Step 5: Pigtail the Hot (Black) Wires
Connect the Line black, Load black, and a 6-inch black pigtail. Terminate the black pigtail to one of the brass (hot) screws. Ensure the wire loop wraps clockwise around the screw so that tightening the screw pulls the loop tighter rather than pushing it out.
Step 6: Torque, Fold, and Secure
Use your torque screwdriver set to the manufacturer's specification (usually around 0.75 Nm or 14 in-lbs for standard 15A/20A receptacles). Carefully fold the wires into the back of the box using a gentle S-curve pattern to avoid pinching the insulation against the metal box edges. Secure the receptacle with the provided mounting screws, ensuring the yoke sits flush against the drywall.
Common Beginner Mistakes and Troubleshooting
Even with a solid understanding of daisy-chaining, beginners frequently encounter these edge cases:
- The "Open Neutral" Downstream: If you wired the downstream outlets via the receptacle screws instead of pigtailing, and a neutral wire pops off the silver screw, every outlet after this one will die. This is why pigtailing is non-negotiable for professional work.
- Reversed Polarity: Swapping the black and white wires. This will cause a standard plug tester to flash a "Hot/Neu Reverse" error. It is highly dangerous because the device's internal switch will only break the neutral path, leaving the internal components energized at 120V even when turned "off."
- Box Fill Violations: Daisy-chaining means you have 4 or more wires entering a single gang box. According to NEC Article 314.16, you must calculate box fill. A standard 18-cubic-inch single-gang "old work" box is usually sufficient for two 14/2 cables and a receptacle, but if you are using 12/2 cables and multiple WAGO connectors, you may need a deeper 22-cubic-inch box.
Frequently Asked Questions
Can I use the quick-wire (backstab) holes for the load wires?
No. Backstab connections are notorious for failing under continuous load. The internal brass spring clips lose tension over years of thermal expansion and contraction. Always use side-screw terminals or, preferably, WAGO pigtails.
How many outlets can I daisy-chain on a single 15A breaker?
The NEC does not strictly limit the number of receptacles on a standard residential 15A or 20A circuit. However, standard design practice (and local code amendments in some jurisdictions) suggests a maximum of 8 to 10 receptacles per 15A circuit to prevent nuisance tripping from simultaneous use.
Do I need to break the brass fin tab?
Only if you are wiring a split-receptacle (where the top half is switched by a wall switch and the bottom half is always hot). For standard daisy-chaining where both halves are always hot, leave the brass and silver fin tabs completely intact.