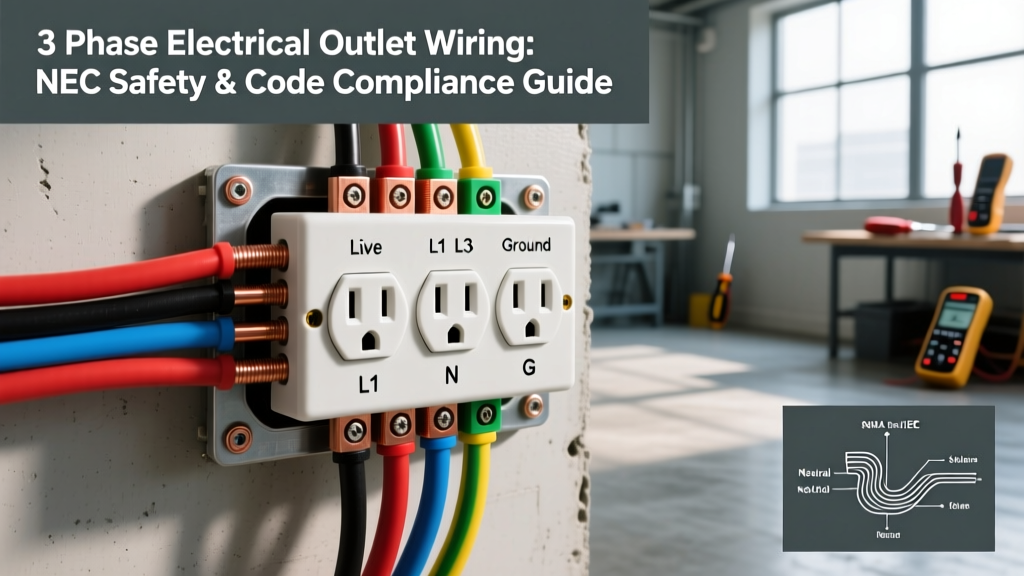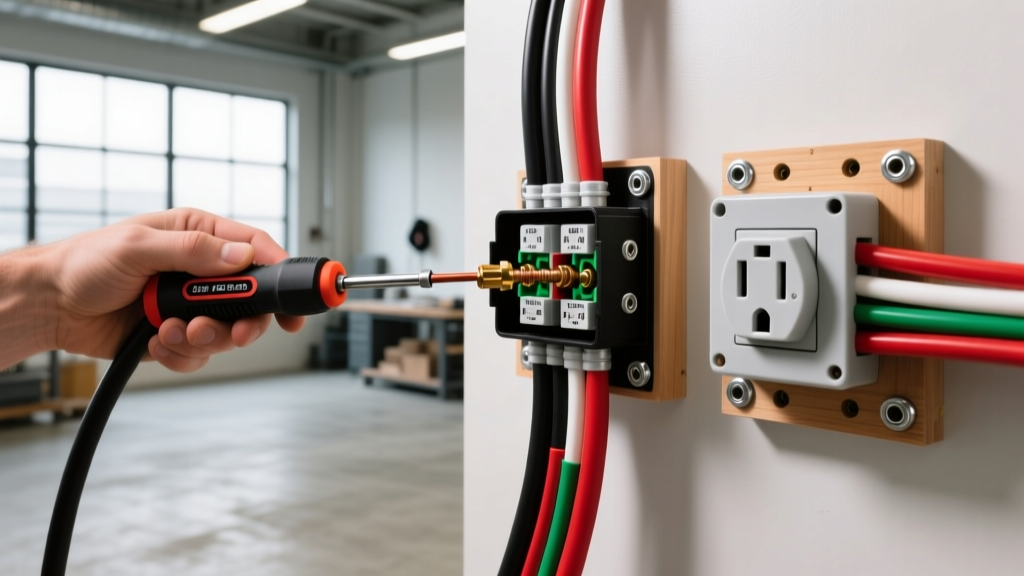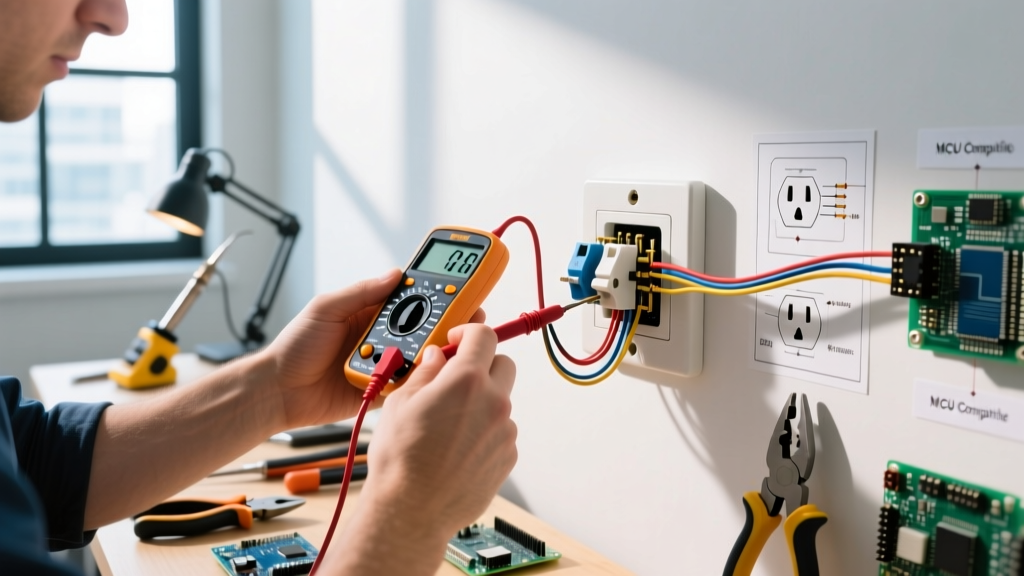

Ensuring the safety and reliability of your home or commercial electrical system begins at the point of use. A wall mount electrical outlet might look perfectly fine on the surface, but hidden wiring faults, degraded connections, and code violations can pose severe fire and shock hazards. According to the U.S. Consumer Product Safety Commission (CPSC), faulty receptacles and deteriorating branch circuit connections are leading contributors to residential electrical fires.
This comprehensive inspection and testing guide provides a professional-grade methodology for diagnosing wall mount electrical outlets. We will cover de-energized visual inspections, live voltage testing, advanced load diagnostics, and critical National Electrical Code (NEC) compliance standards.
Essential Diagnostic Tools for Outlet Testing
Before removing any cover plates, you need the right diagnostic equipment. Relying solely on a basic receptacle tester is insufficient for identifying high-resistance faults or bootleg grounds. Here is the professional toolkit required for a thorough inspection:
| Tool Category | Recommended Model | Approx. Cost | Primary Use Case |
|---|---|---|---|
| 3-Light Receptacle Tester | Klein Tools RT100 | $15 - $20 | Quick polarity and basic wiring sequence checks. |
| True-RMS Digital Multimeter | Fluke 117 | $200 - $250 | Precise voltage measurement, continuity, and detecting ghost voltages. |
| Non-Contact Voltage Tester | Fluke 2AC-II VoltAlert | $35 - $45 | Verifying de-energized state before physical inspection. |
| Torque Screwdriver | Wiha 320P (10-50 in-lbs) | $50 - $70 | Ensuring terminal screws meet NEC 110.14(D) torque specifications. |
Phase 1: De-Energized Visual and Physical Inspection
Safety is paramount. Turn off the circuit breaker supplying the wall mount electrical outlet and verify the absence of voltage using your non-contact tester and multimeter. Once confirmed dead, remove the cover plate and extract the receptacle from the electrical box.
Wire Gauge and Ampacity Verification
Inspect the conductors entering the box. The wire gauge must match the circuit breaker rating:
- 15-Amp Circuit: Requires a minimum of 14 AWG copper wire. (12 AWG is also acceptable and common).
- 20-Amp Circuit: Strictly requires 12 AWG copper wire. A 20A receptacle (identified by the T-slot neutral blade) cannot be installed on a 15A circuit, and 14 AWG wire cannot be used on a 20A breaker.
Termination and Torque Integrity
Under NEC Section 110.14(D), terminations must be torqued to the manufacturer's specifications. Standard 15A and 20A commercial-grade receptacles typically require between 12 and 14 inch-pounds of torque. Loose connections create high-resistance points that generate excessive heat under continuous loads (like space heaters or window AC units).
Expert Warning: The 'Backstab' Push-In Hazard
Inspect the back of the receptacle. If wires are inserted into the quick-wire push-in holes (backstabbed) rather than looped around the side terminal screws, they must be corrected. Push-in connections rely on a small internal spring clamp that frequently degrades over time, leading to arcing, voltage drop, and melted plastic housings. Always side-wire using the terminal screws or use screw-clamp plates for back-wiring.
Phase 2: Live Voltage and Polarity Testing
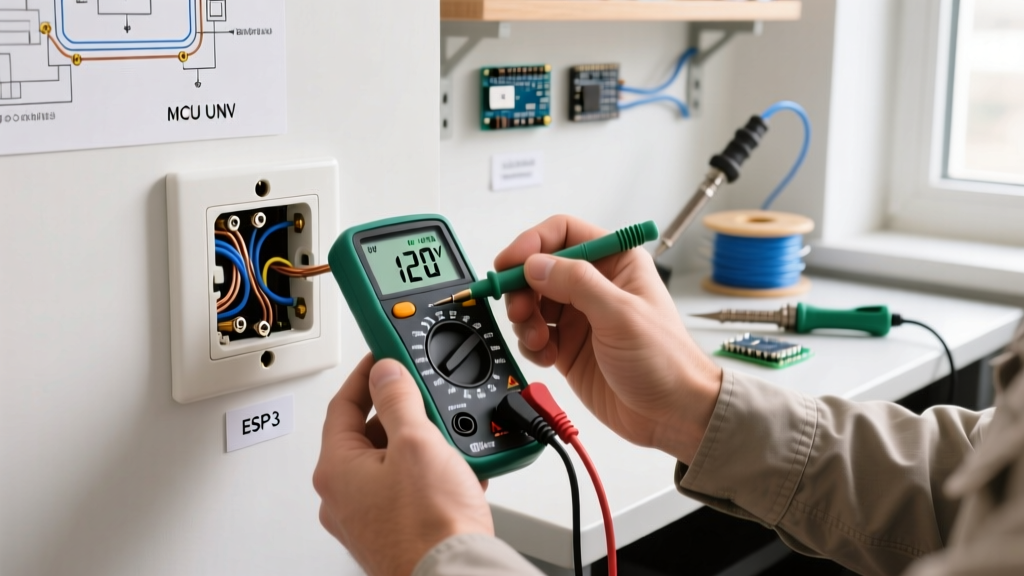
Restore power to the circuit. Set your True-RMS multimeter to AC Voltage (V~). According to ANSI C84.1 standards, a nominal 120V residential circuit should read between 114V and 126V.
The Three-Point Voltage Test
Insert the multimeter probes into the receptacle slots to measure the following three combinations:
- Hot to Neutral (Short slot to Long slot): Should read ~120V. This confirms the circuit is live and the neutral path is intact.
- Hot to Ground (Short slot to Ground hole): Should read ~120V. This confirms the equipment grounding conductor (EGC) is properly bonded back to the panel.
- Neutral to Ground (Long slot to Ground hole): Should read 0V to 1.5V. A reading higher than 2V indicates a high-resistance neutral, a shared neutral overload, or an improperly bonded neutral/ground downstream.
Identifying the 'Bootleg Ground' Deception
A basic 3-light tester might show a 'Correct' wiring pattern (two yellow lights), but it can be fooled by a bootleg ground. This illegal and dangerous modification occurs when a previous installer places a jumper wire between the neutral terminal and the ground terminal on the receptacle to trick home inspectors.
How to test for it: With the circuit energized, measure the voltage between Hot and Neutral, and then Hot and Ground. If both read exactly the same (e.g., 121.4V and 121.4V) down to the decimal, and the Neutral-to-Ground reads exactly 0.00V, you likely have a bootleg ground. To confirm, turn off the power, pull the receptacle, and visually inspect for a jumper wire bridging the green and silver terminal screws.
Advanced Troubleshooting: Voltage Drop Under Load
An outlet may show 122V with no load, but drop to 105V when a 12-amp appliance is plugged in. This severe voltage drop indicates a failing connection somewhere upstream, often a degraded wire nut splice or a backstabbed connection at a previous junction box.
Testing Procedure:
- Plug a known resistive load (like a 1500W hair dryer or space heater, drawing ~12.5A) into the wall mount electrical outlet.
- While the load is running, measure the Hot-to-Neutral voltage at the outlet.
- Simultaneously, have a helper measure the voltage at the main service panel on that specific circuit breaker.
- Calculate the Drop: A voltage drop exceeding 3% (3.6V on a 120V circuit) at the furthest outlet indicates undersized wiring, excessive circuit length, or high-resistance splices that require immediate remediation.
NEC Compliance and Modern Receptacle Standards
When inspecting or replacing outlets, ensure compliance with the latest National Electrical Code (NFPA 70) standards:
- Tamper-Resistant (TR) Receptacles: All 15A and 20A, 125V and 250V non-locking receptacles in dwelling units must be TR type, featuring internal shutters that prevent children from inserting foreign objects.
- AFCI and GFCI Protection: Depending on the room, the outlet may require Ground Fault Circuit Interrupter (GFCI) protection (kitchens, bathrooms, garages, exteriors) or Arc Fault Circuit Interrupter (AFCI) protection (bedrooms, living rooms, hallways). Test these using the built-in 'Test' buttons, which simulate actual fault conditions, rather than relying solely on the solenoid trip from a plug-in tester.
- Weather-Resistant (WR): Outdoor wall mount electrical outlets must be rated WR and equipped with 'in-use' bubble covers to prevent moisture ingress while cords are plugged in.
Frequently Asked Questions (FAQ)
Why does my wall mount electrical outlet feel warm to the touch?
A warm outlet is a critical warning sign. It usually indicates a high-resistance connection, an overloaded circuit, or the use of backstabbed push-in terminals. Unplug all devices immediately, turn off the breaker, and inspect the terminations. Standard receptacles should never feel warm under normal residential loads.
Can I replace a 2-prong ungrounded outlet with a 3-prong outlet?
Yes, but only under specific NEC allowances. If no equipment grounding conductor exists in the box, you may install a 3-prong receptacle only if it is GFCI protected. You must label the faceplate with the provided 'GFCI Protected' and 'No Equipment Ground' stickers. This provides shock protection but does not provide a true ground path for surge protectors.
How often should commercial wall mount electrical outlets be inspected?
According to OSHA electrical safety guidelines and standard facility maintenance protocols, commercial receptacles should undergo visual inspection annually and be tested with a calibrated multimeter every 2 to 3 years, or immediately if they exhibit physical damage, loose plug retention, or discoloration.
By moving beyond simple plug-in testers and utilizing True-RMS multimeters, torque verification, and load-testing methodologies, you ensure that every wall mount electrical outlet in your facility or home operates safely, efficiently, and strictly within code parameters.