
Understanding Grommet Electrical Outlets
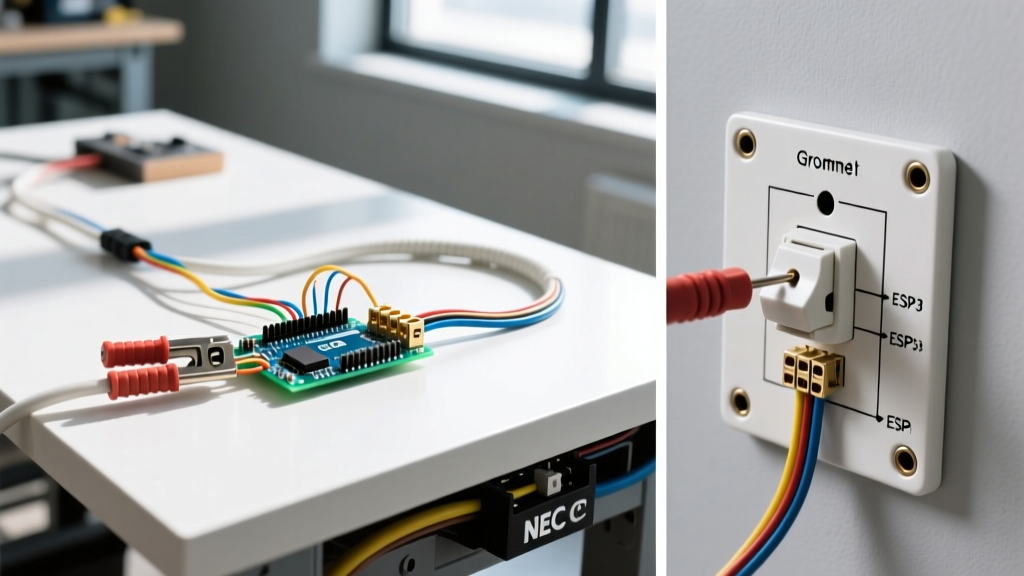
A grommet electrical outlet (often referred to as a desk grommet, table power module, or pop-up receptacle) provides localized power and data connectivity directly through a work surface. Unlike standard wall receptacles, these modules are designed to drop into a pre-cut hole in a desk, conference table, or workbench, keeping cables organized while delivering 120V AC power and USB charging capabilities. As open-plan offices and modular workbenches dominate commercial and residential spaces in 2026, understanding the precise wiring diagrams and National Electrical Code (NEC) compliance for these devices is critical for electricians and advanced DIYers.
NEC Code Requirements for Furniture Power
Before pulling wire or cutting holes in a workbench, you must understand the code constraints governing furniture power. The National Fire Protection Association (NFPA) outlines specific rules in the NEC regarding how power can be routed to movable furniture.
The 'Flexible Cord Through a Hole' Violation
A common and dangerous mistake is routing a standard extension cord or a wall receptacle's flexible cord through a hole in a wall, floor, or ceiling to feed a desk grommet. According to NEC Article 400.8, flexible cords cannot be used as a substitute for the fixed wiring of a structure, nor can they be run through holes in walls, structural ceilings, or floors. To legally and safely wire a grommet electrical outlet, you must use one of two approved methods:
- Method A (Cord-and-Plug Connected): Using a UL-listed furniture power cord (typically 14 AWG or 12 AWG SJT/SJTW) that plugs into a properly mounted wall or floor receptacle, terminating into a UL 962-listed furniture power module.
- Method B (Hardwired): Running fixed wiring (like 12/2 NM-B or THHN in conduit) to a junction box mounted directly beneath the desk, which then transitions to the grommet module via a flexible furniture whip.
Inspector's Note: Standard 15A or 20A duplex wall receptacles cannot simply be shoved into a desk grommet housing. The module must be specifically listed to UL 962 or UL 962A (Motor-Operated Furniture) standards to account for the unique heat dissipation and physical strain profiles of horizontal or recessed desk installations.
Wiring Diagram 1: Cord-and-Plug Grommet Setup (Daisy Chain)
This is the most common setup for modular office furniture and conference tables. It relies on a main power cord that feeds a primary grommet module, which then has internal busbars or pigtails to daisy-chain secondary modules.
Diagram Flow
[Wall Receptacle]
      |
[12 AWG SJT Furniture Power Cord] (Max 6ft to 12ft per UL listing)
      |
[Primary Grommet Module - Inlet] --> [Internal 15A Circuit Breaker]
      |                                     |
[Receptacle 1 & USB]               [Daisy Chain Output Cable]
                                              |
                                   [Secondary Grommet Module]
                                              |
                                   [Receptacle 2 & USB]
Wiring Specifications
- Inlet Connection: The furniture power cord terminates into an IEC 320 C13 or C19 inlet, or is hardwired directly into the primary module's terminal block.
- Terminal Torque: If hardwiring the cord to the module's screw terminals, torque to the manufacturer's specification (typically 12-14 in-lbs for 12 AWG stranded wire).
- Daisy Chain Limits: Never exceed the manufacturer's daisy-chain limit. For most 15A commercial modules (like Legrand or Hubbell), you can chain a maximum of 3 to 4 modules before risking a voltage drop or tripping the primary 15A breaker.
Wiring Diagram 2: Hardwired Desk Grommet Module
For built-in kitchen islands, fixed workshop benches, or architectural conference tables, hardwiring is preferred to eliminate cord clutter and trip hazards. This method requires compliance with NEC Article 406.5(E) regarding receptacles in work surfaces.
Diagram Flow
[Main Panel 20A Breaker]
      |
[12/2 NM-B Romex or THHN in EMT Conduit]
      |
[Under-Desk Steel Junction Box] (Must be securely mounted to desk frame)
      |
[Flexible Metal Conduit (FMC) or Listed Furniture Whip] (Max 6ft)
      |
[Grommet Electrical Outlet Module] (Clamped and grounded)
Step-by-Step Hardwiring Procedure
- Mount the Junction Box: Secure a 4x4 or 4x2-1/8 steel junction box to the metal or heavy wood frame of the desk. Do not mount it to a thin particleboard desktop, as the weight of the wire can pull it loose over time.
- Run the Branch Circuit: Route your 12/2 NM-B (for residential/concealed) or 12 AWG THHN in 1/2" EMT conduit (for commercial/exposed) from the nearest panel or junction point to the under-desk box.
- Transition to the Whip: Use a listed 12 AWG flexible furniture whip (often pre-assembled with an MC cable or FMC jacket) to bridge the gap from the junction box to the grommet module. This allows the desk to flex or shift slightly without tearing the conductors.
- Make the Connections: Inside the grommet module, connect Black to Brass (Hot), White to Silver (Neutral), and Green/Bare to the Green Grounding screw. Ensure the ground continuity is maintained through the metal housing of the grommet if applicable.
Commercial Grommet Outlet Comparison Matrix
Selecting the right module impacts both the wiring method and the physical installation. Below is a 2026 market comparison of top-tier commercial grommet outlets.
| Brand / Model | Type | Hole Saw Size Required | Wiring Method | Est. Price (2026) |
|---|---|---|---|---|
| Legrand Adorne Desk Pop-Up | Pop-Up (2x 120V, 2x USB-C) | 3.15" (80mm) | Corded or Hardwired Whip | $145 - $180 |
| Hubbell Wiring Device-Kellems | Flush Mount (2x 120V) | 3.0" (76mm) | Hardwired (MC Cable) | $95 - $120 |
| Wiremold / Legrand Floor-Box Adapter | Flush Grommet (1x 120V, Data) | 4.0" (102mm) | Conduit / Hardwired | $85 - $110 |
| Docking Drawer In-Drawer Outlet | In-Drawer (4x 120V) | N/A (Mounts to rear wall) | Hardwired (Interlocking) | $210 - $260 |
Step-by-Step Physical Installation Guide
Wiring is only half the battle; the physical cutout and mounting of the grommet electrical outlet require precision to prevent splintering and ensure a flush fit.
1. Measure and Mark
Verify the exact cutting diameter specified by the manufacturer. While 80mm (3.15 inches) is the industry standard for dual-gang pop-ups, some flush-mount models require a 60mm (2.36 inch) or 76mm (3.0 inch) hole. Always use the template provided in the box.
2. Drill the Pilot Hole
Drill a 1/4" pilot hole completely through the desk surface. This guides the hole saw and prevents the arbor bit from wandering, which can gouge expensive veneer or laminate.
3. Cut the Grommet Hole
Using a carbide-tipped hole saw, cut from the top down until the pilot bit breaks through the bottom. Stop drilling. Finish the cut from the bottom up. This two-sided cutting method completely eliminates 'blowout' or tear-out on the underside of the desk.
4. Route and Secure the Module
Drop the module into the hole. Most units feature a threaded collar that screws up from underneath to clamp the desk surface, or a set of lateral locking tabs. Tighten the collar using a spanner wrench or by hand until snug. Do not overtighten, as this can crack the plastic housing or warp thin desktops.
Common Wiring Failures & Edge Cases
Even experienced installers run into edge cases when integrating grommet outlets into modern workspaces. Here is how to troubleshoot and avoid them.
Edge Case 1: USB-C Charging Interference and Noise
High-wattage USB-C PD (Power Delivery) chargers built into grommet modules (often 65W or 100W) use high-frequency switching power supplies. If the module's internal EMI (Electromagnetic Interference) shielding is poor, it can introduce line noise into the 120V AC circuit, causing audio hum in nearby desktop speakers or flickering in sensitive LED desk lamps. Solution: Always specify modules with integrated EMI filters, or route AV/Data cables at least 4 inches away from the grommet's internal power block.
Edge Case 2: Tripped Breakers from 'Phantom' Daisy Chaining
In large conference rooms, users often plug power strips into the grommet outlets, then daisy-chain additional strips. A standard 15A grommet circuit can only handle 1800W continuous. If multiple laptops (90W each) and space heaters (1500W) are plugged in, the thermal breaker inside the primary grommet will trip repeatedly. Solution: For conference tables, wire the grommets to a dedicated 20A circuit using 12 AWG wiring and specify 20A-rated grommet modules (like the Hubbell 20A commercial series) to handle the higher continuous load.
Edge Case 3: Grounding Continuity in Metal Desks
If installing a metal-bodied grommet outlet into a steel-framed desk, the desk frame itself can become energized if a hot wire shorts to the module housing and the ground wire is poorly terminated. OSHA regulations (1910.305) strictly mandate proper grounding paths. Always bond the module's grounding screw to the circuit's equipment grounding conductor (EGC), and verify continuity between the module faceplate and the main panel ground bus using a multimeter before energizing.
Final Inspection Checklist
Before closing up the junction box or plugging in the furniture power cord, verify the following:
- Torque on all terminal screws verified with an inch-pound screwdriver.
- Ground continuity tested from the grommet faceplate to the source panel.
- Receptacle polarity tested with a standard 3-light GFCI/receptacle tester.
- Desk structural integrity verified (no sagging around the 80mm cutout).
- UL listing mark visible on the module housing for the final electrical inspector.