
The Critical Need for Outdoor Receptacle Upgrades
Upgrading an electrical outlet outside is one of the most impactful safety and utility improvements you can make to your home's exterior. Outdoor environments are brutally unforgiving on electrical components. Between ultraviolet (UV) radiation, extreme thermal cycling, driving rain, and invasive insects, standard indoor-rated components degrade rapidly. If your exterior receptacles are over a decade old, feature brittle plastic covers, or lack modern Ground Fault Circuit Interrupter (GFCI) technology, they represent a severe shock and fire hazard.
This comprehensive guide details the exact procedures, National Electrical Code (NEC) requirements, and professional-grade materials needed to replace and upgrade an exterior outlet. We will focus on installing a 20-Amp Weather-Resistant (WR) GFCI receptacle paired with an extra-duty in-use cover, ensuring your outdoor power needs are met safely for the next 15 to 20 years.
Why Your Existing Outdoor Setup Might Be a Liability
Many homes built before 2015 were equipped with standard GFCI receptacles and flat, flip-up weatherproof covers. While these were code-compliant at the time of installation, they possess inherent design flaws that manifest over time:
- Flat Cover Failure: Flat covers only protect the outlet when nothing is plugged in. The moment you plug in a holiday light string or a power tool, the cover is propped open, exposing the live contacts to rain and snow.
- UV Degradation: Standard thermoplastic receptacle faces become brittle and crack after years of sun exposure, compromising the internal dielectric barriers.
- Internal Corrosion: Older GFCIs lack the advanced conformal coatings found in modern Weather-Resistant (WR) models, leading to nuisance tripping caused by internal micro-corrosion on the sensing circuitry.
NEC Code Mandate Callout:
Under NEC Article 210.8(A)(3), all 125V, 15A and 20A outdoor receptacles must have GFCI protection. Furthermore, NEC Article 406.9(B)(1) strictly requires that outdoor receptacles in damp or wet locations be enclosed in an "extra-duty" weatherproof cover that remains weatherproof even when a cord is plugged in (commonly known as an in-use cover). Additionally, the receptacle itself must be listed as Weather-Resistant (WR) per NEC 406.9(A).
Materials & Tool Matrix for a Pro-Grade Upgrade
Do not compromise on material quality for exterior applications. The table below outlines the specific, professional-grade components required for a durable installation.
| Component | Recommended Model / Specification | Estimated Cost | Purpose |
|---|---|---|---|
| WR GFCI Receptacle | Leviton GFNL2-W (20A, Tamper & Weather Resistant) | $28 - $34 | Provides shock protection with UV-stabilized plastics and corrosion-resistant internal coatings. |
| Extra-Duty Cover | Hubbell PVL1000GY or Taymor 023-2500 (In-Use) | $18 - $26 | NEMA 3R rated die-cast or heavy-duty polycarbonate cover that seals around plugged-in cords. |
| Silicone Sealant | GE Advanced Silicone II (Clear, Waterproof) | $8 - $10 | Creates a watertight gasket between the cover flange and the exterior siding. |
| Voltage Tester | Klein Tools NCVT-3 (Non-Contact Voltage Tester) | $25 - $30 | Verifies the circuit is de-energized before touching any conductors. |
| Torque Screwdriver | Klein Tools 70650 (or equivalent inch-pound driver) | $120+ | Ensures terminal screws are tightened to manufacturer specs (prevents arc faults). |
Step-by-Step Upgrade Procedure
Phase 1: Verification and Teardown
- Kill the Power: Locate the correct breaker in your main panel and switch it to the OFF position. If your panel is poorly labeled, use a process of elimination.
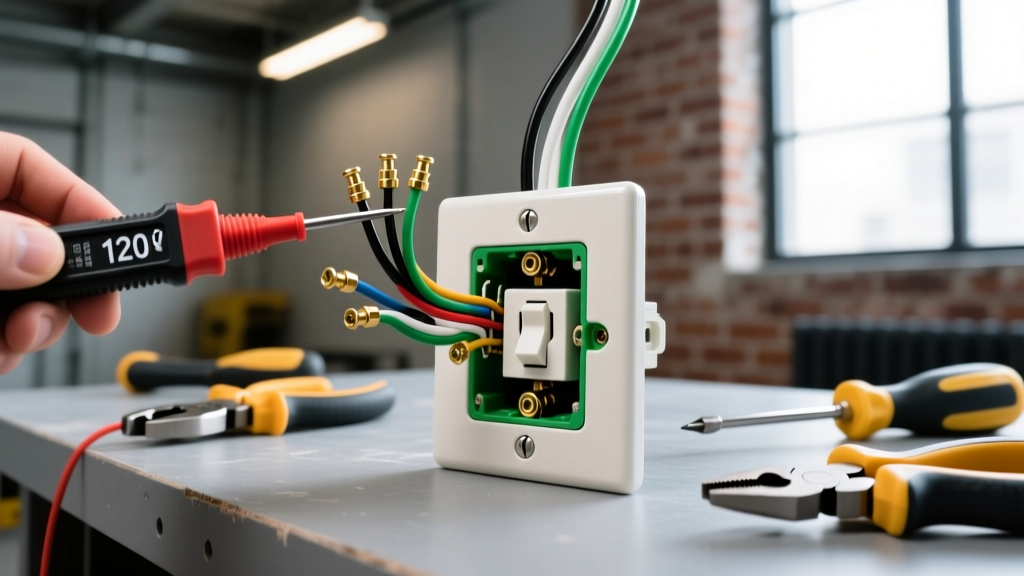
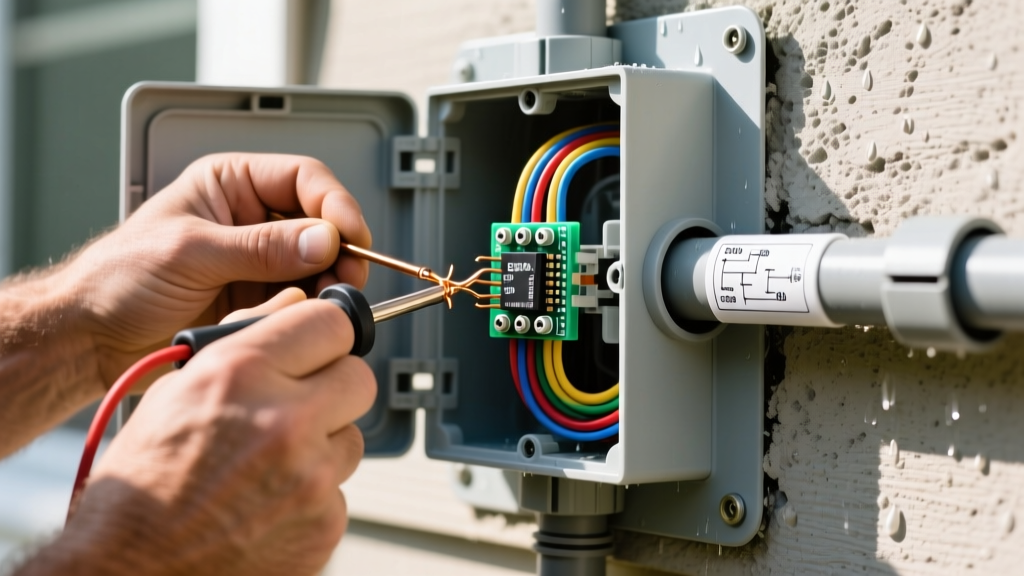
- Test for Voltage: Insert the Klein Tools NCVT-3 into both slots of the existing receptacle. The tester must remain completely dark and silent. Next, remove the old cover plate and test the exposed wires directly to ensure no back-fed voltage or miswired multi-wire branch circuits are present.
- Extract the Old Receptacle: Remove the top and bottom mounting screws. Gently pull the receptacle out of the weatherproof box. Take a photo of the existing wiring configuration before disconnecting anything.
Phase 2: Box Remediation and Prep
Inspect the existing electrical box. If it is a metal die-cast box, check the interior for rust, flaking paint, or accumulated debris. If the box is severely corroded or the internal threads for the cover screws are stripped, you must replace it. For retrofitting, a non-metallic weatherproof box like the Carlon B618RR is highly recommended as it will never rust and features integrated drainage channels.
Clean the exterior mounting surface (siding, brick, or stucco) with a wire brush and isopropyl alcohol to ensure the silicone sealant will adhere properly.
Phase 3: Wiring the WR GFCI
Modern outdoor circuits should ideally be 20-Amp, utilizing 12 AWG copper wire. If your home has a 15-Amp circuit (14 AWG wire), you must use a 15-Amp WR GFCI (like the Leviton GFNL1-W), but upgrading the circuit to 20-Amp is highly advised for outdoor power tools and heating cables.
- Identify Line vs. Load: The "LINE" terminals on the GFCI receive power from the breaker panel. The "LOAD" terminals feed power to downstream outlets. If this outlet is the last on the run, you will only use the LINE terminals.
- Strip and Connect: Strip exactly 5/8-inch of insulation from the black (hot) and white (neutral) wires. Loop the black wire clockwise around the brass LINE terminal screw, and the white wire around the silver LINE terminal screw.
- Apply Precise Torque: This is where DIYers fail and professionals succeed. Use a torque screwdriver set to the manufacturer's specification (typically 14 in-lbs for Leviton GFCIs). Under-torqued screws cause high-resistance connections, leading to melting and fires; over-torqued screws strip the brass threads.
- Secure the Ground: Attach the bare copper ground wire to the green grounding screw on the receptacle, and also run a ground pigtail to the metal box (if applicable) to ensure the box itself is grounded.
Phase 4: Sealing and Extra-Duty Cover Installation
- Mount the Receptacle: Carefully fold the wires back into the box using a gentle accordion fold. Do not force them, as pinching the insulation against the sharp metal edges of the box can cause a dead short. Secure the GFCI with the provided stainless steel mounting screws.
- Apply the Silicone Gasket: Run a continuous, 1/4-inch bead of GE Advanced Silicone II across the top and both side edges of the extra-duty cover's mounting flange. Crucial Warning: Do NOT apply silicone to the bottom edge. The bottom must remain open to serve as a weep hole, allowing any internal condensation to drain out.
- Secure the Cover: Press the cover firmly against the siding and drive the mounting screws into the box ears. Wipe away excess silicone with a damp rag immediately.
Troubleshooting Edge Cases & Failure Modes
Even with a flawless installation, outdoor environments can introduce unique variables. Here is how to diagnose common post-upgrade issues:
- Nuisance Tripping After Heavy Rain: If the new GFCI trips only during driving storms, moisture is likely bypassing the cover. Check that the cord-grip seal on the in-use cover is tightly fastened around your extension cord. If using a thin cord, wrap electrical tape around the cord where it meets the seal to create a thicker gasket surface.
- Immediate Tripping Upon Reset: This almost always indicates a neutral-to-ground fault downstream. If you wired downstream outlets to the "LOAD" terminals, a single nicked neutral wire touching a ground wire anywhere on that branch will prevent the GFCI from resetting. Disconnect the LOAD wires and test the GFCI alone to isolate the fault.
- UV Fading and Brittle Hinges: If you opted for a cheap, big-box-store brand extra-duty cover, the polycarbonate hinges will likely snap after two summers of UV exposure. Always invest in die-cast aluminum or heavy-duty UV-stabilized polycarbonate covers from brands like Hubbell or Taymor.
Authoritative References & Further Reading
To ensure your exterior electrical work remains compliant and safe, always consult the latest local amendments to the National Electrical Code. The following organizations provide vital safety data regarding outdoor electrical installations:
- National Fire Protection Association (NFPA): For complete access to NEC Articles 210.8 and 406.9 regarding GFCI and weatherproof enclosure mandates, visit the NFPA National Electrical Code portal.
- Electrical Safety Foundation International (ESFI): For consumer-friendly guidelines on outdoor electrical safety, holiday lighting protocols, and extension cord ratings, refer to the ESFI Outdoor Safety resources.
By following this precise methodology, you eliminate the hidden hazards of aging exterior wiring. Upgrading an electrical outlet outside with modern WR GFCI technology and an extra-duty enclosure guarantees reliable, code-compliant power for your landscaping tools, holiday decorations, and outdoor entertainment setups for years to come.