
The Unique Challenges of Mobile Home Electrical Systems
When undertaking a mobile home electrical outlet replacement, the standard rules of stick-built residential wiring do not entirely apply. Manufactured homes are governed by the HUD Code (24 CFR Part 3280) and NEC Article 550. These regulations dictate specific wiring methods, grounding protocols, and box depths that differ significantly from traditional construction. As of 2026, with the rising cost of copper, many older mobile homes are undergoing critical electrical upgrades, making proper inspection and testing more vital than ever to prevent arc faults and fires.
This guide provides a deep-dive, electrician-level inspection and testing protocol specifically tailored for mobile home environments, addressing the notorious shallow wall cavities, aluminum branch wiring, and shared neutral edge cases common in manufactured housing.
Phase 1: Pre-Replacement Visual Inspection
Before touching a screwdriver, you must identify the physical constraints and wire types hidden behind the faceplate. Mobile homes utilize specific construction methods that dictate your replacement strategy.
Identifying Wire Composition: Copper vs. Aluminum
Mobile homes built between 1965 and 1973 frequently utilized aluminum branch circuit wiring due to copper shortages. Aluminum expands and contracts at a different rate than copper, leading to loose connections, oxidation, and severe fire hazards if terminated on standard receptacles. According to the U.S. Consumer Product Safety Commission (CPSC), homes with aluminum wiring are 55 times more likely to have a connection reach fire hazard conditions compared to copper.
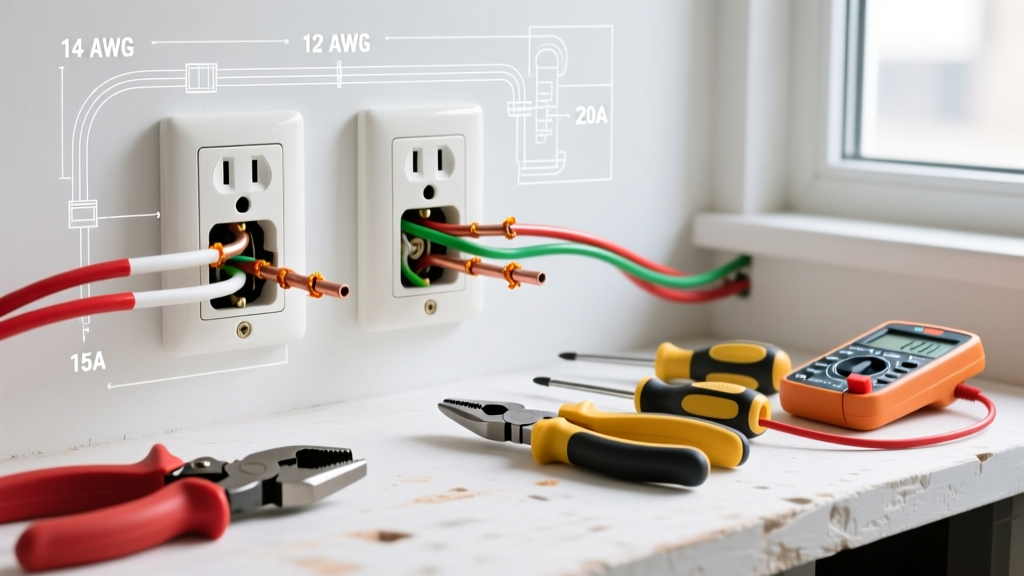
- Copper Wire: Typically features a distinct copper-colored core. Standard 15A or 20A receptacles are acceptable.
- Aluminum Wire: Features a dull, silver-gray core. You must use CO/ALR rated receptacles (e.g., Leviton 2027-W, approx. $9.50) or pigtail the aluminum to copper using AlumiConn 3-port connectors (approx. $14.00 each) before connecting to a standard receptacle.
Assessing Box Depth and Mounting
Standard residential electrical boxes are 2.5 to 3.5 inches deep. Mobile home walls, often constructed with 2x3 or 2x4 studs and thin paneling, typically require shallow boxes. Forcing a deep box into a mobile home wall will bow the paneling or crush the wires behind the yoke, violating NEC fill capacity rules. Look for 1.5-inch to 2-inch shallow boxes, such as the Carlon B114R or Raco 187 shallow steel boxes.
Phase 2: Live Circuit Testing Protocol
Never assume a mobile home circuit is wired correctly based on the faceplate alone. DIY modifications in mobile home parks are notoriously common. Follow this testing sequence before killing the power.
Step 1: Receptacle Tester Analysis
Insert a high-impedance receptacle tester (like the Klein Tools RT250) into the outlet. While standard testers identify open grounds or reversed polarity, they often fail to detect 'bootleg grounds'—a dangerous DIY fix where the neutral and ground terminals are jumpered together to trick a tester.
Step 2: Multimeter Verification for Bootleg Grounds
To verify a true ground path, use a True-RMS digital multimeter (e.g., Fluke 117).
- Measure Hot-to-Neutral (Expect ~120V).
- Measure Hot-to-Ground (Expect ~120V).
- Measure Neutral-to-Ground under no load (Expect < 1.5V).
- The Load Test: Plug in a high-draw device (like a 1500W space heater) to the outlet. Re-measure Neutral-to-Ground. If the voltage spikes above 3V-5V, you have a high-resistance ground path or a bootleg ground sharing the neutral return current.
Safety Warning: The Electrical Safety Foundation International (ESFI) emphasizes that testing GFCI functionality in older mobile homes requires verifying that the equipment grounding conductor is actually present; otherwise, a GFCI trip will not safely clear a line-to-ground fault through a human body.
Phase 3: Mobile Home Outlet Replacement Matrix
Use the following matrix to determine the exact materials required for your specific mobile home scenario in 2026.
| Scenario / Home Era | Wire Type | Required Box Type | Receptacle / Connector | Est. Material Cost |
|---|---|---|---|---|
| Post-1990 (Standard) | 12/2 or 14/2 Copper | Carlon B114R (1.5' Shallow) | Leviton 5262-W (Standard 15A) | $5.50 |
| 1970s (Aluminum Branch) | 12 AWG Aluminum | Raco 187 (Shallow Steel) | AlumiConn 3-Port + Leviton 5262 | $19.00 |
| Kitchen/Bath (Wet Area) | Copper or AlumiConn Pigtail | 2-Gang Shallow (if space permits) | Leviton 2099-W (20A GFCI) | $22.00 |
| Surface Mount (Concrete Block Skirting/Additions) | UF-B or THWN in Conduit | Bell 5401-0 (Weatherproof) | WR20TR (Weather Resistant) | $16.50 |
Phase 4: The Replacement Procedure
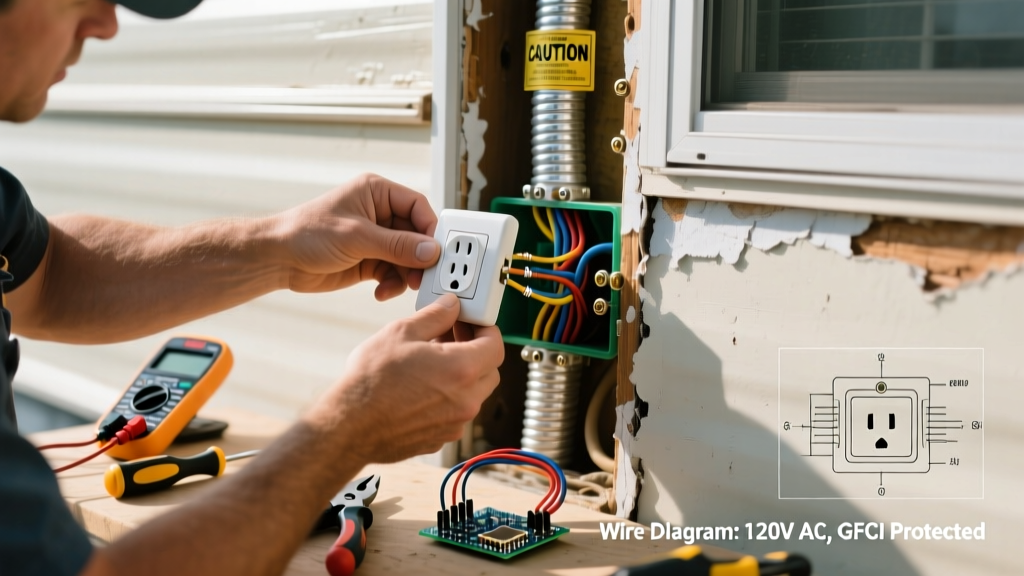
Once testing is complete and power is locked out at the breaker panel, proceed with the physical replacement. Mobile home paneling is fragile; use extreme care to avoid cracking the wall finish.
1. Extracting the Old Box
In factory-built homes, outlet boxes are often nailed to the side of the stud before the wall paneling is installed. You cannot simply unscrew the box and pull it out. You must cut the drywall/paneling around the box using an oscillating multi-tool to access the side nails, or carefully pry the box away from the stud using a flat bar and a wood block to distribute pressure.
2. Wire Preparation and Stripping
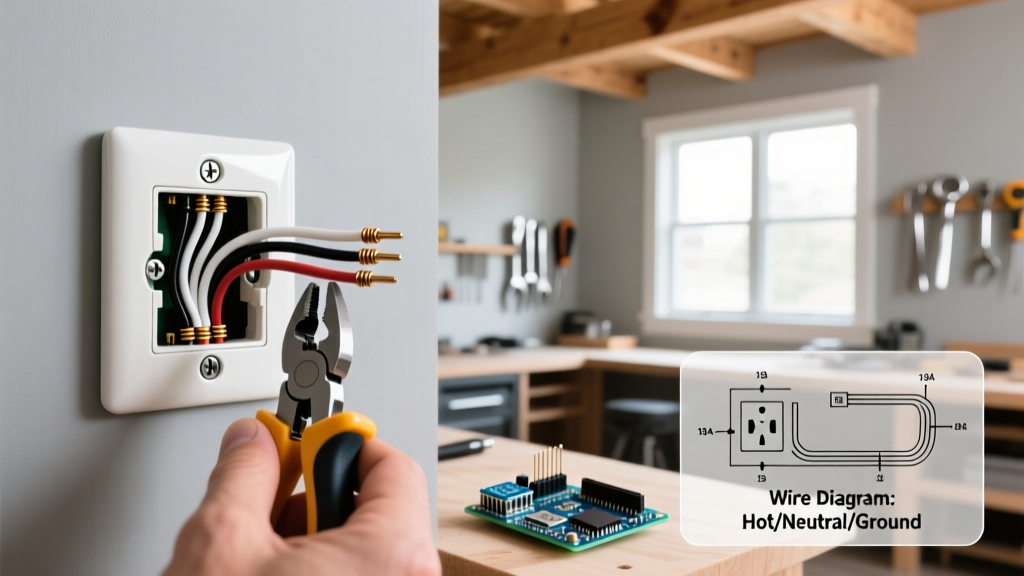
If working with aluminum wire, do not use standard wire strippers that might nick the conductor. Nicks in aluminum create stress fractures that will snap under torque. Use a dedicated aluminum wire stripper or carefully score the insulation with a utility knife and peel it back. Strip exactly 5/8 inch of insulation.
3. Torque Specifications
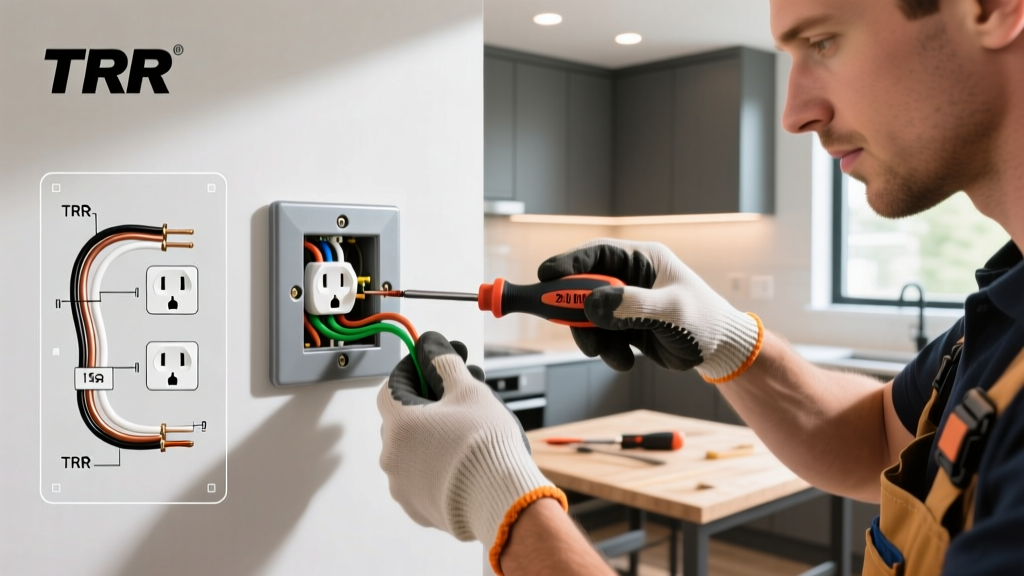
The 2017 NEC (and subsequent 2020/2023 updates) mandate the use of a torque screwdriver for terminations. For standard 15A and 20A receptacles, tighten the terminal screws to the manufacturer's specified torque, typically 14 in-lbs. Over-torquing aluminum pigtails will cause them to yield and eventually loosen, while under-torquing creates arcing.
4. Securing the New Shallow Box
Use 'old work' shallow boxes with flip-clamps (like the Carlon B114R) that grip the back of the 3/8-inch or 1/2-inch mobile home paneling. If the paneling is too thin or brittle to hold the clamps, install a 2x4 backing block inside the wall cavity through the opening and screw the box directly into the wood.
Phase 5: Edge Cases and Troubleshooting
Mobile home electrical systems are notorious for specific wiring anomalies. If your post-installation testing fails, check for these edge cases:
Multi-Wire Branch Circuits (MWBC) in Older Parks
Some older double-wide mobile homes utilize MWBCs (two hot wires sharing a single neutral) to save on copper during manufacturing. If you disconnect a neutral wire to replace an outlet on one half of the circuit while the other half is still live, you will create a series circuit that can send 240V through your 120V appliances, instantly destroying electronics. Always test for voltage between the neutral and ground wires before disconnecting them.
Ghost Voltages on Long Runs
Mobile homes often feature long, continuous wire runs from the main panel at the tongue of the home to the far bedrooms. When testing with a high-impedance digital multimeter, you may read 40V-60V on a disconnected wire due to capacitive coupling from adjacent live wires. Use a low-impedance (LoZ) tester or a solenoid voltage tester (Wiggy) to bleed off ghost voltages and confirm a true dead circuit.
Conclusion
A successful mobile home electrical outlet replacement requires more than just swapping hardware; it demands a rigorous understanding of manufactured housing codes, material limitations, and precise testing protocols. By identifying aluminum wiring risks, utilizing shallow box solutions, and verifying ground integrity with a True-RMS multimeter, you ensure the safety and longevity of the home's electrical infrastructure. As of 2026, adhering to these stringent inspection standards remains the best defense against the unique electrical hazards inherent in manufactured homes.