
The 4-Prong Trailer Plug: Why Most DIY Replacements Fail
If you are searching for a wiring diagram for a 4 prong trailer plug, you are likely dealing with flickering trailer lights, a blown vehicle fuse, or a corroded harness that has finally given up. The 4-way flat connector remains the undisputed standard for light-duty trailers, boat trailers, and small utility rigs. However, the simplicity of the wiring diagram is deceptive. While the color-coding is straightforward, 90% of trailer lighting failures stem from improper wire gauge selection, poor grounding techniques, and ignoring the electrical architecture of modern tow vehicles.
As an upgrade and replacement guide for 2026, this article moves beyond the basic color chart. We will cover exact wire gauges, adhesive-lined weatherproofing protocols, and the critical transition to powered ModuLite converters required for modern CAN-bus vehicles.
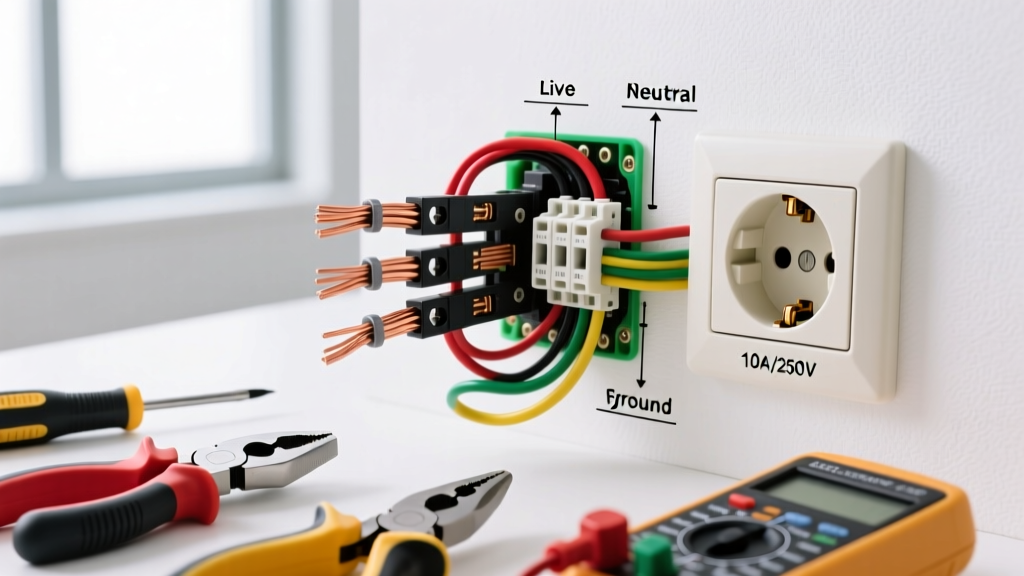
The Core Wiring Diagram for a 4 Prong Trailer Plug
The standard 4-way flat connector operates on a simple circuit matrix. According to industry wiring standards documented by eTrailer, the pinout remains universally consistent across North America. However, the gauge of the wire you use for your replacement harness is where the upgrade path begins.
| Pin Position | Wire Color | Function | Standard Gauge | Recommended Upgrade Gauge |
|---|---|---|---|---|
| Pin 1 (Exposed/Ground) | White | Ground Return | 16 AWG | 12 AWG or 10 AWG |
| Pin 2 (Left) | Brown | Tail / Running Lights | 18 AWG | 14 AWG |
| Pin 3 (Center) | Yellow | Left Turn / Stop | 18 AWG | 14 AWG |
| Pin 4 (Right) | Green | Right Turn / Stop | 18 AWG | 14 AWG |
The Ground Wire Fallacy
The most catastrophic mistake in trailer wiring is relying on the hitch ball for the ground return. The white wire (Pin 1) must be grounded directly to the trailer chassis and the tow vehicle chassis. When upgrading your harness, replace the flimsy 16 AWG white wire with a 12 AWG stranded copper wire. Modern LED trailer lights draw minimal amperage, but they are highly sensitive to voltage drops. A heavy-duty ground wire eliminates the "hyper-flashing" and dimming issues common in older setups.
Common Failure Modes in Factory 4-Prong Harnesses
Before you cut and splice a new connector, diagnose why the previous one failed. Here are the three primary failure modes we see in the field:
- Capillary Corrosion: Standard PVC wire insulation allows moisture to wick up the copper strands via capillary action. When you strip back the wire near the plug, the copper is often black or green. Fix: Use marine-grade tinned copper wire for the final 3 feet of the harness.
- Voltage Drop on Long Rigs: If your trailer is over 20 feet long, standard 18 AWG brown wire will drop the voltage below 10V by the time it reaches the rear marker lights. Fix: Run a 14 AWG brown wire to a secondary power distribution block at the rear of the trailer.
- The CAN-Bus BCM Fry: Modern vehicles (2018 and newer) use multiplexed CAN-bus systems. Tapping directly into the vehicle's tail light wires using cheap "scotch-lock" splice taps draws too much current, triggering the Body Control Module (BCM) to shut down the circuit or blow a $150 proprietary fuse.
Step-by-Step Replacement & Upgrade Protocol
To execute a professional-grade replacement, we recommend the Curt 58240 4-Way Flat Connector (approx. $14.99) paired with 3M adhesive-lined heat shrink. Avoid electrical tape entirely; it unwraps in high summer heat and traps moisture.
Step 1: Audit and Remove the Old Harness
Disconnect the battery on the tow vehicle. Cut the old 4-prong plug off, leaving at least 6 inches of wire on the vehicle side. Use a digital multimeter to test the vehicle-side wires for continuity and verify that the vehicle's lighting module is outputting a clean 12V-14V signal.
Step 2: Prepare the Replacement Harness
Strip exactly 5/16" of insulation from the new Curt harness wires. Twist the strands tightly. If you are soldering, use a 40W iron and rosin-core solder. Pro-Tip: Soldering makes the wire rigid, which can lead to fatigue breaks near the plug. For trailer plugs, a high-quality crimp using a ratcheting crimper (like the Knoweasy Precision Wire Crimper, ~$28.00) is actually preferred for flexibility.
Step 3: The Adhesive Heat-Shrink Seal
Slide 3M FP-301 Adhesive-Lined Heat Shrink (1/8" diameter) over each individual wire connection before crimping. After crimping, slide the shrink tubing over the joint and apply heat. The inner adhesive melts and creates a 100% waterproof, airtight seal that prevents capillary corrosion.
Step 4: The Star-Washer Ground Connection
For the white ground wire, do not use a standard self-tapping screw into sheet metal. Drill a 3/16" hole into a solid frame rail, sand away the paint to bare metal, and secure the ring terminal using a stainless steel bolt, a star washer (to bite into the metal), and a nylon-insert lock nut. Coat the finished connection in dielectric grease.
The Ultimate Upgrade: Powered ModuLite Converters
If you are upgrading the vehicle-side wiring to accept a 4-prong trailer plug, you must address the tow vehicle's electrical limits. According to FMCSA lighting regulations (49 CFR 393.9), trailer lighting must operate independently of the tow vehicle's primary safety circuits to prevent cascading failures.
Expert Warning: Never use passive T-harness splice kits on vehicles with LED factory lighting or CAN-bus networks. The vehicle's computer will detect the "foreign" resistance of the trailer lights and throw a dashboard error or cut power to the tail lights entirely.
The Solution: Upgrade to a powered converter like the Tekonsha 119147Z Upgraded Heavy Duty ModuLite (approx. $68.50). This device uses the vehicle's tail light wires merely as low-current signal triggers. The actual power for the trailer lights is drawn directly from the vehicle's battery via a dedicated 12 AWG power wire with an inline 20A fuse. This completely isolates the trailer's electrical load from the tow vehicle's sensitive BCM.
Troubleshooting Matrix: Post-Installation Diagnostics
Even with a perfect wiring diagram for a 4 prong trailer plug, edge cases occur. Use this matrix to diagnose post-upgrade anomalies:
| Symptom | Probable Cause | Targeted Fix |
|---|---|---|
| Turn signals flash rapidly (Hyper-flash) | Ground loop resistance or LED mismatch | Clean the white wire chassis ground; install a 6-ohm load resistor. |
| Running lights stay on when vehicle is off | Short between Brown and 12V constant wire | Inspect the plug housing for melted pins or crossed crimps. |
| Brake lights work, but turn signals do not | Vehicle uses separate brake/turn circuits | Install a 3-to-2 wire taillight converter (e.g., Curt 56196). |
| Lights dim when engine is idling | Alternator ripple or undersized ground wire | Upgrade white ground wire to 10 AWG; check battery terminals. |
Final Thoughts on Harness Longevity
Mastering the wiring diagram for a 4 prong trailer plug is only the first step. The longevity of your trailer lighting system depends entirely on the materials you choose and the isolation of the circuits. By upgrading to 14 AWG wiring, utilizing adhesive-lined marine heat shrink, and installing a powered ModuLite converter for modern tow vehicles, you transform a frustrating, failure-prone DIY project into a permanent, commercial-grade towing solution. Always verify your local DOT requirements and test all circuits with a dedicated 4-way LED circuit tester before hitting the road.