
The Evolution of Furniture Power: Why Upgrade Your Table?
As remote work, high-end kitchen islands, and modular conference rooms dominate 2026 interior design trends, the demand for integrated furniture power has skyrocketed. A standard table with electrical outlet capabilities is no longer a luxury; it is a baseline requirement for modern workspaces. However, many older workbenches, conference desks, and kitchen islands feature outdated, failing, or non-compliant power modules. Upgrading these units requires a deep understanding of flexible cord wiring, National Electrical Code (NEC) compliance, and precision carpentry.
This comprehensive upgrade and replacement guide will walk you through the technical specifications, code requirements, and step-by-step wiring procedures for replacing a failing table-mounted receptacle with a modern, high-capacity power module.
Understanding NEC Codes for Furniture-Integrated Power
Before cutting into your desk or island, you must understand the electrical codes governing movable furniture. The National Fire Protection Association (NFPA) outlines strict rules in the NEC regarding how power is delivered to movable objects.
NEC Article 410 & 210 Compliance: You cannot wire a movable table directly to a fixed branch circuit using solid-core NM-B (Romex) cable. NM-B is rated only for fixed, dry, indoor framing. If a table shifts, the solid copper cores will fatigue, snap, and create a severe arc-fault hazard. Movable furniture must be fed via a listed flexible cord (such as SJOOW) connected to a permanent junction box or floor receptacle.
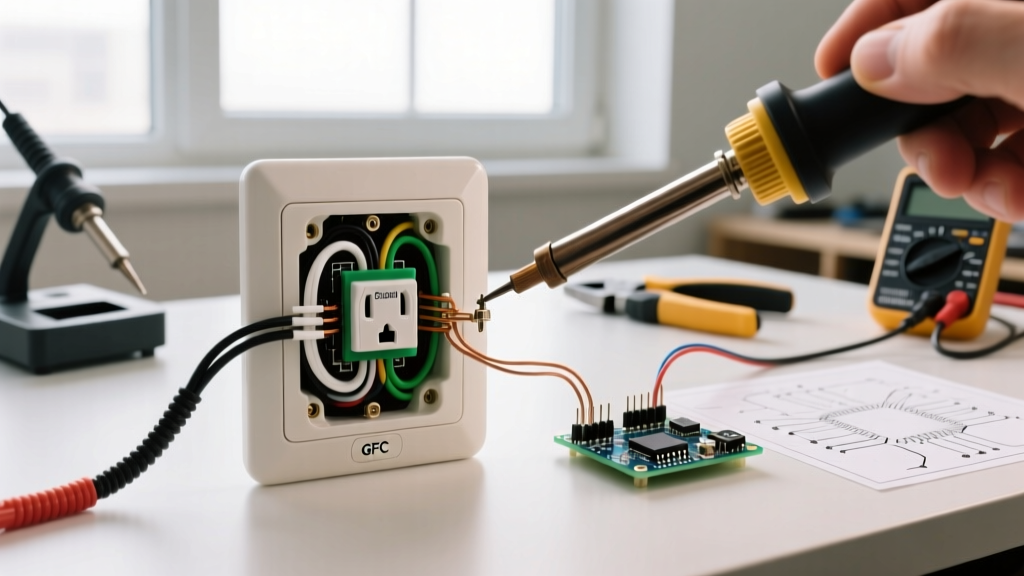
Furthermore, any table with electrical outlet installations in kitchens or damp locations must feature GFCI (Ground Fault Circuit Interrupter) protection. According to OSHA guidelines on flexible cords and wiring methods, strain relief connectors are mandatory where the flexible cord enters the table's junction box or power module to prevent the wire terminals from bearing the mechanical weight of the cord.
Choosing the Right Replacement Power Module
Selecting the correct replacement unit depends on your table's thickness, cutout diameter, and power requirements. Below is a comparison matrix of the top-tier replacement modules available in 2026.
| Module Type | Top Model (2026) | Cutout Size | Features & Pricing | Best Application |
|---|---|---|---|---|
| Pop-Up Grommet | Lew Electric AFF-1 | 3-1/8 inch (80mm) | 20A GFCI, 2x USB-C (65W PD), IP54 rated. ~$145 | Kitchen islands, outdoor patio tables |
| Recessed Puck | Doug Mockett PCS6 | 3-1/8 inch (80mm) | Flush-mount, 2x AC, 2x USB-A/C, wireless charging. ~$210 | Executive conference tables, desks |
| Surface Raceway | Wiremold FW30 | N/A (Surface Mount) | Multi-outlet strip, 15A, steel housing. ~$65 | Heavy-duty workbenches, garage tables |
Step-by-Step Replacement & Wiring Guide
Upgrading a table with electrical outlet hardware requires precision. Follow these steps to replace an old pop-up or grommet unit safely.
Step 1: Power Isolation and Extraction
- Locate the circuit breaker feeding the floor box or wall junction box supplying your table. Turn it off and verify zero voltage using a non-contact voltage tester (NCVT) and a digital multimeter at the table's receptacle.
- Disconnect the flexible SJOOW cord from the upstream junction box.
- Unscrew the locking ring or mounting brackets securing the old outlet module to the table surface. Push the unit up and out of the grommet hole.
Step 2: Cutout Measurement and Modification
Measure the existing hole. Standard older grommets often used a 2-3/8 inch (60mm) cutout. Modern high-capacity units like the Lew Electric AFF-1 require a 3-1/8 inch (80mm) hole. If you need to enlarge the hole in a wood or MDF table, use an 80mm bi-metal hole saw. Pro Tip: Clamp a sacrificial piece of plywood underneath the cutout zone to prevent catastrophic tear-out on the underside of your expensive table.
Step 3: Preparing the SJOOW Flexible Cord
If your old cord is damaged or lacks a ground wire, replace it with 12 AWG or 14 AWG SJOOW (300V rated) stranded flexible cord. SJOOW features a double-jacketed oil and water-resistant exterior, making it ideal for kitchen tables or garage workbenches.
- 14 AWG SJOOW: Suitable for 15A circuits.
- 12 AWG SJOOW: Required for 20A circuits (standard for kitchen island tables).
Step 4: Wiring the New Module
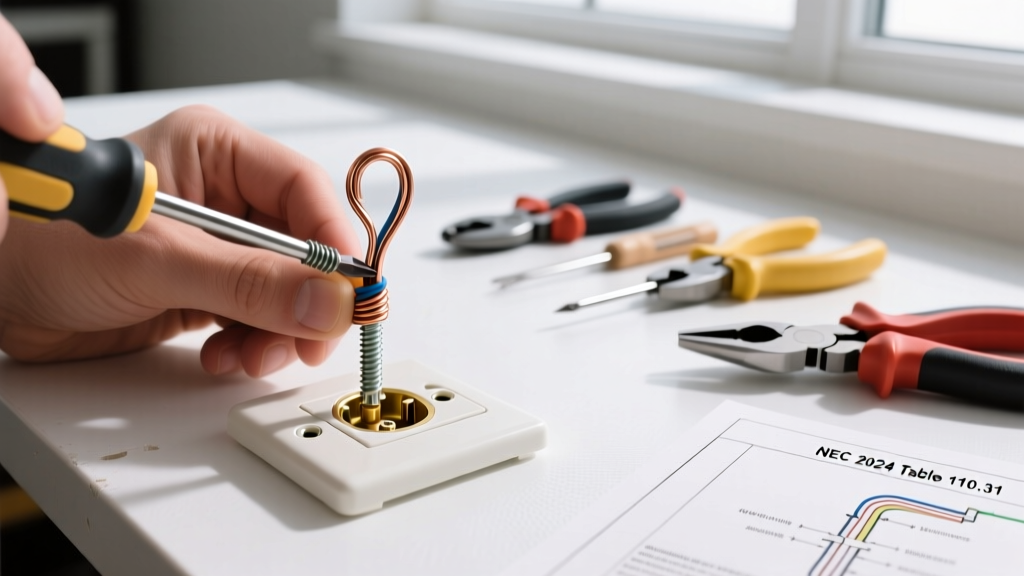
Strip 3/4 inch of insulation from the black (hot), white (neutral), and green/bare (ground) wires. Modern high-end modules use push-in backwire terminals or screw terminals. If using screw terminals, wrap the wire clockwise around the screw and torque to the manufacturer's specification (usually 14 in-lbs) to prevent thermal loosening over time. Connect the ground wire to the module's green grounding screw and the table's metal chassis if applicable.
Step 5: Strain Relief and Reinstallation
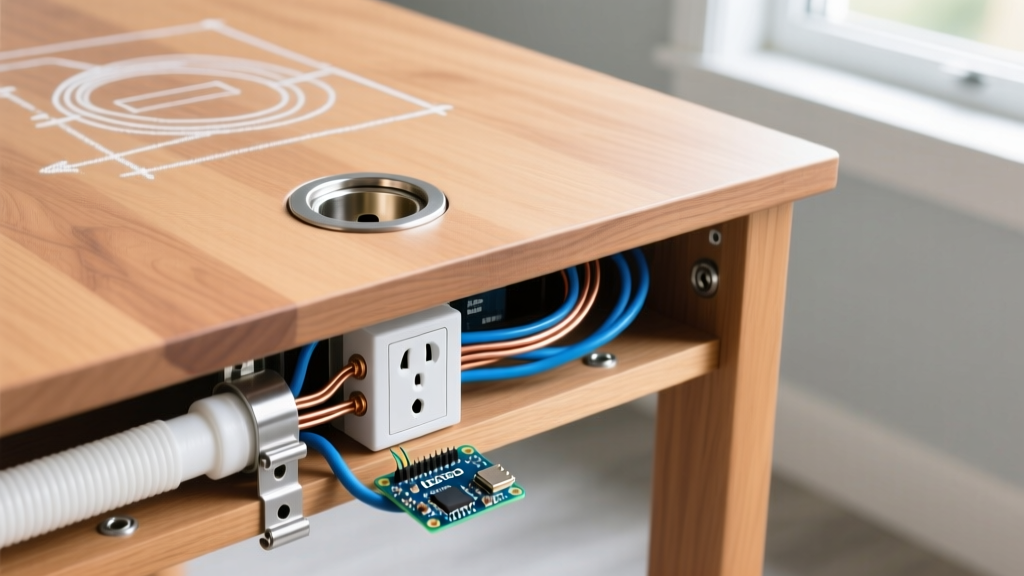
Feed the cord through the new module's base. Install a Heyco SR 5M-4 strain relief bushing where the cord exits the module housing. This ensures that if someone trips over the cord, the mechanical force is absorbed by the bushing, not the delicate brass terminal screws inside the outlet. Drop the module into the 3-1/8 inch hole, thread the locking nut from underneath, and tighten with a spanner wrench.
Integrating Smart Home Controls (2026 Standards)
For executive desks and modern workbenches, hardwiring the table to a smart circuit is a highly requested upgrade. Instead of relying on manual switches, you can wire the upstream junction box to a Lutron Caseta or Leviton Decora Smart Wi-Fi outlet controller. This allows you to schedule power delivery to the table—cutting off phantom loads from laptop chargers and USB adapters overnight, which aligns with the latest energy conservation standards highlighted by the Consumer Product Safety Commission (CPSC).
Troubleshooting Common Failure Modes
Even after a meticulous installation, integrated furniture power can exhibit quirks. Use this diagnostic table to resolve post-installation issues.
| Symptom | Probable Cause | Technical Fix |
|---|---|---|
| GFCI trips immediately upon plugging in a laptop. | Cumulative leakage current from multiple switching power supplies, or a nicked ground wire touching the metal table frame. | Inspect the flexible cord for pinch points. Ensure the metal table chassis is properly bonded to the equipment grounding conductor (EGC). |
| USB-C port fails to fast-charge (stuck at 5W). | Thermal throttling inside the module due to poor ventilation in a sealed table cavity. | Drill two 1/2 inch ventilation holes in the underside of the table near the module base to allow convective heat dissipation. |
| Receptacle feels warm to the touch under load. | Undersized wiring (14 AWG on a 20A breaker) or loose terminal screw torque. | Verify breaker size matches wire gauge. Re-terminate wires and use a calibrated torque screwdriver to secure terminal screws. |
Final Safety Inspections
Before declaring your table with electrical outlet upgrade complete, perform a final safety sweep. Use a receptacle tester to verify correct wiring (Hot-Neutral-Ground orientation). If your table sits on a carpeted floor, ensure the flexible cord is routed through a heavy-duty floor cord protector to prevent crushing and insulation degradation. By adhering to NEC flexible cord requirements and utilizing high-grade SJOOW wiring and strain relief components, your upgraded furniture power module will provide safe, reliable service for years to come.