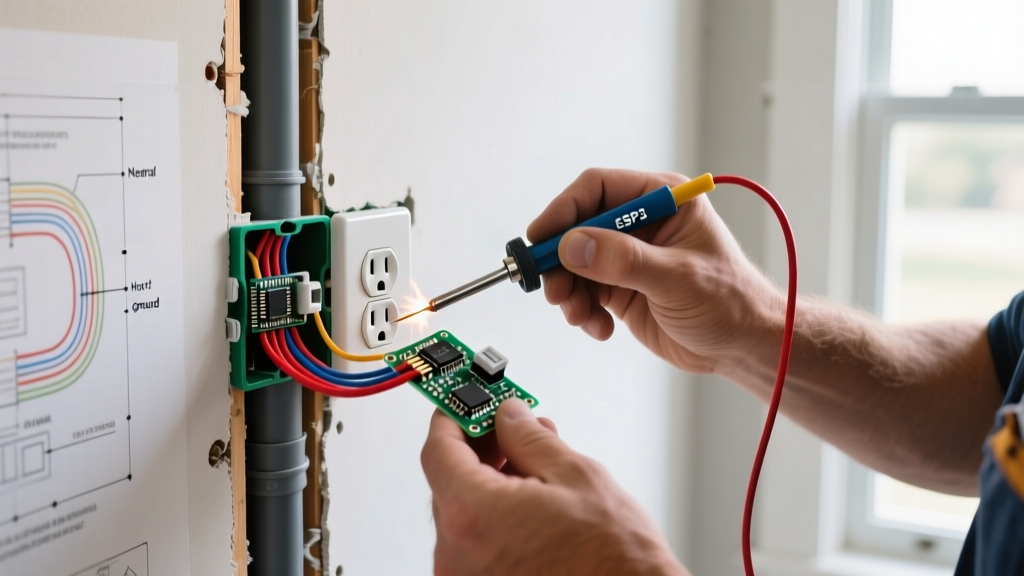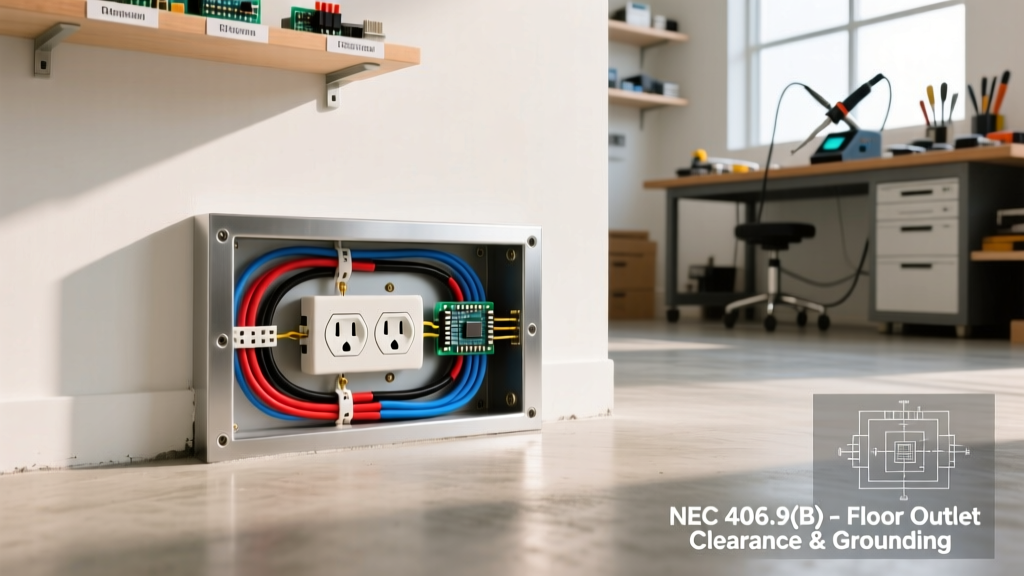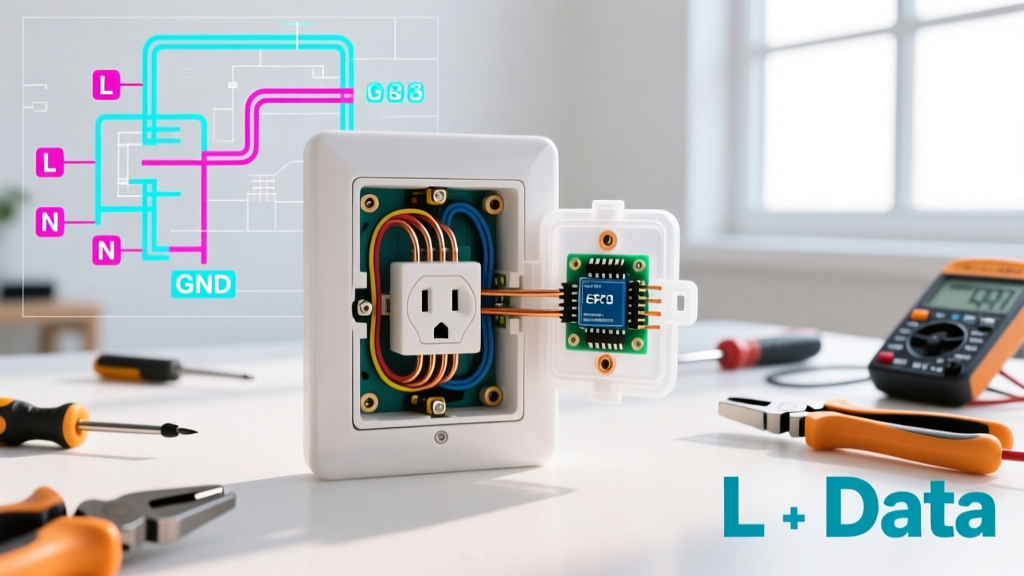

Why Upgrade Your Standard Electrical Outlet?
Replacing a standard electrical outlet is one of the most common home improvement tasks, yet many homeowners stop at swapping a broken 15-amp duplex receptacle for an identical $1.50 builder-grade replacement. In 2026, the modern home demands more from its wall infrastructure. With the proliferation of USB-C Power Delivery (PD) devices, stringent National Electrical Code (NEC) safety mandates, and the rise of smart home energy monitoring, upgrading your standard electrical outlet to a specialized receptacle is a high-ROI project.
This guide provides a master-class approach to diagnosing failing receptacles, navigating NEC code requirements for ungrounded circuits, and executing a professional-grade installation of USB, GFCI, and smart outlets. We will cover exact torque specifications, wire-stripping measurements, and the specific failure modes that cause residential electrical fires.
Diagnostic Phase: When to Replace an Outlet
Before purchasing new hardware, evaluate the existing receptacle. A standard electrical outlet typically lasts 15 to 25 years, but environmental factors and high-draw appliances can accelerate degradation. Look for these critical failure indicators:
- The Gravity Test: If a plug falls out of the receptacle under its own weight, the internal brass contact wipers have lost their spring tension. This creates high-resistance arcing, a leading cause of residential fires.
- Thermal Discoloration: Brown or black scorch marks around the hot (short) slot indicate severe overheating, often caused by backstabbed wire connections loosening over time.
- Ungrounded (Two-Prong) Configurations: Pre-1960s homes often feature ungrounded two-prong outlets. These cannot safely handle modern three-prong appliances with metal chassis.
- Missing TR (Tamper Resistant) Shutters: If you can see straight into the hot/neutral slots and there are no internal plastic shutters, the outlet is pre-2008 and non-compliant with current NEC Article 406.12.
Receptacle Upgrade Matrix: Cost and Application
Choosing the right upgrade depends on the room's function and your circuit's capacity. Below is a comparison of modern receptacle upgrades versus the baseline standard electrical outlet.
| Receptacle Type | Example Model (2026) | Avg. Cost | Best Application | Wiring Complexity |
|---|---|---|---|---|
| Standard 15A TR Duplex | Leviton T5320-W | $1.50 - $3.00 | General lighting, low-draw rooms | Low (Line/Load/Grnd) |
| USB-C PD (30W) + Type-A | Leviton T5636 | $28.00 - $45.00 | Kitchens, nightstands, home offices | Medium (Requires deep box) |
| 20A GFCI | Pass & Seymour 2095TRWCCD4 | $18.00 - $28.00 | Bathrooms, garages, outdoors, kitchens | High (Line vs. Load critical) |
| Smart Wi-Fi / Zigbee | Eaton 9360TR (Halo) | $35.00 - $55.00 | Energy monitoring, automation, lamps | High (Requires neutral wire) |
The Ungrounded Dilemma: Upgrading 2-Prong Outlets Legally
One of the most common scenarios when replacing a standard electrical outlet in an older home is encountering a two-wire (ungrounded) cable. Homeowners often ask if they can simply swap a two-prong outlet for a three-prong standard electrical outlet and leave the ground screw empty. This is a severe code violation and a safety hazard. It creates a 'false ground,' tricking users into plugging in surge protectors and grounded appliances that will have no path to earth during a fault.
NEC Article 406.4(D)(2)(b) Compliance: According to the NFPA 70 National Electrical Code, when replacing an ungrounded receptacle, you are legally permitted to install a GFCI receptacle. The GFCI monitors the current balance between hot and neutral, tripping the circuit within milliseconds if a ground fault occurs, thereby providing personnel protection even without an equipment grounding conductor.
Actionable Step: If installing a GFCI on an ungrounded circuit, you must connect the hot and neutral wires to the LINE terminals only. Leave the ground screw bare and the LOAD terminals empty. You are legally required to apply the provided adhesive labels reading 'GFCI Protected' and 'No Equipment Ground' to the faceplate.
Deep Dive: Upgrading to USB-C Power Delivery (PD)
The market is flooded with cheap, $12 USB outlets from generic online brands. These typically feature shared 3.1A charging across two USB-A ports and lack the internal thermal management required for continuous high-draw charging. For a modern upgrade, you must look for USB-C Power Delivery (PD) receptacles.
Premium models like the Leviton T5636 offer up to 30W of dedicated PD charging. This is critical for charging modern laptops, tablets, and fast-charge smartphones at native speeds. However, USB receptacles have a physical drawback: the internal transformer and circuitry make the body of the receptacle significantly deeper (often 1.75 inches or more).
- Box Depth Check: Standard residential electrical boxes are often only 1.5 inches deep. Before upgrading to a USB outlet, measure your box depth. If you have a shallow 14-cubic-inch box packed with 12 AWG wire, you will need to install a 'mud ring' extender or replace the box with a deeper 'old work' box to prevent crushing the wires and damaging the USB circuitry.
- Heat Dissipation: USB outlets generate heat during step-down conversion. Never pack insulation tightly behind a USB receptacle; allow a small air gap for thermal dissipation.
Professional Installation: Step-by-Step Wiring Flow
Upgrading your standard electrical outlet requires precision. Follow this sequence to ensure a safe, code-compliant installation.
1. Lockout, Tagout, and Verification
Shut off the breaker at the main panel. Do not rely on wall switches. Use a Non-Contact Voltage Tester (NCVT) like the Klein Tools NCVT-2 to verify the absence of voltage on the hot slot, then test a known live outlet to confirm your tester's battery is functional.
2. Wire Preparation and Stripping
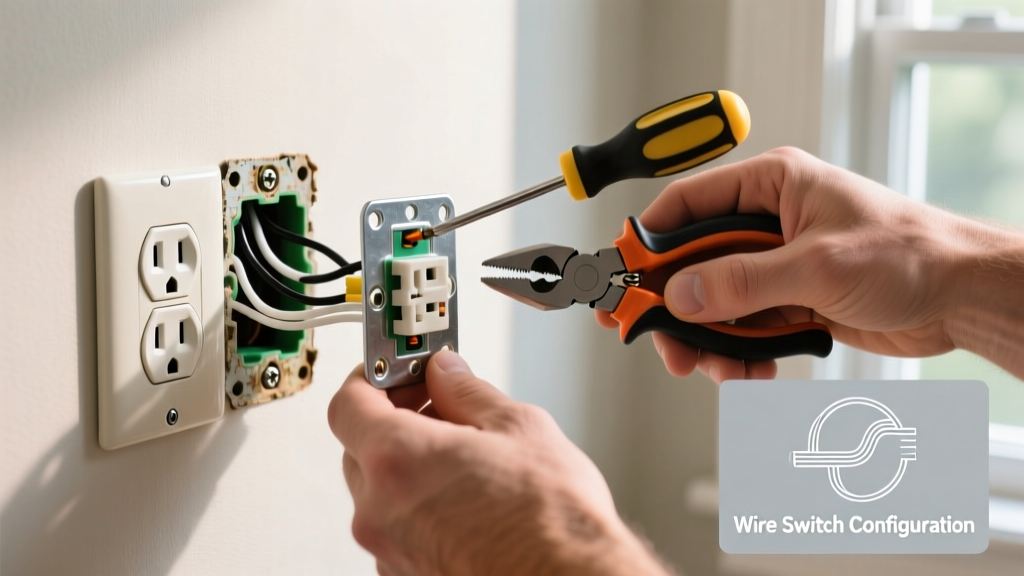
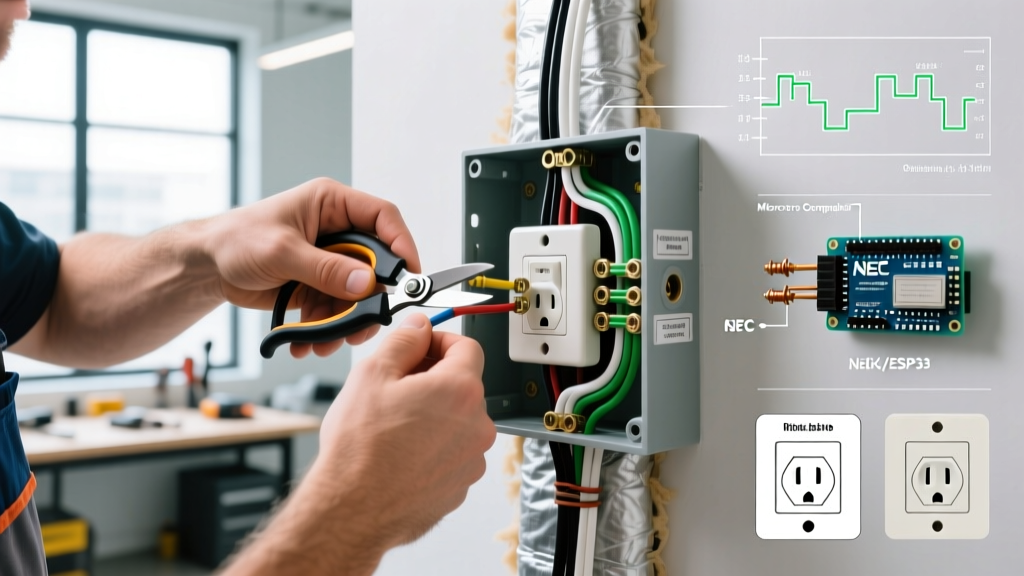
Remove the old receptacle. Inspect the wire ends. If they are heavily oxidized, corroded, or previously 'backstabbed' (pushed into the rear quick-wire holes), cut them back to fresh copper. Use a precision wire stripper to strip exactly 5/8 of an inch of insulation. Stripping too little leaves exposed copper outside the terminal; stripping too much exposes bare wire to accidental contact.
3. The Shepherd's Hook and Terminal Torque
Form a 'shepherd's hook' in the wire using needle-nose pliers. Loop the wire clockwise around the brass (hot) and silver (neutral) terminal screws. This ensures that tightening the screw pulls the loop tighter rather than pushing it out.
Expert E-E-A-T Tip: The Consumer Product Safety Commission (CPSC) and NEC 110.14(D) mandate specific torque for electrical connections. Loose connections cause arcing. Use an insulated torque screwdriver (e.g., Klein Tools 32500) set to 14 in-lbs for 14 AWG wire and 16 in-lbs for 12 AWG wire. This single step eliminates 90% of receptacle-related thermal failures.
4. Grounding and Box Bonding
Connect the bare copper ground wire to the green grounding screw on the receptacle. If you are installing in a metal electrical box, you must also run a 6-inch copper 'pigtail' from the ground wire bundle to the metal box's grounding screw to bond the enclosure.
Common Failure Modes and Edge Cases
Even experienced DIYers make critical errors when upgrading from a basic standard electrical outlet to advanced receptacles. Avoid these specific pitfalls:
- Backstabbing (Quick-Wiring): Never use the push-in holes on the back of a standard electrical outlet. The internal spring-loaded contacts weaken over time, leading to high resistance and melting. Always use the side terminal screws or, if the receptacle features 'back-wire' clamping plates (common on commercial-grade 20A spec outlets), ensure the wire is inserted fully under the plate.
- Reversed Polarity: Swapping the hot (black) and neutral (white) wires. While the device may still power on, the internal fuse of an appliance will not blow correctly during a short circuit, leaving the appliance chassis energized and lethal.
- Bootleg Grounds: Never install a jumper wire between the neutral terminal and the ground terminal on a standard electrical outlet to trick a home inspector's three-light tester. This forces neutral return current to flow over the grounding system, creating a shock hazard on all metal plumbing and appliance chassis connected to that ground path.
- Smart Outlet Neutral Requirements: Most Wi-Fi and Zigbee smart receptacles require a dedicated neutral wire to power their internal radios. If your switch box or older outlet box only contains a hot, a load, and a ground (a 'switch loop'), you cannot install a standard smart receptacle without pulling new cable. In these cases, opt for a smart plug or a specialized no-neutral smart switch instead.
Final Inspection and Testing
Once the receptacle is secured to the box and the faceplate is installed (ensure the faceplate sits flush without bowing, which indicates overcrowded wires), restore power at the breaker. Use a $15 three-light receptacle tester to confirm correct wiring (two yellow lights for standard outlets). For GFCI upgrades, press the 'TEST' button on the receptacle itself to ensure the internal solenoid trips and cuts power, then press 'RESET'. Upgrading your standard electrical outlet is not just about aesthetics; it is a fundamental enhancement to your home's safety, efficiency, and technological capability.