
Why Install a Pop-Up Desktop Electrical Outlet?
Running extension cords across your home office desk or kitchen island is not just an eyesore; it is a significant tripping hazard and a violation of modern electrical codes. Installing a dedicated desktop electrical outlet—specifically a pop-up or recessed grommet receptacle—provides a clean, code-compliant power solution right where you need it. Whether you are upgrading a standing desk in your home office or adding power to a newly built kitchen island, this beginner-friendly tutorial will guide you through the exact steps to wire and mount a 20-amp pop-up desktop receptacle safely.
Critical NEC Code Requirements for Desktop Outlets
Before you pick up a hole saw, you must understand the electrical codes governing horizontal surface receptacles. As of the 2026 electrical season, the widespread adoption of the 2023 National Electrical Code (NEC) has introduced strict rules for face-up outlets on countertops and desks.
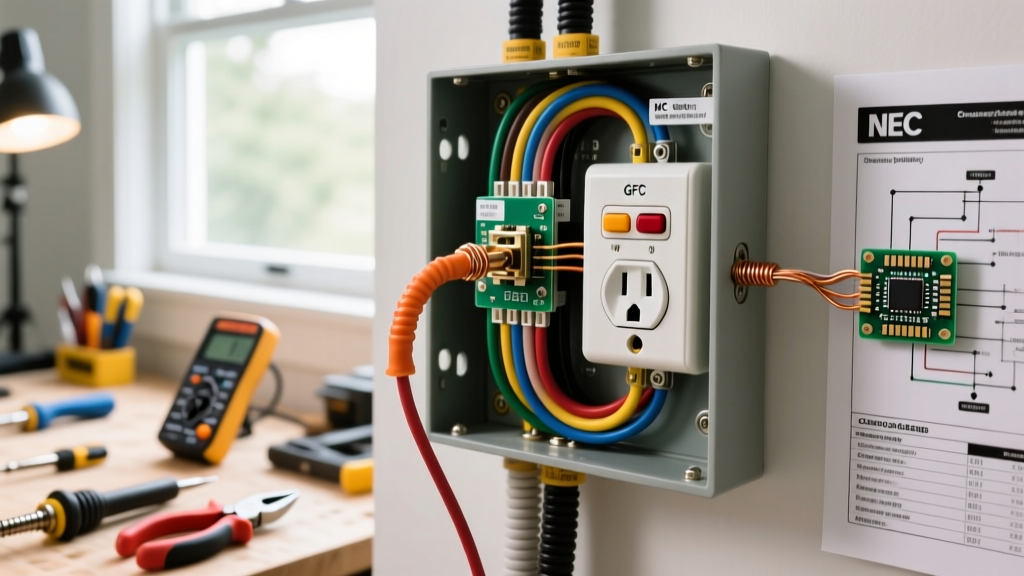
- Kitchen Islands & Countertops: The NEC heavily restricts face-up receptacles on kitchen countertops unless the specific assembly is listed as spill-resistant (typically meeting UL 962A standards) and includes a built-in GFCI (Ground Fault Circuit Interrupter).
- Home Office Desks: Standard furniture power modules (UL 962) are permissible for dry-location desks, but they must be hardwired or utilize a factory-molded plug. You cannot simply run loose Romex into an unlisted desk grommet.
- Circuit Requirements: Desktop outlets in kitchens must be on a dedicated 20-amp small-appliance branch circuit. Office desks can share a standard 15-amp or 20-amp general lighting circuit, though a 20-amp circuit using 12 AWG wire is highly recommended for modern high-draw electronics.
Expert Safety Note: Never install a standard wall receptacle face-up on a horizontal surface. Liquid spills can easily bridge the terminal gaps, causing a dead short or electrical fire. Always purchase a desktop outlet specifically rated for horizontal mounting. For more on furniture power safety, consult the Underwriters Laboratories (UL) Electrical Safety Guidelines and the National Fire Protection Association (NFPA 70).
Tools and Materials Required
For this tutorial, we are installing a standard 4-inch diameter, 20-amp pop-up desktop receptacle with integrated USB-C ports (such as the Lew Electric FF-20 or similar UL-listed models, typically priced between $110 and $160).
| Item | Specification | Estimated Cost |
|---|---|---|
| Pop-Up Desktop Receptacle | 20A/125V, 4" diameter, UL-listed for horizontal use | $110 - $160 |
| Wire Cable | 12/2 NM-B (Romex) with ground | $0.75 / ft |
| Hole Saw Kit | 4-inch Bi-metal or Carbide-tipped with arbor | $25 - $40 |
| Torque Screwdriver | Calibrated to 14 in-lbs (for 12 AWG terminals) | $45 - $80 |
| Wire Strippers & Lineman Pliers | Rated for 12 AWG solid copper | $25 |
| Non-Contact Voltage Tester | CAT III or CAT IV rated | $15 - $25 |
Step-by-Step Installation Guide
Step 1: Power Down and Verify
Navigate to your main electrical panel and switch off the breaker controlling the circuit you will be tapping into. If you are running a new dedicated line, ensure the main breaker is off. Use your CAT-rated non-contact voltage tester on the existing wires to verify the power is completely dead. According to the U.S. Consumer Product Safety Commission (CPSC), testing before touching is the single most effective way to prevent fatal electrocution during DIY electrical work.
Step 2: Precision Cutting (The Two-Pass Hole Saw Method)
Cutting a 4-inch hole in an MDF, solid wood, or laminate desk requires precision to avoid catastrophic tear-out on the visible surface.
- Mark the Center: Use a tape measure and painter's tape to mark your drill point. The tape helps prevent the laminate from chipping.
- Pilot Hole: Use a 1/4-inch spade bit to drill a pilot hole completely through the desktop.
- Top-Down Pass: Attach the 4-inch hole saw to your arbor. Align the pilot bit and drill down until the teeth of the hole saw just break through the top veneer (about 1/8 inch deep). Stop drilling.
- Bottom-Up Pass: Move under the desk, insert the pilot bit into the hole you just started, and drill upward until the hole saw breaks through the top. This guarantees a perfectly clean edge on the visible side of your desktop.
Step 3: Routing the 12/2 NM-B Cable
Feed your 12/2 NM-B cable from your junction box or source outlet up to the desk. If you are running the cable under a kitchen island where it might be subject to physical damage, NEC Article 334.15 requires the cable to be protected by flexible metal conduit (FMC) or EMT from the floor to the underside of the countertop. Secure the cable to the underside of the desk using cable staples or adhesive-backed mounting blocks, leaving about 12 inches of slack hanging through the newly cut 4-inch hole.
Step 4: Terminating the Wires (Torque Specifications)
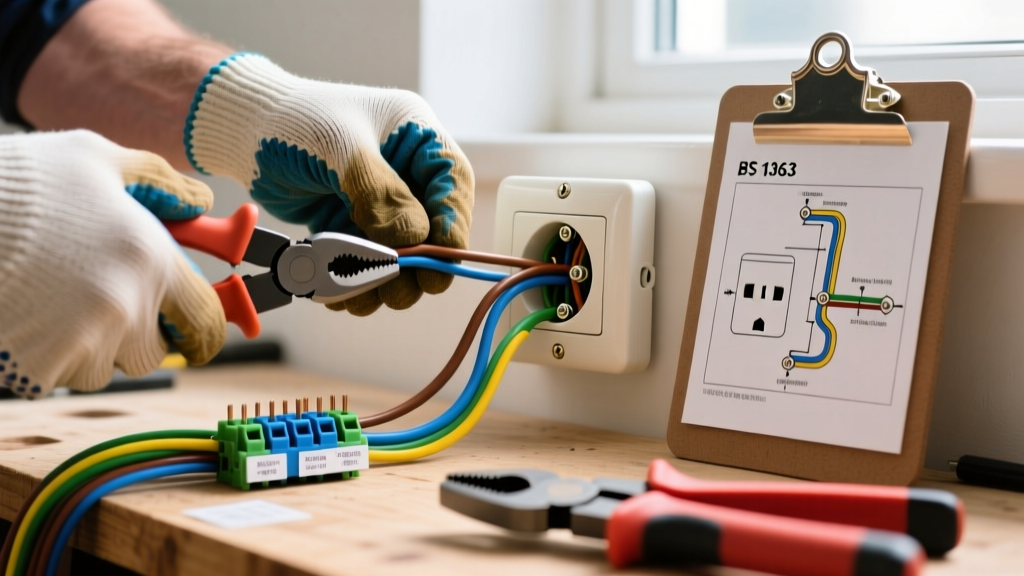
Strip the outer NM-B jacket to expose the wires, then strip exactly 3/4 inch of insulation from the black (hot), white (neutral), and bare copper (ground) wires using your wire strippers.
- Ground: Connect the bare copper wire to the green grounding screw on the receptacle.
- Neutral: Connect the white wire to the silver terminal screw.
- Hot: Connect the black wire to the brass terminal screw.
Critical E-E-A-T Detail: Do not just tighten these screws by feel. Modern NEC 110.14(D) requires that terminations be torqued to the manufacturer's specifications. For most 20-amp commercial-grade receptacles handling 12 AWG wire, this is exactly 14 in-lbs. Use a calibrated torque screwdriver to prevent loose connections, which are the leading cause of arcing and electrical fires in receptacles.
Step 5: Seating the Housing and Final Testing
Carefully fold the wires into the bottom of the desk cavity or the integrated housing of the pop-up unit. Lower the pop-up assembly into the 4-inch hole. Tighten the locking ring or set screws (depending on your specific model) from underneath the desk using a spanner wrench or screwdriver. Ensure the gasket sits flush against the desktop to prevent liquid ingress. Finally, restore power at the breaker, press the pop-up mechanism to reveal the outlets, and test with a standard 3-prong receptacle tester to confirm correct wiring and GFCI functionality.
Common Installation Mistakes and Troubleshooting
| Issue | Probable Cause | Solution |
|---|---|---|
| Pop-up mechanism jams or sticks | Wires are pinched against the internal sliding cylinder. | Remove unit, re-route wires flat against the underside of the desk, and ensure adequate slack. |
| GFCI trips immediately upon plugging in a device | Neutral and Ground wires are touching or swapped. | Turn off power, inspect terminal screws, and ensure no bare copper is contacting the silver neutral bus. |
| Desktop veneer is heavily chipped | Hole saw was driven entirely from the top down. | Replace the desktop or use a 4-inch wood veneer patch ring; always use the two-pass drill method. |
| Receptacle tester shows 'Open Ground' | Ground wire not secured tightly or torque was insufficient. | Re-strip the ground wire and torque the green screw to 14 in-lbs. |
Frequently Asked Questions
Can I install a desktop outlet on an existing kitchen island?
Yes, but you must ensure the circuit is a 20-amp small-appliance branch circuit and the receptacle is GFCI protected. Furthermore, if the outlet sits face-up on the countertop, the specific model must carry a UL listing for spill-resistance (horizontal surface mounting). If it is mounted vertically on the side panel of the island, standard vertical receptacle rules apply.
Do I need an electrician to install a desk pop-up outlet?
If you are simply replacing an existing desk grommet or tapping into an accessible junction box in a home office, a competent DIYer can handle this. However, if you need to run a new 20-amp circuit from your main panel, drill through structural floor joists, or wire a complex kitchen island, hiring a licensed electrician is strongly recommended to ensure compliance with local 2026 permitting laws.
Will a pop-up outlet fit in a desk with a metal frame?
Yes, but you must ensure the metal frame is properly bonded to the electrical grounding system. If the hole saw cuts through a metal crossbar, you will need to use a metal bonding jumper to connect the desk frame to the receptacle's ground terminal to prevent the desk from becoming energized in the event of a fault.