
The Semantic Divide: Outlets vs. Receptacles
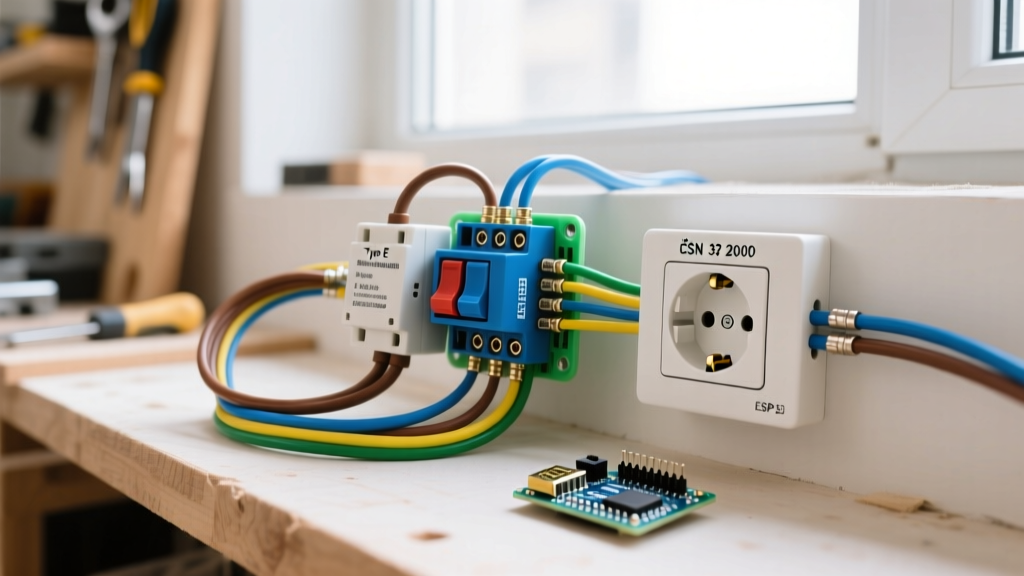
Before pulling out your non-contact voltage tester, it is critical to clarify a common terminology error that plagues both DIYers and junior electricians. While the general public uses the terms interchangeably, the National Electrical Code (NEC) draws a hard line between the two. According to NFPA 70 (NEC) Article 100, an outlet is a point on the wiring system at which current is taken to supply utilization equipment. A receptacle is a specific type of contact device installed at the outlet for the connection of an attachment plug. Therefore, a hardwired smoke detector or a ceiling light junction box is an outlet, but it is not a receptacle. When we discuss upgrading wall plugs, we are specifically replacing the receptacle device at the outlet point.
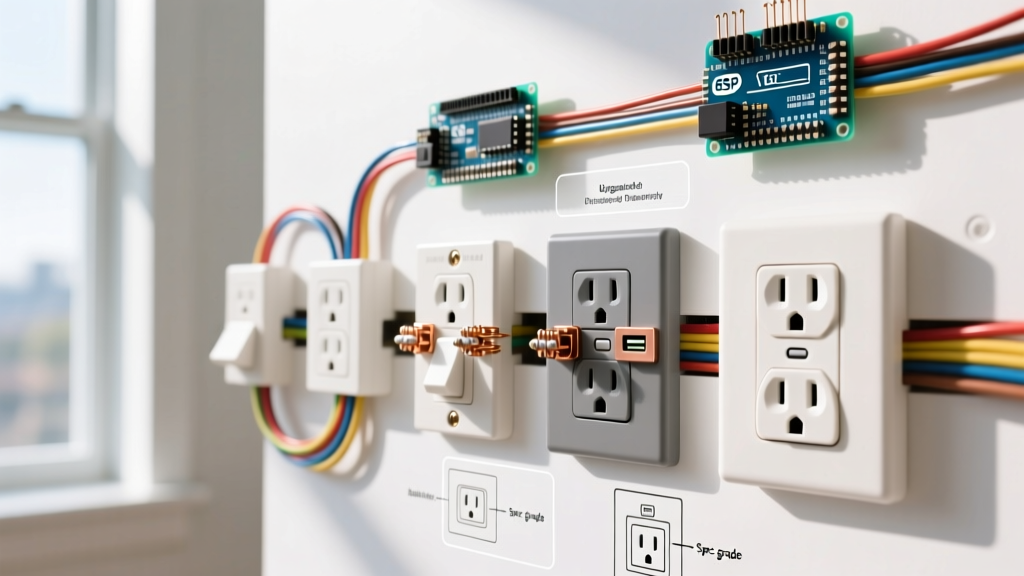
Pro Tip: When purchasing materials at the electrical supply house, asking for "spec-grade receptacles" rather than "heavy-duty outlets" signals to the counter staff that you understand commercial-grade hardware requirements, ensuring you get the correct polycarbonate-faced, screw-clamp devices.
Diagnostic Matrix: Repair vs. Replace
Not every failing wall plug requires a full replacement, but thermal damage and mechanical wear are non-negotiable red flags. Use this diagnostic matrix to determine your course of action before opening the electrical box.
| Symptom | Root Cause | Action Required |
|---|---|---|
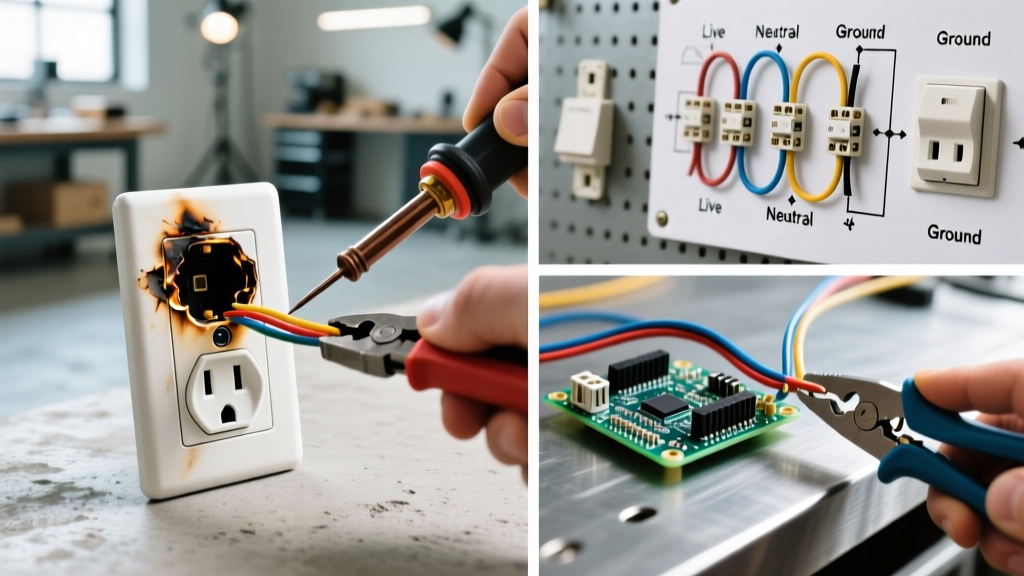
| Plug slides out easily | Worn internal brass wipers losing spring tension | Replace Immediately: Arcing risk due to poor contact surface area. |
| Faceplate is warm to touch | High resistance connection (usually backstabbed push-in wires) | Replace & Rewire: Cut off pitted wire ends, strip fresh copper, use screw-clamp terminals. |
| Receptacle tester shows "Open Neutral" | Loose neutral wire or broken daisy-chain downstream | Inspect & Tighten: Check side-wire terminations; replace if yoke is cracked. |
| Visible brown/black scorch marks | Thermal runaway from continuous high-draw loads (e.g., 1500W space heaters) | Replace & Upgrade: Upgrade to Commercial/Hospital grade and verify breaker sizing. |
The Receptacle Landscape: Grades and Modern Tech
When upgrading electrical outlets and receptacles, the hardware grade you select dictates the lifespan and safety of the circuit. Big-box stores primarily stock builder-grade devices, which are engineered for minimum code compliance and cost-efficiency, not longevity.
Hardware Grade Comparison
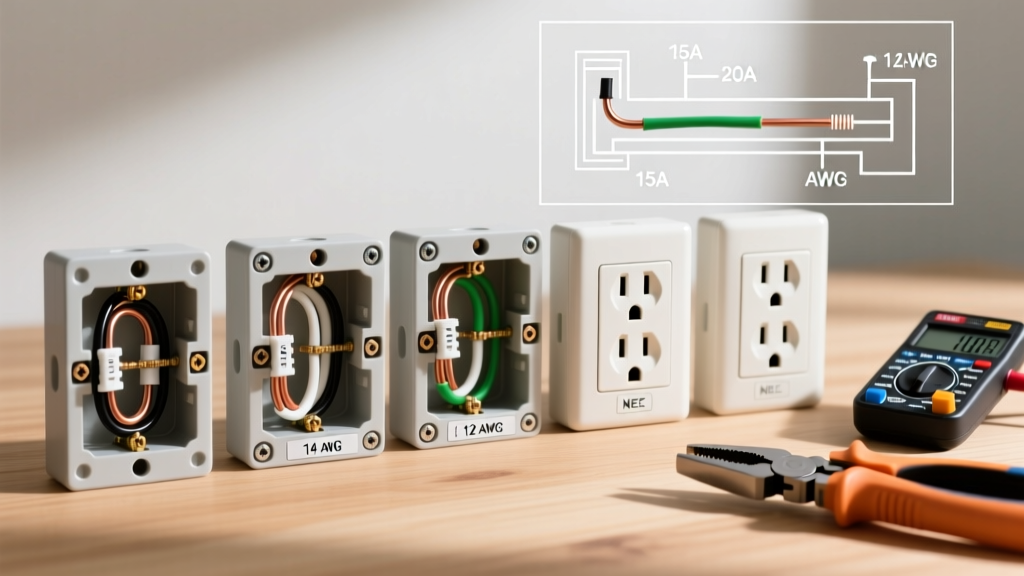
| Grade | Typical Models | Material & Features | Avg. Cost (2026) |
|---|---|---|---|
| Residential / Builder | Leviton R52-05320 | Nylon face, push-in backstabs, thin brass contacts. | $0.80 - $1.20 |
| Commercial / Spec | Leviton 5362, Hubbell 5362 | Polycarbonate face, screw-clamp back-wiring, thick brass wipers. | $2.50 - $4.50 |
| Hospital Grade | Hubbell 8300-IG, Bryant 8300 | Reinforced yoke, captive terminal screws, extreme grip tension. | $12.00 - $18.00 |
The Rise of USB-C Power Delivery (PD) Receptacles
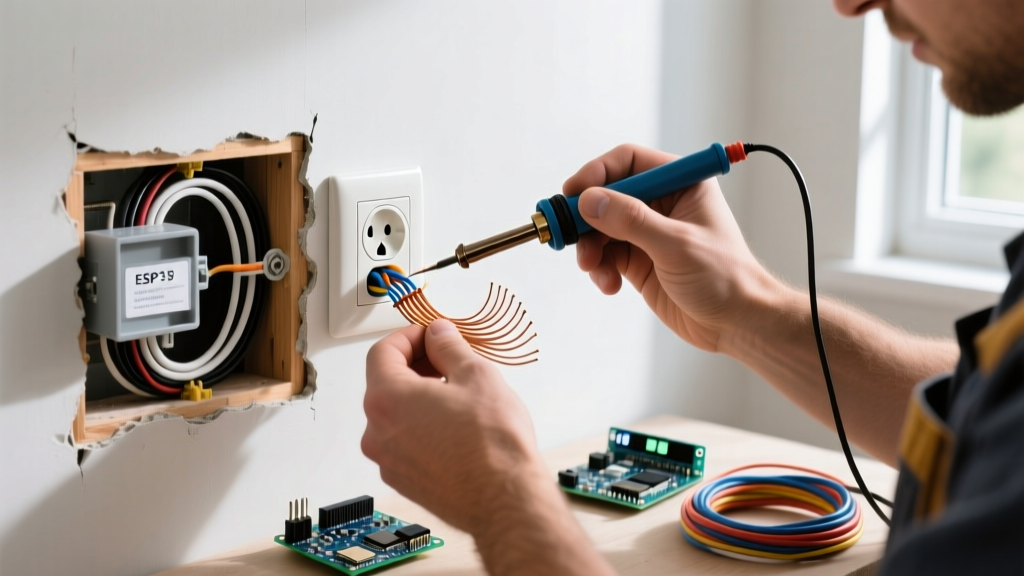
In 2026, integrated USB receptacles have moved beyond novelty. Older USB-A models struggled to deliver more than 12W, making them useless for modern laptops or fast-charging smartphones. When upgrading, look for USB Type-C PD (Power Delivery) receptacles, such as the Leviton T5636. These devices negotiate up to 30W directly to the connected device, bypassing the need for bulky wall warts. Ensure the device has internal thermal management chips; cheap, unbranded imports lack overcurrent protection and pose a severe fire hazard.
Step-by-Step Replacement Protocol
Replacing a receptacle is not merely about swapping wires; it is about ensuring mechanical integrity and NEC compliance. Follow this strict protocol for every replacement.
- Lockout and Verify: Turn off the breaker and lock the panel if possible. Use a dual-range non-contact voltage tester (like the Klein Tools NCVT-3) to verify the absence of voltage at the receptacle face. Never trust a single test; verify the tester on a known live source before and after testing the dead circuit.
- Extract and Inspect Box Fill: Unscrew the device and gently pull it out. Inspect the box for overcrowding. NEC 314.16 dictates strict box fill calculations. If you are adding a USB receptacle (which has a much deeper chassis than a standard 15A duplex), ensure the cubic inch capacity of the box can accommodate the larger device body plus the wires.
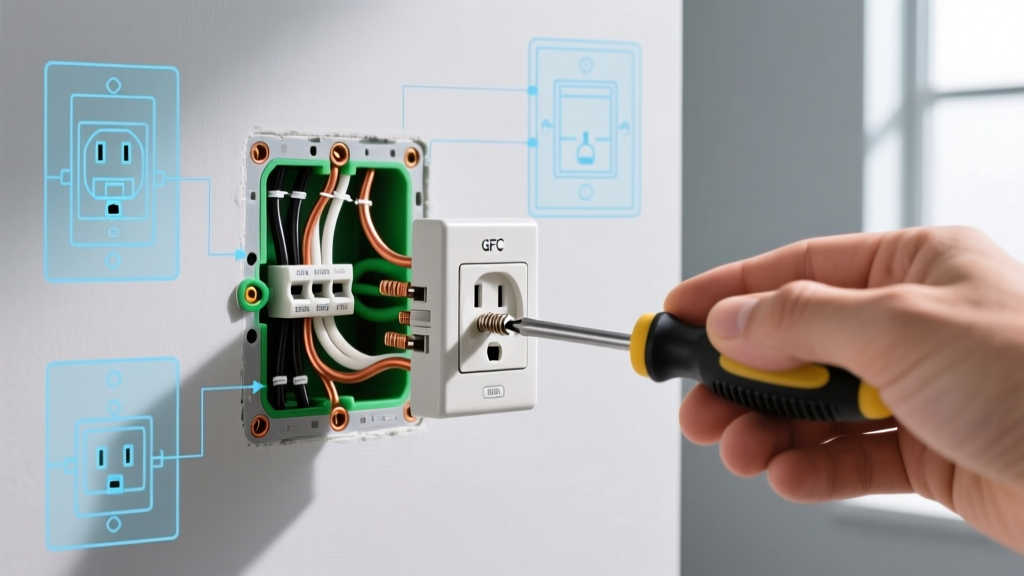
- Remove Backstabbed Wires: If the existing receptacle uses push-in backstab terminations, do not reuse them. Insert a small flathead screwdriver into the release slot to free the wires. Do not simply pull them, as this can damage the internal spring clips or snap the copper conductor.
- Condition the Conductors: Cut off the old stripped ends using wire strippers (e.g., Klein 11063W). Strip exactly 3/4 inch of insulation. The wire should sit flush under the terminal plate without exposing bare copper outside the connection point, which creates a short-circuit risk.
- Terminate Using Screw-Clamp (Back-Wire): On spec-grade receptacles, insert the straight, stripped wire into the back-wire hole beneath the pressure plate. Tighten the screw to the manufacturer's specified torque (typically 14 in-lbs for 15A/20A devices). This method provides maximum surface area contact and eliminates the loosening issues associated with traditional side-wire wrapping.
- Orient the Ground: The bare copper or green insulated ground wire must terminate on the green grounding screw. Ensure the ground pigtail is securely fastened to the back of the metal box if applicable, maintaining the equipment grounding path.
Edge Cases and Dangerous Failure Modes
Upgrading electrical outlets and receptacles often exposes hidden wiring violations left behind by previous DIYers. Being able to identify these edge cases separates professionals from amateurs.
Multi-Wire Branch Circuits (MWBC)
If you open a receptacle box and find two black wires, two white wires, and a shared neutral connected to a single duplex receptacle with the hot-side break-off tab removed, you are dealing with an MWBC. Critical Safety Warning: Before replacing an MWBC receptacle, you must ensure the two hot breakers in the panel are handle-tied or part of a single 2-pole breaker. If they are not, turning off one breaker while working on the receptacle leaves the shared neutral energized with 120V, presenting a lethal shock hazard. The OSHA Wiring Methods Standard strictly enforces simultaneous disconnect rules for shared neutrals in workplace environments, and the NEC mirrors this for residential safety.
Bootleg Grounds
When testing an older home, a receptacle tester might show "Correct" wiring, but the ground prong could be a fake. A "bootleg ground" occurs when a jumper wire is illegally connected between the neutral terminal and the ground terminal to fool a basic tester. This is incredibly dangerous; if the neutral wire ever disconnects upstream, the metal chassis of any plugged-in appliance will become energized at 120V. To verify a true ground, use a digital multimeter to measure voltage between Hot and Ground, and Neutral and Ground. If the Ground-to-Neutral voltage is identical to the Hot-to-Ground voltage under load, suspect a bootleg ground and consult a licensed electrician to run a new equipment grounding conductor or install a GFCI receptacle labeled "No Equipment Ground" per NEC 406.4(D)(2).
Maintaining Safety Post-Upgrade
Once the new spec-grade or USB-C receptacle is installed, torque-verified, and secured to the box with the plaster ears flush against the drywall, perform a final functional test. Use a solenoid voltage tester (Wiggy) or a high-quality digital multimeter to confirm 120V across Hot-Neutral and Hot-Ground. According to the U.S. Consumer Product Safety Commission (CPSC), regular inspection of receptacle grip tension and faceplate integrity is one of the most effective ways to prevent residential electrical fires. By upgrading to commercial-grade hardware and utilizing screw-clamp terminations, you effectively eliminate the most common points of thermal failure in a home's electrical distribution system.