
Why Upgrade to an Electric Outlet With Switch?
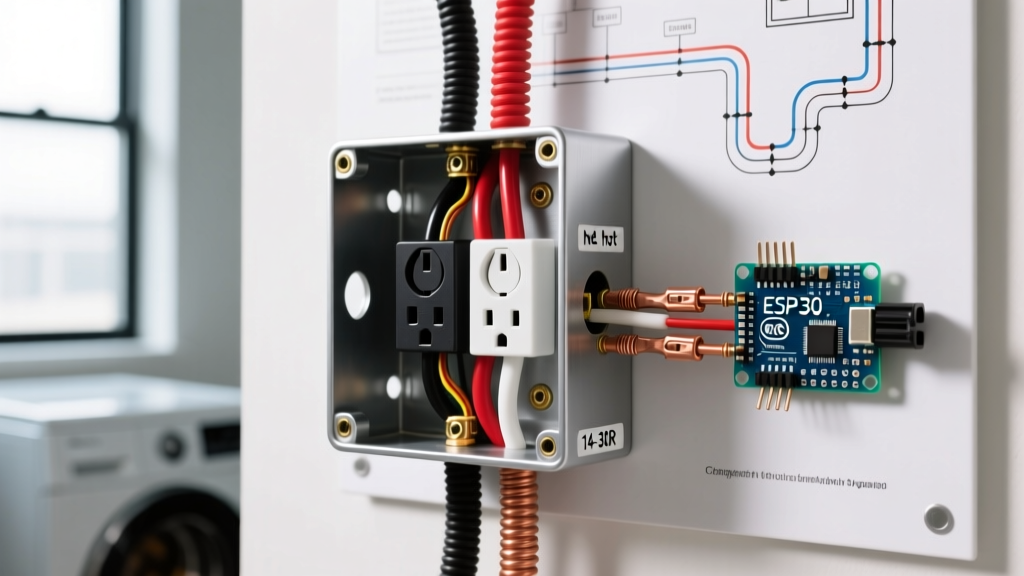
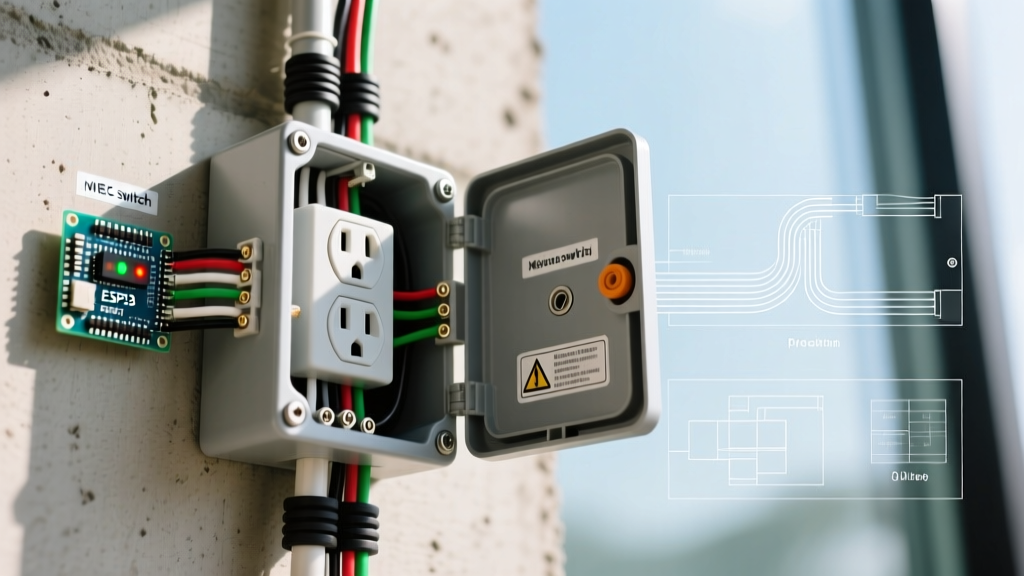
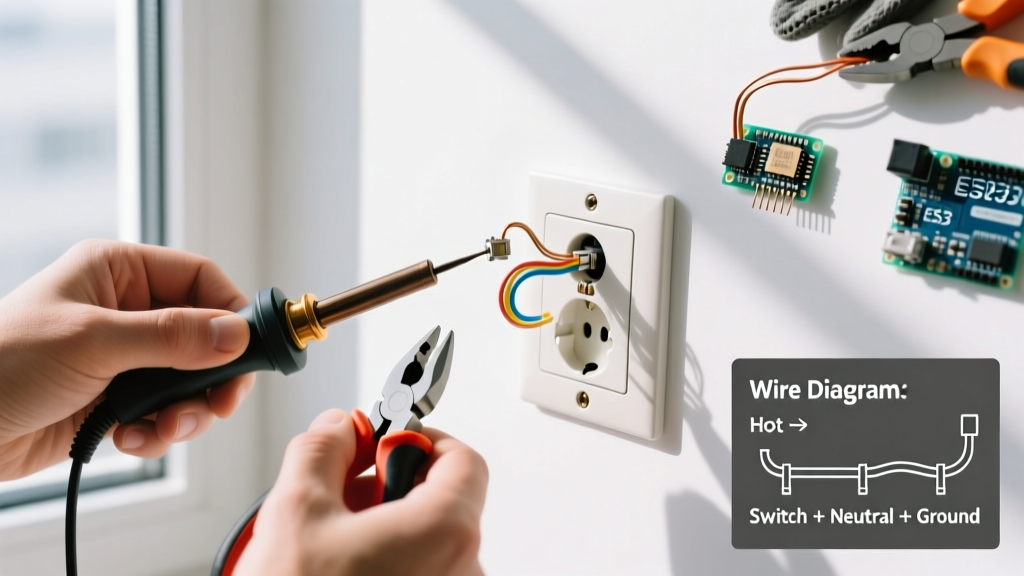
Upgrading a standard duplex receptacle to an electric outlet with switch (often called a switch-receptacle combo) is one of the most practical electrical modifications you can make. Whether you are adding a dedicated switch for a garbage disposal, controlling a workshop tool, or replacing an outdated, worn-out combo device in a living room to meet modern safety codes, this upgrade offers immense functional value.
In 2026, the market for combo devices has expanded beyond basic toggle switches. Homeowners now have access to Tamper-Resistant (TR) models, smart Wi-Fi-enabled combos, and integrated USB-C PD (Power Delivery) charging combos. However, the physical wiring principles—and the critical safety codes—remain rooted in strict National Electrical Code (NEC) standards.
Combo Device Comparison Matrix (2026 Market)
Before tearing into your wall, select the right device for your specific application. Here is a breakdown of the most common electric outlet with switch configurations available today:
| Device Type | Example Model | Avg. Cost | Best Use Case | Key Feature |
|---|---|---|---|---|
| Standard 15A Combo | Leviton 5243-W | $7.50 - $9.00 | Workshops, basements, utility rooms | Basic single-pole toggle switch |
| Tamper-Resistant (TR) | Leviton T5280-W | $10.00 - $13.00 | Living rooms, bedrooms, hallways | Code-compliant internal shutters |
| GFCI Combo | Leviton 7299-W | $28.00 - $35.00 | Kitchens, bathrooms, garages | Built-in ground fault protection |
| Smart Wi-Fi Combo | Enbrighten 55258 | $35.00 - $45.00 | Smart home integrations, lamps | Voice control, scheduling, no hub |
The Most Critical Concept: The Break-Off Fin
The number one reason DIYers fail when installing an electric outlet with switch is misunderstanding the break-off fins (tabs) located on the brass (hot) and silver (neutral) terminal sides.
- Brass Tab (Hot Side): Connecting the two brass screws. If you want the switch to control the outlet, leave this tab intact. If you want the switch to control a separate overhead light while the outlet remains always-on (or if you are doing a split-wired half-switched setup), you must break this tab off using needle-nose pliers.
- Silver Tab (Neutral Side): Connecting the two silver screws. Never break the silver tab unless you are dealing with a highly specific, advanced multi-wire branch circuit (MWBC) setup, which is rare in modern combo replacements.
Pro-Tip from the Field: When breaking the brass fin, bend it back and forth with your pliers until it snaps cleanly. Do not use wire cutters, as you risk nicking the internal brass bus bar, which creates a high-resistance hot spot and a potential fire hazard.
Step-by-Step Installation Guide
Phase 1: Preparation and Teardown
- Kill the Power: Turn off the corresponding circuit breaker at the main panel. Never rely solely on wall switches to cut power.
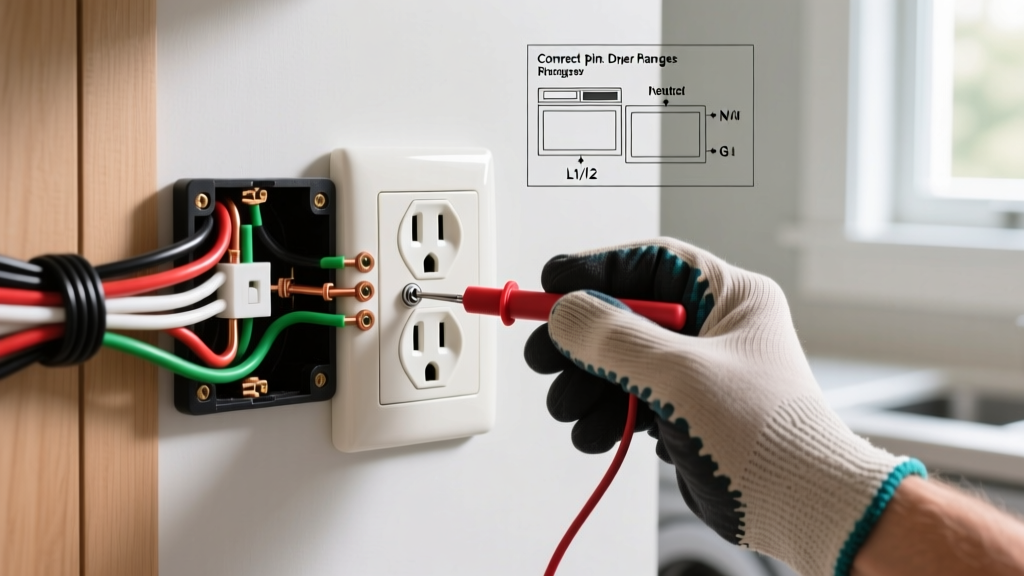
- Verify Zero Voltage: Use a Non-Contact Voltage Tester (NCVT) and a plug-in circuit tester to confirm the wires are dead. According to OSHA electrical safety guidelines, testing before touching is mandatory to prevent arc flash and shock injuries.
- Remove the Old Device: Unscrew the faceplate and the top/bottom mounting screws. Pull the device out gently, exposing the line, load, neutral, and ground wires.
- Dress the Wires: If the existing copper is frayed or heavily oxidized, snip the ends and re-strip them. Use a wire stripper set to 14 AWG or 12 AWG. Strip exactly 3/4 inch for side-wiring (looping under the screw) or 5/8 inch for back-wiring (screw-and-clamp terminals).
Phase 2: Wiring Scenarios
How you wire your new electric outlet with switch depends entirely on what you want the switch to do.
Scenario A: Switch Controls the Entire Outlet (e.g., Garbage Disposal or Lamp)
In this setup, the switch acts as a master kill-switch for whatever is plugged into the receptacle.
- Fin Status: Leave the brass tab INTACT.
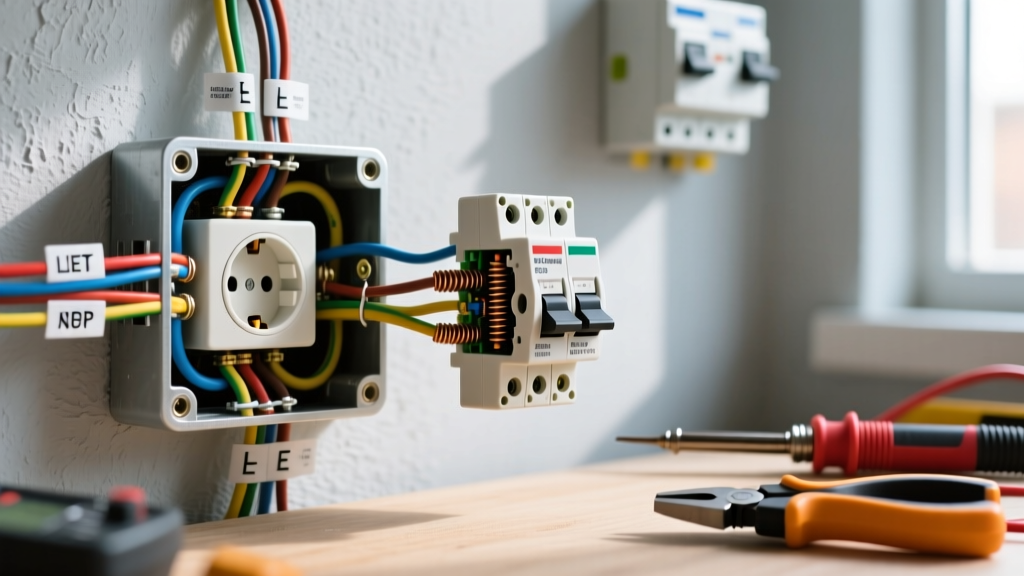
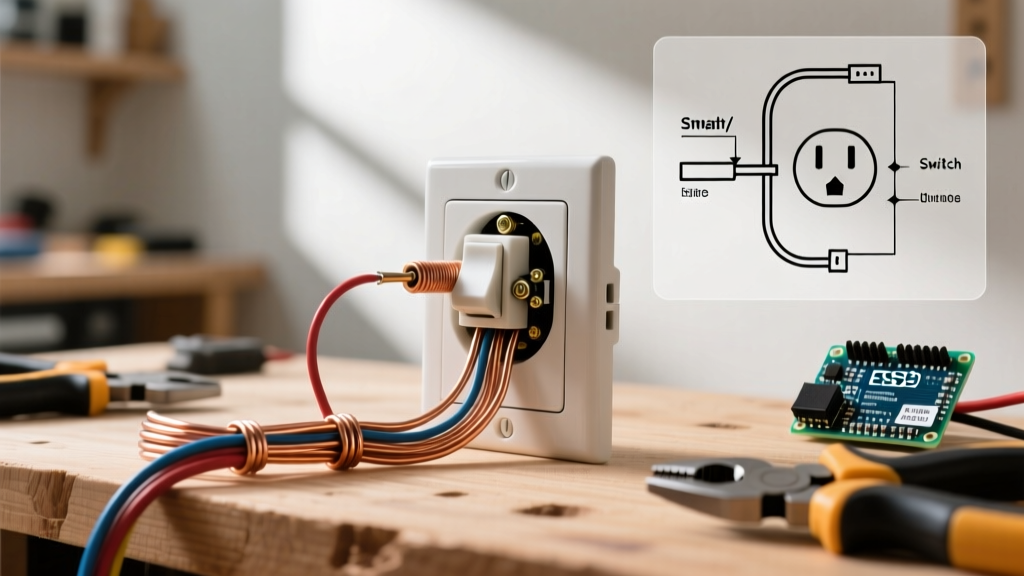
- Wiring: Connect the incoming black (hot) wire to the brass screw on the switch side. Connect a short black jumper wire from the switch's output terminal to the brass screw on the receptacle side. Connect the white (neutral) wire to the silver screw, and the bare/green wire to the green ground screw.
Scenario B: Switch Controls a Separate Light, Outlet is Always Hot
Common in bedrooms or bathrooms where a vanity light is switched, but the hair dryer needs constant power.
- Fin Status: BREAK the brass tab off.
- Wiring: Connect the incoming black (hot) wire to the brass screw on the receptacle side and use a pigtail to connect it to the switch input terminal. Connect the black wire leading to the light fixture to the switch output terminal. Neutrals are tied together in the back of the box and a single pigtail goes to the silver screw.
Phase 3: Termination and Torque
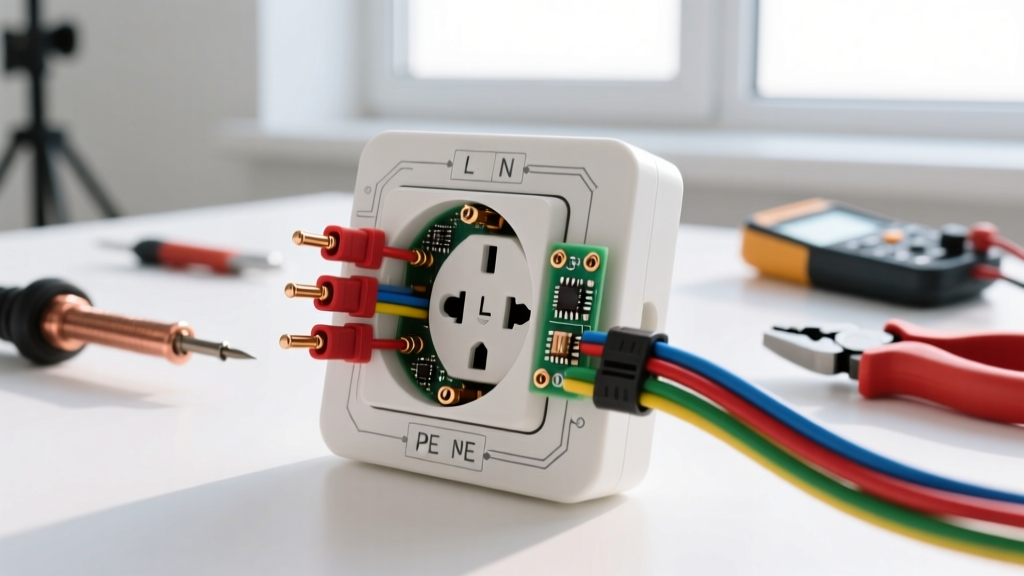
The 2023 and upcoming 2026 NEC cycles heavily emphasize proper torque. Loose connections cause arcing. Use a torque screwdriver (like the Klein Tools 695) set to the manufacturer's specification—typically 12 to 14 in-lbs for standard 15A Leviton or Eaton combo devices. Ensure no bare copper is exposed outside the terminal, and no insulation is caught under the screw head.
Edge Cases & Troubleshooting Table
Even experienced DIYers run into edge cases when upgrading older homes. Here is a troubleshooting matrix for common issues encountered with combo devices:
| Symptom | Probable Cause | Corrective Action |
|---|---|---|
| Switch turns on light, but outlet is also dead when switch is off. | Brass tab was left intact in a split-wire scenario. | Turn off breaker, remove device, and snap off the brass tab. |
| Breaker trips immediately upon turning on the switch. | Switched hot (load) wire is shorted to ground, or neutral is crossed with hot. | Check for wire nut shorts in the back of the box; verify load wire isn't pinched against the metal box. |
| Outlet works, but switch does nothing. | Switch loop wire is disconnected, or switch is wired to the neutral instead of hot. | Verify the switch is interrupting the black (hot) wire, never the white (neutral) wire. |
| Device feels warm to the touch under load. | Undersized wiring, loose terminal torque, or back-stabbed connections failing. | Re-terminate using screw-and-clamp back-wiring or side-looping; torque to 14 in-lbs. |
NEC Code Compliance & Safety Standards
When performing any electrical upgrade, adherence to the National Electrical Code (NEC) published by the NFPA is not just a best practice—it is the law. For electric outlets with switches, keep these specific articles in mind:
- Article 406.12 (Tamper-Resistant Receptacles): In almost all residential living spaces, kitchens, and hallways, any replacement receptacle (including combo devices) must be Tamper-Resistant (TR). The internal shutters prevent children from inserting foreign objects into the slots.
- Article 210.8 (GFCI Protection): If your electric outlet with switch is located within 6 feet of a sink (like a kitchen garbage disposal setup), in a bathroom, garage, or outdoors, it must be a GFCI combo device or be protected by a GFCI breaker upstream. Standard combos are illegal and unsafe in these zones.
- Box Fill Capacity (Article 314.16): Combo devices are physically deeper than standard receptacles due to the internal switch mechanism. Ensure your electrical box has adequate cubic inch capacity. A standard single-gang box (18 cu in) is usually sufficient, but if you are adding smart Wi-Fi combos or pigtailing multiple cables, you may need a deep box (22+ cu in).
For more comprehensive home electrical safety guidelines, including proper grounding techniques and panel safety, refer to the Consumer Product Safety Commission (CPSC) Electrical Safety Center.
Final Thoughts on Your Upgrade
Replacing or installing an electric outlet with switch is a high-reward project that enhances the functionality of your space. By understanding the break-off fin mechanics, adhering to strict torque specifications, and respecting NEC code requirements for TR and GFCI protections, you ensure your upgrade is both highly useful and fundamentally safe. Always prioritize back-wiring or side-looping over push-in back-stabs, and never hesitate to call a licensed electrician if you encounter aluminum wiring or ungrounded (2-prong) circuits during your teardown.